· Car Care · 7 min read
How To Clean A Car Duster
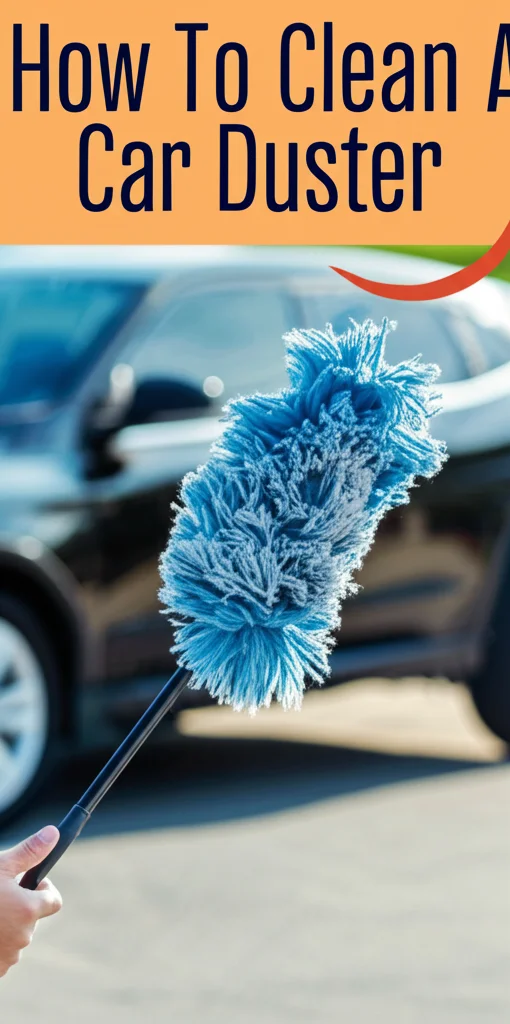
Keeping Your Ride Dust-Free: How To Clean A Car Duster
Ever wonder how to keep that showroom shine on your car without constant washing? A car duster is your secret weapon! But just like any cleaning tool, a car duster needs regular cleaning to stay effective. A dirty duster just spreads dust around, defeating the purpose. This article will guide you through everything you need to know about how to clean a car duster, ensuring it continues to lift dust and leave your car looking pristine. We’ll cover different duster types, cleaning methods, and preventative measures to maximize its lifespan.
Takeaway:
- Regular cleaning is crucial for a car duster’s effectiveness.
- Different duster materials require different cleaning approaches.
- Proper storage helps prevent dust buildup between uses.
- A clean duster protects your car’s paint from scratches.
Quick Answer:
To clean a car duster, gently remove loose dust by shaking or using compressed air. For microfiber dusters, hand wash with mild detergent and air dry. For feather dusters, shake vigorously or use a vacuum with a brush attachment. Regular cleaning ensures optimal performance and prevents scratches.
Understanding Your Car Duster: Types & Materials
Before diving into cleaning, it’s important to understand the type of car duster you have. Different materials require different cleaning methods. Knowing your duster’s composition will help you choose the most effective and safe cleaning approach. Let’s explore the common types.
- Microfiber Dusters: These are incredibly popular due to their excellent dust-trapping abilities. Microfiber attracts and holds dust particles, preventing them from being spread around. They are generally washable, making them a reusable and eco-friendly option.
- Lambswool Dusters: Traditionally favored for their softness and ability to lift dust without scratching, lambswool dusters are a premium choice. They require more delicate cleaning to maintain their shape and effectiveness.
- Feather Dusters (Ostrich or Turkey): These dusters use natural feathers to attract and trap dust. They are lightweight and flexible, making them ideal for reaching tight spaces. However, they require regular shaking to remove accumulated dust.
- Synthetic Fiber Dusters: These are often more affordable alternatives to natural materials. They offer good dust-trapping capabilities but may not be as durable or soft as microfiber or lambswool.
Cleaning Microfiber Car Dusters: A Step-by-Step Guide
Microfiber car dusters are a favorite among car enthusiasts, and thankfully, they’re relatively easy to clean. Regular cleaning will keep your microfiber duster performing at its best, ensuring a scratch-free shine. Here’s how to do it:
- Remove Loose Dust: Start by shaking the duster vigorously outdoors to dislodge any loose dust particles. You can also use a can of compressed air to blow out the dust.
- Hand Wash with Mild Detergent: Fill a basin with lukewarm water and add a small amount of mild laundry detergent. Avoid using fabric softeners or bleach, as these can damage the microfiber.
- Gently Wash: Submerge the duster in the soapy water and gently swish it around. Avoid scrubbing or twisting, as this can mat the fibers.
- Rinse Thoroughly: Rinse the duster under clean, running water until all the soap is removed.
- Air Dry: Gently squeeze out excess water and allow the duster to air dry completely. Avoid using a dryer, as the heat can damage the microfiber. You can hang it or lay it flat on a clean surface.
Revitalizing Lambswool Car Dusters: Gentle Care is Key
Lambswool dusters are known for their luxurious feel and exceptional dust-collecting abilities. However, they require a more delicate cleaning approach to preserve their natural lanolin and prevent damage. Here’s how to clean a lambswool car duster:
- Shake Vigorously: Begin by shaking the duster vigorously outdoors to remove loose dust and debris.
- Vacuum with Brush Attachment: Use a vacuum cleaner with a soft brush attachment to gently remove any remaining dust. Be careful not to apply too much suction, as this can damage the wool fibers.
- Spot Clean (If Necessary): If the duster has any stubborn stains, spot clean with a mild wool-specific detergent and a damp cloth. Avoid soaking the duster.
- Air Dry: Allow the duster to air dry completely in a well-ventilated area. Avoid direct sunlight or heat, as this can cause the wool to shrink or become brittle.
- Brush to Restore Fluff: Once dry, gently brush the duster with a wire brush designed for wool to restore its fluffiness.
Cleaning Feather Car Dusters: A Simple Shake-Down
Feather car dusters are lightweight and effective at reaching tight spaces. Cleaning them is surprisingly simple, requiring minimal effort and no harsh chemicals. Here’s how to keep your feather duster in top condition:
- Shake Outdoors: The primary method for cleaning a feather duster is a good, vigorous shake outdoors. This will dislodge most of the accumulated dust.
- Vacuum with Brush Attachment (Optional): For a more thorough cleaning, you can use a vacuum cleaner with a soft brush attachment. Gently run the brush along the feathers to remove any remaining dust.
- Avoid Water: Do not wash feather dusters with water, as this can damage the feathers and cause them to lose their shape.
- Inspect for Broken Feathers: Regularly inspect the duster for any broken or damaged feathers and remove them to prevent further damage.
Preventing Dust Buildup: Storage & Maintenance Tips
Cleaning your car duster is important, but preventing excessive dust buildup in the first place is even better. Proper storage and maintenance can significantly extend the life of your duster and reduce the frequency of cleaning.
- Store in a Dust-Free Environment: When not in use, store your car duster in a clean, dust-free environment, such as a closed cabinet or a dust cover.
- Avoid Contact with Contaminants: Keep your duster away from oil, grease, and other contaminants that can damage the fibers.
- Regularly Shake or Air Out: Even when stored, periodically shake or air out your duster to prevent dust from settling deep within the fibers.
- Consider a Dedicated Duster: If you frequently detail your car, consider having a dedicated duster solely for that purpose to avoid cross-contamination.
- Don’t Use on Extremely Dirty Surfaces: A car duster is for light dust removal. If your car is heavily soiled, wash it first before using the duster. You can learn more about car washing techniques here.
Troubleshooting: Dealing with Stubborn Dirt & Grime
Sometimes, despite your best efforts, your car duster may accumulate stubborn dirt or grime. Here are a few troubleshooting tips to address these issues:
- For Oily Residue: If your duster has picked up oily residue, try washing it with a mild dish soap and warm water.
- For Sticky Substances: For sticky substances, gently blot the area with a damp cloth and a mild cleaning solution.
- For Embedded Dirt: If dirt is deeply embedded in the fibers, try soaking the duster in a solution of warm water and baking soda for a few hours before washing.
- Replace When Necessary: If your duster is severely damaged or no longer effectively traps dust, it’s time to replace it.
Conclusion: A Clean Duster, A Cleaner Car
Maintaining a clean car duster is a simple yet effective way to keep your vehicle looking its best. By understanding the different types of dusters, following the appropriate cleaning methods, and implementing preventative measures, you can extend the life of your duster and protect your car’s paint from scratches. Remember, a clean duster means a cleaner car! So, take a few minutes each week to clean your car duster, and enjoy the satisfaction of a dust-free ride. Don’t forget to also consider cleaning other areas of your car, like the interior, to maintain a pristine vehicle. If you’re looking for ways to tackle tough cleaning jobs around your home, you might find some helpful tips here.