· Robot Vacuum Cleaners · 7 min read
How To Clean A Roomba Filter
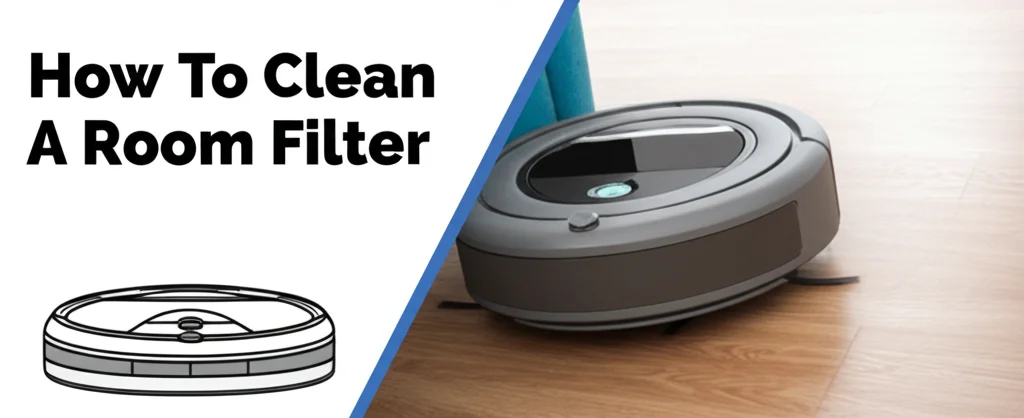
Keeping Your Home Clean Starts With a Clean Roomba Filter
Is your Roomba losing its suction power? Do you notice more dust and debris left behind after a cleaning cycle? The culprit is likely a dirty Roomba filter. A clogged filter reduces airflow, forcing your robot vacuum to work harder and potentially shortening its lifespan. Cleaning your Roomba filter is a simple task that can significantly improve its performance and keep your home cleaner. This article will guide you through everything you need to know about how to clean a Roomba filter, ensuring your robotic helper continues to do its job effectively. We’ll cover different filter types, cleaning methods, and how often you should perform this essential maintenance.
Takeaway:
- Regularly cleaning your Roomba filter improves suction.
- Different Roomba models have different filter types.
- Cleaning is quick, easy, and extends your Roomba’s life.
- Replacing filters is necessary, even with regular cleaning.
How often should you clean your Roomba filter?
Generally, you should clean your Roomba filter every one to two weeks, depending on how often you use your Roomba and the amount of debris it picks up. If you have pets or allergies, more frequent cleaning is recommended.
Understanding Your Roomba Filter Type
Roombas come with different filter types, and knowing which one you have is the first step to proper cleaning. The most common types are foam filters, felt filters, and high-efficiency particulate air (HEPA) filters. Each requires a slightly different approach to cleaning and maintenance.
Foam Filters
Foam filters are often pre-filters, designed to catch larger debris like hair and dust bunnies. They are typically found in older Roomba models. These filters are washable and reusable, making them a cost-effective option.
Felt Filters
Felt filters are another type of washable filter, often used in conjunction with HEPA filters. They capture fine dust particles and allergens. Like foam filters, they can be rinsed and reused multiple times.
HEPA Filters
HEPA filters are the most advanced type, capturing 99.97% of particles 0.3 microns in size. These filters are crucial for allergy sufferers and those concerned about air quality. While some HEPA filters are washable, many are not and require replacement after a certain period. Always check your Roomba’s manual to determine if your HEPA filter is washable.
Tools You’ll Need to Clean Your Roomba Filter
Before you begin, gather the necessary tools. You won’t need anything fancy – most of these items are likely already in your home.
- Roomba Manual: Always refer to your Roomba’s manual for specific instructions related to your model.
- Small Brush: A soft-bristled brush (like an old toothbrush) is perfect for removing dust and debris.
- Vacuum Cleaner: A handheld vacuum or the hose attachment of your regular vacuum can help remove loose particles.
- Mild Soap (Optional): For washable filters, a small amount of mild dish soap can help with deeper cleaning.
- Water: Clean, lukewarm water for rinsing.
- Clean Cloth: For drying the filter.
Step-by-Step Guide: Cleaning a Washable Roomba Filter
If your Roomba filter is washable (foam or felt), follow these steps for a thorough cleaning. Remember to always check your Roomba’s manual before washing any filter.
- Remove the Filter: Locate the filter compartment on your Roomba (refer to your manual). Carefully remove the filter.
- Remove Loose Debris: Gently tap the filter against a trash can to dislodge loose dust and hair. Use a small brush to remove any remaining debris.
- Rinse the Filter: Rinse the filter under lukewarm water. Avoid using hot water, as it can damage the filter material. Gently massage the filter to release trapped dirt.
- Wash with Mild Soap (Optional): If the filter is particularly dirty, add a small amount of mild dish soap to the water. Gently wash the filter, then rinse thoroughly to remove all soap residue.
- Dry the Filter Completely: This is crucial! Allow the filter to air dry completely for at least 24 hours before reinstalling it. Do not use a hairdryer or other heat source, as this can damage the filter. A damp filter can damage your Roomba.
- Reinstall the Filter: Once the filter is completely dry, carefully reinstall it into the filter compartment.
Cleaning a Non-Washable Roomba Filter (HEPA)
If you have a non-washable HEPA filter, cleaning is limited to removing loose debris. You cannot wash these filters, as it will damage their effectiveness.
- Remove the Filter: Locate and remove the filter from your Roomba, following your manual’s instructions.
- Tap to Remove Debris: Gently tap the filter against a trash can to dislodge loose dust and hair.
- Use a Vacuum Cleaner: Use a handheld vacuum or the hose attachment of your regular vacuum to carefully remove any remaining debris from the filter’s surface. Avoid applying excessive pressure.
- Inspect for Damage: Check the filter for any tears or damage. If the filter is damaged, it needs to be replaced.
- Reinstall the Filter: Carefully reinstall the filter into the filter compartment.
When to Replace Your Roomba Filter
Even with regular cleaning, Roomba filters eventually wear out and need to be replaced. Here are some signs it’s time for a new filter:
- Visible Damage: If the filter is torn, cracked, or otherwise damaged, it needs to be replaced.
- Reduced Suction: If you’ve cleaned the filter and suction is still weak, it’s likely time for a replacement.
- Dusty Smell: A persistent dusty smell coming from your Roomba can indicate a clogged or worn-out filter.
- Manufacturer’s Recommendation: Check your Roomba’s manual for the manufacturer’s recommended filter replacement schedule. Generally, HEPA filters should be replaced every 2-3 months, even with regular cleaning.
Replacing your filter is a small investment that can significantly improve your Roomba’s performance and extend its lifespan. You can find replacement filters on the iRobot website or from other retailers.
Maintaining Overall Roomba Health
Cleaning the filter is just one part of maintaining your Roomba. Here are a few other essential maintenance tasks:
- Empty the Dustbin: Empty the dustbin after every cleaning cycle, or more often if you have pets or a lot of debris.
- Clean the Brushes: Regularly clean the brushes to remove tangled hair and debris.
- Check the Sensors: Wipe the sensors clean to ensure accurate navigation.
- Update the Software: Keep your Roomba’s software up to date for optimal performance.
Taking care of your Roomba will ensure it continues to keep your floors clean for years to come. If you’re looking for ways to improve your overall floor cleaning routine, consider how you can incorporate other cleaning methods. For example, understanding when to use a carpet cleaner on hardwood floors, as discussed here, can help you maintain different floor types effectively.
Frequently Asked Questions (FAQs)
Q: Can I use compressed air to clean my Roomba filter?
A: While compressed air can remove some surface debris, it’s not a substitute for thorough cleaning. It can also push debris deeper into the filter, making it less effective. It’s best to use a brush and vacuum, followed by rinsing (if the filter is washable).
Q: How do I know if my Roomba filter is a HEPA filter?
A: Check your Roomba’s manual or the filter itself. HEPA filters are usually labeled as such. They often have a more dense and structured appearance than foam or felt filters.
Q: What happens if I reinstall a damp Roomba filter?
A: Reinstalling a damp filter can damage your Roomba’s internal components. Moisture can cause corrosion and electrical issues. Always ensure the filter is completely dry before reinstalling it.
Q: Are generic Roomba filters as good as iRobot filters?
A: Generic filters can be a more affordable option, but their quality can vary. iRobot filters are designed specifically for your Roomba and are guaranteed to meet performance standards. If you choose a generic filter, read reviews carefully and ensure it’s compatible with your model.
Q: My Roomba still smells after cleaning the filter. What could be the problem?
A: The smell might be coming from the dustbin or brushes. Ensure you’ve thoroughly cleaned both. If the smell persists, it could indicate a deeper issue, such as mold or mildew.
Conclusion: Breathe Easy with a Clean Roomba Filter
Cleaning your Roomba filter is a simple yet crucial maintenance task that can significantly improve its performance and extend its lifespan. By understanding your filter type, following the proper cleaning steps, and knowing when to replace it, you can ensure your robotic vacuum continues to keep your home clean and healthy. Don’t underestimate the power of a clean filter – it’s the key to maximizing your Roomba’s cleaning potential. Remember to regularly check and maintain your Roomba, and consider complementing its work with other cleaning routines, like learning how to clean vinyl plank flooring for a comprehensive approach to home cleanliness. A little maintenance goes a long way in keeping your home sparkling!

