· Electronics Maintenance · 13 min read
How To Clean Battery Acid Off Remote
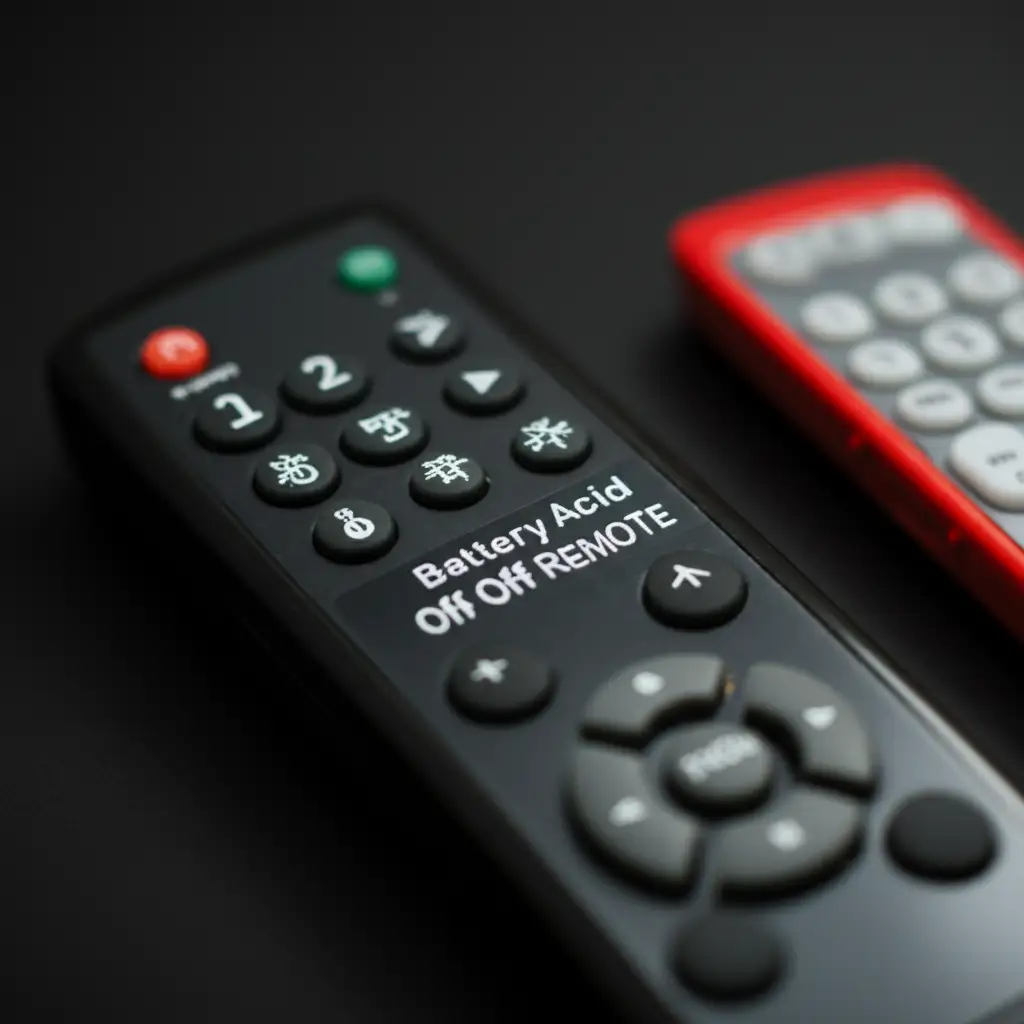
Reviving Your Remote: Cleaning Battery Acid Effectively
Imagine reaching for your TV remote, only to find it unresponsive. Perhaps the buttons feel sticky, or you see a powdery white substance inside the battery compartment. This is often battery acid leakage, a common issue that can render your beloved remote useless. Do not worry. Cleaning battery acid off a remote is a task you can do at home. I have faced this problem many times. I will guide you through the process, ensuring your remote works like new again. This article explains how to tackle battery corrosion, protect your electronics, and prevent future leaks.
Takeaway
- Always prioritize safety: wear gloves and eye protection when handling battery acid.
- Disassemble the remote carefully to access all affected components.
- Neutralize alkaline battery leakage with a small amount of white vinegar or a baking soda paste.
- Clean all parts thoroughly with isopropyl alcohol and allow them to dry completely before reassembly.
- Prevent future leaks by using quality batteries and removing them for long storage periods.
To clean battery acid off a remote, safely remove the batteries and disassemble the device. Neutralize the alkaline residue using a small amount of white vinegar or a baking soda paste on a cotton swab. Clean the circuit board and contacts with isopropyl alcohol. Let all parts dry completely before reassembling the remote.
Understanding Battery Acid Leaks and Their Dangers
Battery leaks are common, but understanding them helps with cleanup. Most consumer batteries, like AA, AAA, C, and D cells, are alkaline batteries. When these batteries leak, they release a corrosive substance. This substance is not technically “acid” in the traditional sense; it is a potassium hydroxide solution. This solution is alkaline, meaning it has a high pH. This alkaline material corrodes metal and other materials inside your remote.
Batteries leak for several reasons. Over-discharging is a common cause. This happens when a battery is completely depleted of its power. Overcharging also makes batteries leak. This occurs when a battery receives too much power. Extreme temperatures, both hot and cold, can also stress batteries and cause leakage. Poor manufacturing or physical damage to the battery casing also contributes to leaks.
Leaking battery fluid poses several risks. It is corrosive and can damage the internal components of your remote control. If left untreated, it eats away at metal contacts and circuit board traces. This results in permanent damage. Skin contact with the fluid can cause irritation or burns. Eye contact is more serious and can lead to severe injury. Always handle leaking batteries and the corroded remote with caution. Protect your hands with gloves and your eyes with safety glasses.
Initial assessment of your remote’s damage is important. Look for white, crusty deposits in the battery compartment. Check for discoloration on the metal terminals. Carefully open the remote and inspect the circuit board for any residue. The extent of the leak determines how much cleaning work is ahead. Addressing the leak quickly minimizes damage and increases your chances of a successful repair.
Essential Tools and Materials for Battery Acid Cleanup
Before you begin cleaning battery acid off your remote, gather all necessary tools and materials. Having everything ready saves time and ensures a smooth process. You will need a few common household items and some specialized cleaning solutions. Each item serves a specific purpose in the cleaning process. I always prepare my workspace first.
You will need a small Philips head screwdriver. Many remotes use tiny screws to hold them together. A flathead screwdriver or plastic pry tool may also be useful for gently opening the casing. Cotton swabs are essential for precise application of cleaning agents. They reach into small crevices. An old toothbrush, with soft bristles, helps scrub away stubborn corrosion. Paper towels or a clean cloth are needed for wiping and drying components.
For cleaning agents, white vinegar is highly effective for neutralizing alkaline leaks. Its mild acidity counteracts the alkaline substance. Baking soda is another excellent option. You can mix it with a small amount of water to create a paste. This paste also neutralizes the alkaline residue. For deep cleaning and removing residue, isopropyl alcohol (at least 70% concentration) is crucial. It evaporates quickly and leaves no residue. Distilled water is helpful for rinsing if needed, but use it sparingly on electronics.
The importance of using non-abrasive materials cannot be overstated. Avoid harsh brushes or rough cloths that can scratch sensitive electronic components. Cotton swabs and soft toothbrushes are ideal. Do not use strong chemical cleaners or solvents not intended for electronics. These can damage the plastic, rubber, or circuit board. Using the right tools and materials ensures a safe and effective cleaning process for your remote.
Step-by-Step Guide to Disassembling Your Remote
Disassembling your remote control is the first critical step in cleaning battery acid. This allows you to access all the affected internal components. Take your time and be gentle to avoid further damage. I always find this part of the process a bit like surgery.
First, remove all batteries from the remote. Place them in a sealed plastic bag for safe disposal later. Never leave leaking batteries in the device. Next, look for screws on the remote’s casing. Most remotes have screws hidden in the battery compartment or under rubber feet. Use your small Philips head screwdriver to remove these screws. Keep track of them; a small bowl works well.
Once the screws are out, carefully separate the remote’s casing. Some remotes have clips holding them together in addition to screws. You might need to gently pry the halves apart using a plastic pry tool or a thin, non-metallic object. Start from one end and work your way around. Avoid excessive force, as plastic tabs can break easily. You will often hear a gentle click as the clips release.
Inside, you will find the main circuit board, rubber button contacts, and sometimes a clear plastic sheet. These are the parts that typically get exposed to battery leakage. Carefully lift out the circuit board. Note its orientation before you remove it. Also, take out the rubber button pad. Some pads sit loosely; others might be slightly stuck. Make sure to photograph the internal layout with your phone. This helps immensely when you put everything back together. Understanding how each piece fits ensures a proper reassembly.
Neutralizing and Cleaning Corroded Remote Components
Once your remote is disassembled, it is time to tackle the corrosive battery acid. Remember, safety first: wear gloves and eye protection. The goal is to neutralize the alkaline residue and clean all affected parts thoroughly. This step is the most important part of the entire cleaning process.
Start with the battery terminals. These are usually the most corroded parts. If the corrosion is powdery and light, you can gently scrape it off with a small flathead screwdriver or a firm toothpick. For more stubborn or widespread corrosion, you need to neutralize it. Since most consumer battery leaks are alkaline, a mild acid like white vinegar works well. Dampen a cotton swab with white vinegar. Carefully wipe down the corroded metal terminals and any visible residue on the plastic casing. The vinegar will react with the alkaline substance, often causing a slight fizzing action. This fizzing indicates neutralization. For more details on this chemical reaction, you can read about how to clean with vinegar and baking soda, as similar principles apply to neutralizing acids and bases.
Alternatively, you can use a baking soda paste. Mix a small amount of baking soda with a few drops of water to form a thick paste. Apply this paste directly to the corroded areas using a cotton swab. Let it sit for a few minutes. The baking soda, being a mild base, also effectively neutralizes residual battery acid, even if it’s on a different surface like what you might find when learning how to clean battery acid off concrete. After it sits, gently wipe away the paste and residue with a clean, damp cloth. Avoid getting too much water on the electronics.
Next, focus on the circuit board. If the circuit board has visible residue, gently clean it with isopropyl alcohol. Isopropyl alcohol is perfect for electronics because it evaporates quickly and leaves no conductive residue. Dampen a cotton swab or a soft-bristled toothbrush with isopropyl alcohol. Carefully scrub any green or white corrosion from the circuit board traces and components. Be extremely gentle, as small components can break off. Pay special attention to the areas around the battery contacts. Clean the rubber button contacts as well. These can often be washed with mild soap and water, then rinsed thoroughly and allowed to air dry completely. Ensure every piece is free of corrosion and residue before moving on.
Thorough Drying and Reassembly of Your Remote
After neutralizing and cleaning the remote’s components, thorough drying is absolutely crucial. Any residual moisture can cause short circuits and further damage your electronics. Patience is key during this stage. I always make sure to give my electronics ample drying time.
Do not rush the drying process. Air drying is the safest method. Place all the cleaned components—the circuit board, rubber pad, and casing halves—on a clean, dry surface. Lay them out in a way that allows air to circulate around them. You can use a clean paper towel underneath. Avoid placing them in direct sunlight, as excessive heat can warp plastic components. Do not use a hairdryer on a hot setting, as this can also damage delicate electronics. A fan on a low setting can help circulate air and speed up drying.
Allow at least 24 hours for all components to dry completely. In humid environments, you might need even longer, perhaps 48 hours. Ensure there is no visible moisture or condensation on any part, especially the circuit board. You can gently blot surfaces with a lint-free cloth or paper towel to absorb any remaining dampness. Confirm that all tiny crevices are dry. Moisture trapped inside can lead to new corrosion or malfunctions later.
Once you are absolutely certain that all parts are bone dry, you can begin reassembly. Refer to the photos you took during disassembly. This helps you remember the exact placement of the circuit board and the rubber button pad. Carefully position the rubber button pad back into the front casing. Then, place the circuit board on top, aligning any holes or pegs. Ensure the battery terminals line up correctly with the battery compartment. Bring the two halves of the remote casing together. Gently press them until they click into place or fit snugly. Reinsert all the screws you removed earlier. Do not overtighten them, as this can strip the plastic threads. Finally, insert fresh, new batteries. Test your remote control to ensure all buttons work correctly. Your remote should now be ready for action.
Preventing Future Battery Acid Leaks in Remotes
Cleaning battery acid is a good skill to have, but preventing leaks is even better. A few simple habits can save your remotes from future corrosion. I make sure to follow these steps myself.
One of the best prevention methods is to use high-quality batteries. Reputable brands generally have better leak-proof designs and quality control. While no battery is guaranteed never to leak, premium batteries significantly reduce the risk. Avoid very cheap or off-brand batteries, as these are often more prone to leakage. Look for batteries that specifically state “leak-resistant” or “leak-proof” on their packaging.
Another crucial tip is to remove batteries from devices you will not use for an extended period. If you store a remote for a spare TV or a seasonal decoration, take the batteries out. Batteries can still discharge slowly and leak even when the device is off. This is especially true for items stored in garages, attics, or basements where temperature fluctuations are common. It protects both the battery and your remote.
Regularly check the batteries in your frequently used remotes. Once every few months, open the battery compartment. Look for any signs of swelling, discoloration, or early crystallization around the battery terminals. Catching a leak early can prevent it from spreading and damaging the internal electronics. If you see any signs of a leak, replace the batteries immediately and clean the compartment.
Avoid mixing old and new batteries, and never mix different brands or types of batteries. Different batteries have varying power levels and discharge rates. Mixing them can cause the weaker batteries to over-discharge, leading to leakage. Always replace all batteries in a device at the same time. Ensure they are all the same brand and type (e.g., all alkaline AA). Lastly, dispose of old or leaking batteries properly. Do not throw them in regular trash. Many communities have collection points for battery recycling. Proper disposal protects the environment and prevents further risks.
Frequently Asked Questions
Can I use water to clean battery acid off a remote?
No, using plain water directly on electronic components is risky. Water is conductive and can cause short circuits or further corrosion. It can also dry slowly and leave mineral deposits. Always use isopropyl alcohol for electronics, as it evaporates quickly and leaves no residue.
How long does it take for battery acid to corrode a remote?
The corrosion rate varies based on the amount of leaked fluid and environmental conditions like humidity. Small leaks can cause noticeable corrosion within weeks. Larger leaks or high humidity can lead to significant damage in just a few days. Acting quickly is important.
Is battery acid dangerous to touch?
Yes, the substance that leaks from alkaline batteries (potassium hydroxide) is corrosive. Direct skin contact can cause irritation, redness, or chemical burns. Eye contact is more serious and can lead to severe injury. Always wear gloves and eye protection when handling leaking batteries or corroded electronics.
What if my remote still doesn’t work after cleaning?
If your remote does not work after a thorough cleaning, the internal components might have permanent damage. The circuit board traces could be corroded beyond repair. In this case, you may need to replace the remote. Sometimes, the issue is not the battery acid but a different internal fault.
Can I clean battery acid off any electronic device?
The general principles of neutralizing and cleaning apply to many electronic devices. However, larger or more complex devices, like laptops or cameras, might require professional repair. Small, simple electronics like remotes are usually suitable for DIY cleaning. Always assess the device’s complexity before attempting a repair yourself.
Conclusion
Finding battery acid on your remote control can be frustrating. You might think your remote is beyond repair. However, cleaning battery acid off a remote is a task you can successfully complete at home. By following these steps, you can often bring your trusty remote back to life. I have personally saved many remotes this way.
Remember to prioritize safety first. Wear gloves and eye protection when handling any corrosive substances. Carefully disassemble your remote, making sure to keep track of all parts and screws. Use appropriate neutralizing agents like white vinegar or baking soda for alkaline leaks. Then, clean all the affected components thoroughly with isopropyl alcohol. This ensures no residue remains. The most critical step is allowing all parts to dry completely. Patience here prevents further damage. Finally, reassemble your remote with care, and it should work again.
Beyond cleaning, proactive prevention is key. Choose high-quality batteries and remove them from devices not in use. Regularly check your remotes for early signs of leaks. These simple habits extend the life of your electronic devices. Do not let a little battery leakage lead to a new purchase. Give your remote a second chance! If you found this guide helpful, share it with others who might face a similar problem.
- battery acid cleaning
- remote control repair
- alkaline battery leakage
- electronic corrosion
- DIY electronics cleaning

