· Troubleshooting · 4 min read
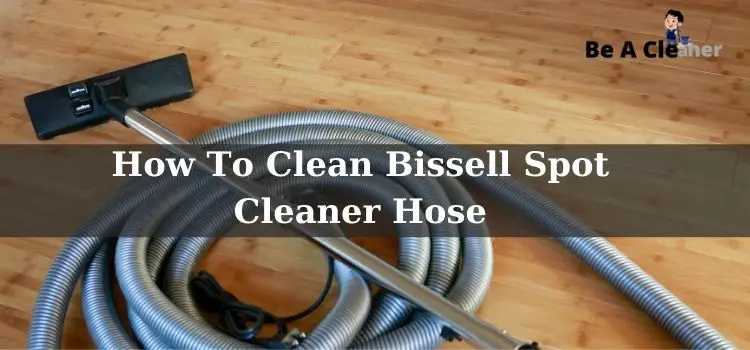
How To Clean Bissell Spot Cleaner Hose
Cleaning the carpet is an easy task with using Bissell Spot Cleaner. For keeping your Cleaner in good condition and smooth running, you have to clean the machine regularly by following the manufacturer’s instructions.
You can clean up carefully and organize again if you learn how to clean Bissell Spot Cleaner Hose. So let’s dive into the deep.
How To Clean Bissell Spot Cleaner Hose?
In this guide, you can find out the process of cleaning the hose pipe. After each use of the Bissell spot cleaner, it would be best to clean the hose pipe.
7 Steps For Cleaning Bissell Spot Cleaner Hose
Clean Bissell Spot Cleaner after each use, so your cleaner will last long. Follow the points for cleaning the hose clearly.
Step 1: Flush The Machine
Restore the water tank with warm water. Put the machine to high traffic and handle the recline situation. Hot water can remove residual dirt stuck on the spray line. After each use, always clean the machine before storage. When the carpet has dried, then vacuum again.
Step 2: Clear Out The Hose
Drag clean water after releasing warm water from a bucket to clear out the hose. When completed then lift the hose. Slope down the hose to clear out the water completely. Repeat the process several times, so the hose remains sterile from every curve.
Step 3: Rinse The Tank
Now take out the tank and make it empty in the sink. Before that, wrap the power cord securely. Wash out the tank with hot water so there is no chance of sticky debris around the filter. Saturate the top of the tank with the nozzle area. If your Bissell cleaner has more water tanks, then clean them both.
Step 4: Wash the Floor Nozzle
Peel off the floor nozzle and wash it with hot water under a tap. Occasionally clean the watery connection with a paperclip and swivel it over. Then reset the nozzle by locking up the keys in the related slots. Leave the nozzle and end caps back on the machine’s bottom.
Step 5: Remove Dirt From Brush Rolls
Accumulate all the debris from brush rolls. Roll on the brush by hand as it spins willingly. For removing debris, you may need to detach the screws from the brush rolls. Read the instructions before uncovering the brush roll. There is some minor friction due to motor function.
Step 6: Clean The Attachments
Distinct all the attachments from the cleaner and wash them on the running water. Let them be waterless before displacing them on the hose rack.
Step 7: Rinse The Suction Diverter
Unlock the screws of the suction diverter and rinse it under a running water faucet. Bring out if there are any dirt clogs inside. Setting up the diverter again and tightening the screws on the back.
🛈 Tips
- The water hose can clean by turning your cleaner’s power on then suctioning the clean water.
- Before storing, preserve all the components of the hose air-dry.
- It’s safe to keep the water tank empty before beginning to clean.
- Pat the exterior of the spot cleaner hose with a soft handkerchief.
⚠️ Warning
- Unplug Bissell Spot Cleaner Machine before starting to clean the water tank.
- Do not use boiled water in the microwave; use only hot tap water.
Frequently Asked Questions
Why Is My Bissell Spot Cleaner Not Spraying?
The spray nozzle may be clogged with filthy debris. Clean the hose pipe with warm water.
What Is the Warranty of My Bissell Spot Cleaner?
Check your user guide to find out the warranty of your cleaner.
Where Do I Purchase Spare Parts of My Bissell?
Do visit a Bissell shop or amazon.
Can I Put Parts of Bissell in The Dishwasher for Cleaning?
No, you can not do this. Your Bissell parts will crack.
Final Verdict
When the water tank fills with dirty water, you need to clean the Bissell spot cleaner. It should rinse not only the tank but also the hose pipe with warm water.
You need not knock a pro cleaner for this, and you have already learned all the information on how to clean a Bissell Spot Cleaner Hose.
So, keep your cleaner hose sterile, then it will remain to be prepared for the next use.