· Home Improvement · 17 min read
How To Clean Brick Fireplace Before Painting
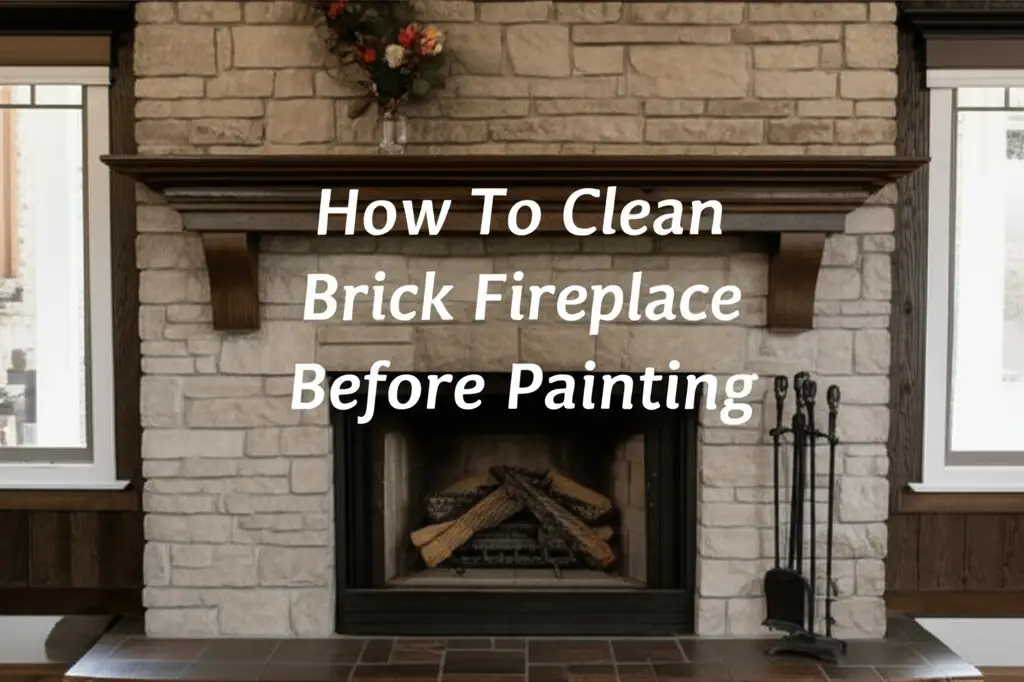
You want to give your old brick fireplace a fresh look. Painting it offers a quick and dramatic transformation. Before you pick up that paintbrush, a crucial step awaits: deep cleaning. A clean surface ensures your paint adheres well and lasts for years. Skip this step, and you risk a peeling, patchy finish.
This article shows you how to clean a brick fireplace before painting. We will cover preparing your workspace and tackling various stains. We will guide you through powerful cleaning solutions and essential safety measures. You will learn the best ways to ensure your brick surface is perfectly ready for a smooth, beautiful paint job.
Takeaway
- Prepare Thoroughly: Remove debris, protect floors, and wear safety gear.
- Deep Clean Soot & Grime: Use TSP or strong degreasers for heavy stains.
- Address Specific Issues: Treat efflorescence, mold, or grease individually.
- Rinse Completely: Remove all cleaner residue to prevent paint adhesion problems.
- Allow Full Drying: Ensure the brick is bone-dry before applying primer or paint.
To effectively clean a brick fireplace before painting, first clear the area and protect surroundings. Next, remove loose debris and vacuum the surface. Apply a strong degreaser or TSP solution to scrub away soot, grime, and any other stains. Rinse thoroughly with clean water, then allow the brick to dry completely for optimal paint adhesion.
Preparing Your Brick Fireplace for a Fresh Coat
Getting your brick fireplace ready for paint is like prepping a canvas. Proper preparation makes all the difference in the final look. A clean surface ensures the paint sticks well and stays looking good. I always start by gathering everything I need. This prevents interruptions once the cleaning begins.
First, I clear the hearth and mantle. I remove any decorations, tools, or furniture. Next, I lay down drop cloths. I cover the floor, furniture, and anything nearby. Brick cleaning can be dusty and wet. Protecting your surroundings saves a lot of cleanup later. I tape the edges of the drop cloths firmly. This prevents them from shifting during work.
Safety is important for any cleaning project. Brick cleaning involves dust and sometimes strong chemicals. I put on safety goggles to protect my eyes. I wear sturdy gloves to shield my hands. A dust mask or respirator is essential, especially when dealing with old soot. Good ventilation is key. I open windows or use fans to ensure fresh air circulates. Taking these steps makes the whole process safer and more comfortable.
Essential Tools and Supplies
Having the right tools makes cleaning much easier. You do not need many specialized items, but the right ones help. I make a list and check it twice. This ensures I do not forget anything important.
Here are the items you will need:
- Stiff-bristled brush or wire brush: These are great for scrubbing stubborn dirt. A wire brush works well on rough brick.
- Heavy-duty sponges or rags: For applying cleaners and wiping surfaces.
- Buckets: You will need at least two: one for cleaning solution, one for rinse water.
- Vacuum cleaner with hose attachment: Essential for removing loose dust and debris.
- Drop cloths or old sheets: To protect floors and furniture from spills and dust.
- Painter’s tape: For securing drop cloths and masking off areas you do not want to paint.
- Safety gear: Goggles, rubber gloves, and a dust mask or respirator.
Choosing the right cleaner is also vital. The type of cleaner depends on the dirtiness of your fireplace. For general grime, a simple soap and water solution might work. For heavy soot and grease, you need something stronger. I keep these cleaners on hand:
- TSP (Trisodium Phosphate) or TSP substitute: This is a powerful degreaser and cleaner. It is very effective on soot and grease. Always follow manufacturer instructions for mixing and use.
- Dish soap or mild detergent: Good for light dust and general dirt.
- White vinegar: Useful for efflorescence (white mineral deposits) and light mold. You can learn more about cleaning with natural solutions here.
- Specialized masonry cleaner: Some stores sell cleaners specifically for brick. These can be effective for tough stains.
- Spray bottle: Handy for applying solutions evenly.
With these preparations done, you are ready to start the actual cleaning. This initial setup prevents problems later. It lays the groundwork for a successful painting project.
Initial Cleaning: Removing Loose Dirt and Debris
Before you tackle any serious scrubbing, you must remove all loose dirt. This step is critical for effective cleaning. Dust and debris can turn into muddy streaks when wet. They also make any deeper cleaning less effective. I always start with a thorough dry clean.
First, I use a stiff brush to sweep the entire fireplace surface. I brush from top to bottom. This knocks off any loose soot, ash, and cobwebs. I pay close attention to the mortar joints. Dirt often collects in these crevices. Brushing helps dislodge particles stuck there. Be gentle but firm. The goal is to remove surface-level debris without grinding it in.
After brushing, I use a powerful vacuum cleaner. A shop vac works best for this job. Its strong suction easily picks up all the dust. I use the hose attachment to reach every corner. I vacuum the brick surface, the mortar joints, and the hearth. I also vacuum around the fireplace base on the drop cloths. This removes dust that fell during brushing. Vacuuming is much more effective than sweeping. It lifts away fine particles that brushes might miss. This step makes sure you have a relatively clean surface before introducing any liquids. A clean foundation helps the next cleaning steps work better.
Tackling Soot and Grime: Deep Cleaning Techniques
Soot and grime are the most common culprits on a brick fireplace. These substances are oily and difficult to remove. Proper deep cleaning is essential to get rid of them. My goal is to break down these deposits completely. This prepares the brick for paint adhesion.
I often start with a strong degreaser like TSP (Trisodium Phosphate). TSP is very effective on greasy soot. I mix the TSP solution according to the package directions. I always wear my safety gear: goggles, gloves, and a respirator. TSP is a powerful chemical. I work in a well-ventilated area. I apply the solution using a stiff-bristled brush or a heavy-duty sponge. I scrub the entire brick surface. I focus on areas with heavy soot buildup. The chemical reacts with the grease, loosening it from the brick.
For very heavy soot, I might use a wire brush. A wire brush offers more abrasive power. It helps dislodge stubborn, caked-on soot. I am careful not to scratch the brick surface. I scrub in small sections. This allows the cleaner to work before it dries. I also make sure to clean inside the firebox if you plan to paint that area too. However, note that painting inside the firebox is usually not recommended due to high heat. You can find more tips on cleaning soot from inside a fireplace here.
After scrubbing, I let the solution sit for a few minutes. This gives it time to penetrate the stains. Then, I rinse the area thoroughly with clean water. I use a clean sponge or rag and a bucket of fresh water. I change the rinse water often to keep it clean. It is important to remove all cleaner residue. Any residue left behind can affect paint adhesion. This deep cleaning step is critical for a lasting paint job.
Addressing Stubborn Stains: Efflorescence, Mold, and Grease
Sometimes, your brick fireplace has more than just soot. You might find white powdery deposits, greenish patches, or oily dark spots. These are efflorescence, mold, and grease stains. Each requires a specific cleaning approach. Ignoring them means they might bleed through your new paint.
Removing Efflorescence
Efflorescence looks like white, powdery streaks or crystals. It happens when moisture brings salts from inside the brick or mortar to the surface. As the water evaporates, it leaves the salts behind. This stain is common on masonry. To remove it, I use a dry stiff-bristled brush first. I try to brush off as much as possible.
If brushing is not enough, a dilute acid solution works best. I often use white vinegar for this. I mix one part white vinegar with one part water. I spray this solution onto the efflorescence. I let it sit for a few minutes. Then, I scrub with a stiff brush. The acid helps dissolve the mineral deposits. For very stubborn efflorescence, a professional masonry cleaner designed for this purpose might be needed. Some people use muriatic acid for tough efflorescence, but I use it with extreme caution due to its strong corrosive nature. You can learn more about handling strong acids for cleaning here, but always prioritize safety. After scrubbing, I rinse the area thoroughly with clean water. This neutralizes any remaining acid.
Eliminating Mold and Mildew
Mold and mildew appear as black, green, or even fuzzy patches. They grow in damp, humid conditions. You must remove all mold before painting. Painting over mold traps it, allowing it to grow under the paint. This ruins your paint job and can be a health hazard.
I use a solution of bleach and water for mold. I mix one part household bleach with three parts water. Again, I wear my safety gear and ensure good ventilation. I apply the solution to the moldy areas. I let it sit for about 10-15 minutes. The bleach kills the mold spores. Then, I scrub the area vigorously with a stiff brush. For mold on wood, the process is similar. You can find tips for cleaning black mold off wood here. After scrubbing, I rinse the brick thoroughly with clean water. It is important to remove all bleach residue. I also try to identify the source of moisture. Fixing the leak prevents mold from returning.
Degreasing Oily Stains
Grease stains can be tricky. They often come from cooking nearby or from fireplace tools. These stains are dark and can prevent paint adhesion. Standard cleaners might not cut through them. For these, a strong degreaser is essential.
I often use TSP (Trisodium Phosphate) or a commercial degreaser. I apply the degreaser directly to the oily stain. I let it soak for a few minutes. The cleaner works to break down the grease molecules. Then, I scrub the area with a stiff brush. I may need to repeat this process several times for deep-set stains. After the grease is gone, I rinse the brick completely. Residual grease or cleaner can cause paint to peel or bubble. Making sure the surface is clean from grease is important for the new paint.
Rinsing and Neutralizing: The Critical Final Steps
After all the scrubbing and stain removal, the brick surface might look clean. However, it still holds a hidden danger: cleaner residue. Leaving any cleaning solution behind can severely impact your paint job. It can cause paint to peel, flake, or show discoloration. This step is just as important as the cleaning itself.
My goal here is to rinse away every trace of cleaner. I use plain, clean water for this. I start with a bucket of fresh water and a clean, large sponge or several rags. I thoroughly wipe down every square inch of the brick. I work from top to bottom. This lets gravity help carry the dissolved residue downwards. I make sure to get into all the mortar joints and textured areas. These spots tend to trap solutions.
I rinse the sponge or replace the rags frequently. I also change the water in my bucket often. The water should remain clear, not cloudy or sudsy. If the water gets dirty quickly, it means there is still a lot of cleaner on the brick. I might even use a second bucket dedicated just for the final rinse. This helps ensure I am always applying clean water. Some people use a garden sprayer with plain water for a more thorough rinse, especially on larger fireplaces.
If you used strong chemicals like bleach, TSP, or especially an acid like muriatic acid, rinsing is even more critical. Acidic or alkaline residues can chemically react with paint. This leads to paint failure over time. Proper rinsing neutralizes the surface. It prepares the brick to accept primer and paint without issues. Think of it like this: you want a perfectly neutral, clean canvas. Any remaining cleaning agent is an impurity that can ruin your artwork. Taking extra time here saves you headaches later.
Final Inspection and Drying: Ensuring Paint-Ready Brick
You have cleaned, scrubbed, and rinsed your fireplace. Now comes the waiting game. The brick must be completely dry before you even think about primer. This step is non-negotiable. Painting damp brick leads to moisture being trapped. This causes paint bubbles, peeling, and potential mold growth under your new finish.
Checking for Dryness
Determining if brick is truly dry can take time. Brick is a porous material. It absorbs and holds a lot of moisture. I never rush this process. I allow at least 24 to 72 hours for drying. The exact time depends on several factors:
- Humidity: High humidity slows drying. Low humidity speeds it up.
- Temperature: Warmer temperatures help moisture evaporate faster.
- Ventilation: Good airflow is crucial. I open windows or use fans. I aim for cross-ventilation if possible.
- Amount of water used: If you saturated the brick, it will take longer to dry.
To check for dryness, I use a simple test. I tape a small piece of clear plastic wrap or aluminum foil tightly to a section of the brick. I leave it there for a few hours, or even overnight. If condensation forms on the underside of the plastic, the brick is still wet. If there is no condensation, the brick is likely dry enough. I repeat this test in several spots, especially in areas that might stay damp longer, like mortar joints or shaded areas.
Addressing Any Remaining Issues
While the brick dries, I do a final inspection. I look closely for any missed spots or lingering stains. Sometimes, a stain might become more visible as the brick dries. If I find any, I spot-clean them. I use the appropriate cleaner for that specific stain. Then, I rinse and allow that area to dry again.
I also check for loose mortar or crumbling brick. If I find any, I address it now. Loose mortar can be chipped away and repointed. Small cracks in the brick can be filled with a masonry caulk designed for paintable surfaces. Ensuring the surface is structurally sound prevents future problems. It ensures a smooth and durable finish. This thorough final check confirms the brick is not only clean but also ready in every way for the next step: priming and painting. A perfectly dry and sound surface guarantees your paint job will look great and last for many years.
Priming Your Clean Brick Fireplace
Once your brick fireplace is spotlessly clean and completely dry, it is ready for priming. Priming is a critical step. Do not skip it. Primer provides a stable base for your paint. It ensures good adhesion and a smooth finish. It also helps seal the porous brick.
First, I choose the right primer. For brick, I always use a high-quality masonry primer. Look for one designed for porous surfaces. Some primers are specifically labeled as “stain-blocking.” These are excellent for old fireplaces. They help prevent any residual soot or stains from bleeding through your new paint. A good primer creates a uniform surface. This makes your paint color look true and vibrant. It also reduces the number of paint coats you need.
Applying the primer is straightforward. I usually use a roller with a thick nap. This helps the primer penetrate the uneven brick surface. For the mortar joints and rough areas, a stiff brush works well. I apply the primer evenly. I make sure to cover every part of the brick you plan to paint. I pay attention to cracks and crevices. These areas need good coverage. I do not apply it too thickly. A thin, even coat is better.
I let the primer dry completely. The drying time depends on the product. I always follow the manufacturer’s instructions. This usually takes a few hours. Once dry, the surface feels slightly gritty. This texture helps the paint stick. Priming gives you the best chance for a successful and long-lasting paint job. It prepares the surface perfectly. This ensures your fireplace makeover looks professional.
Maintaining Your Painted Brick Fireplace
Congratulations! Your brick fireplace is painted and looks amazing. Now, you want to keep it looking great for years. Proper maintenance ensures the paint lasts. It protects your investment. A painted fireplace requires simple care.
First, I avoid harsh chemicals when cleaning. Painted surfaces can be sensitive. A mild soap and water solution is usually enough. I use a soft cloth or sponge. I gently wipe down the surface as needed. This removes dust and light smudges. For stubborn marks, I might use a small amount of diluted dish soap. I always rinse the area with clean water afterward. This removes any soap residue.
I also inspect the fireplace periodically. I look for any signs of wear or damage. Small nicks or scuffs can happen over time. I keep a small amount of the original paint for touch-ups. This allows me to fix minor imperfections quickly. Catching problems early prevents them from becoming bigger issues. If I notice any peeling or bubbling, it might indicate a moisture problem. Addressing the moisture source is crucial. This could be a leaky chimney or condensation.
Proper ventilation also helps. Good air circulation around the fireplace reduces humidity. This protects the paint finish. If you use your fireplace, be mindful of heat. While the paint is likely heat-resistant, extreme, prolonged heat can sometimes affect it. Most paints are fine for the exterior of a fireplace, but not inside the firebox.
By following these simple maintenance tips, your painted brick fireplace will remain a beautiful focal point. It will keep its fresh look for a long time. Regular, gentle care is the key to preserving its beauty.
Frequently Asked Questions
Can I paint brick without cleaning it first?
No, painting brick without cleaning is not recommended. Dirt, soot, grease, and efflorescence can prevent paint from adhering properly. This leads to peeling, bubbling, and a poor-looking finish. Proper cleaning ensures paint sticks well and lasts.
What kind of cleaner is best for fireplace soot?
For heavy soot and grease, Trisodium Phosphate (TSP) or a strong degreaser is best. Mix it according to directions, scrub the brick, and rinse thoroughly. For lighter soot, a strong detergent solution may suffice.
How long does brick need to dry after cleaning before painting?
Brick is very porous and needs ample drying time. Allow at least 24 to 72 hours for the brick to dry completely after cleaning. Use a plastic wrap test to check for any trapped moisture before priming or painting.
Do I need to prime a brick fireplace before painting?
Yes, priming a brick fireplace is essential. A high-quality masonry primer seals the porous surface, blocks stains, and provides a uniform base for paint. This ensures better paint adhesion, coverage, and a longer-lasting finish.
Can I use a pressure washer to clean my brick fireplace?
A pressure washer is generally not recommended for indoor brick fireplaces. It can force water deeply into the brick and mortar, leading to extended drying times, moisture issues, and potential damage to the surrounding interior. Manual scrubbing is safer and more controlled.
What causes white stains (efflorescence) on brick?
Efflorescence is caused by moisture drawing salts from within the brick or mortar to the surface. As the water evaporates, it leaves behind white, powdery mineral deposits. It indicates a moisture issue that might need addressing.
Conclusion
Cleaning your brick fireplace before painting is a critical step for a lasting, beautiful finish. It may seem like extra work, but skipping it leads to disappointing results. A clean surface ensures paint adhesion, prevents peeling, and hides stains. My experience confirms that proper preparation truly pays off.
We started by preparing your workspace and gathering the right tools. You learned how to remove loose dirt and debris. We tackled stubborn soot and grime with powerful cleaners like TSP. We also addressed special challenges such as efflorescence, mold, and grease stains. The vital step of thorough rinsing and neutralization ensures no cleaner residue remains. Finally, we emphasized the importance of complete drying and a final inspection. We also covered the value of priming and how to maintain your newly painted brick fireplace.
By following these steps, you will transform your fireplace. You will achieve a professional-looking, durable paint job. Do not underestimate the power of a clean canvas. Your refreshed brick fireplace will become a stunning focal point in your home. Get ready to enjoy its new look for many years to come!
- fireplace cleaning
- brick painting
- soot removal
- DIY home prep

