· Small Engine Maintenance · 13 min read
How To Clean Carburetor On Weedeater

Revive Your Weedeater: Carburetor Cleaning Guide
Does your weedeater sputter, refuse to start, or lose power mid-job? A dirty carburetor is often the root cause of these frustrating issues. Over time, fuel deposits and debris can clog the tiny passages within this vital engine part. Learning how to clean a carburetor on a weedeater can save you money on repairs and extend the life of your equipment. It is a straightforward process you can do yourself with basic tools and some patience. This article guides you through each step, from diagnosing the problem to reassembling your weedeater, helping you restore its peak performance.
Takeaway
- Identify symptoms of a dirty weedeater carburetor like hard starting or poor performance.
- Gather necessary tools and safety gear before starting.
- Carefully remove, disassemble, and clean all carburetor components.
- Reassemble and reinstall the carburetor correctly for optimal function.
- Perform regular maintenance to prevent future clogs and ensure longevity.
A weedeater carburetor directs the perfect air-fuel mixture to the engine. To clean it, remove the carburetor, disassemble its components, spray a dedicated carburetor cleaner into all ports and jets, clear any blockages with thin wire, then reassemble and reinstall it. This process removes fuel deposits and ensures smooth engine operation.
Why Your Weedeater Carburetor Needs Cleaning
You are ready to tackle overgrown weeds, but your weedeater just won’t cooperate. It sputters, dies, or won’t start at all. These are classic signs of a dirty carburetor. Over time, gasoline leaves behind sticky residues. These deposits, along with dirt or debris, can clog the tiny openings inside the carburetor.
Ethanol in modern fuel also attracts water, creating a corrosive mixture. This mixture can damage internal carburetor components. A clean carburetor ensures a precise air-fuel ratio, allowing your weedeater engine to run smoothly. Ignoring these symptoms leads to poor performance or complete engine failure. Regular cleaning keeps your weedeater reliable for every trimming task.
The carburetor is a critical component for any small engine. It mixes air and fuel in the right proportions for combustion. If you want to learn more about how carburetors work and how to keep them clean, consider exploring guides on how to clean small engine carburetor. This knowledge helps you maintain many types of outdoor power equipment. A well-maintained carburetor improves fuel efficiency and engine lifespan.
Tools and Materials for Carburetor Cleaning
Before you start, gather all the tools and materials you will need. Having everything ready makes the cleaning process smoother and safer. You don’t want to stop mid-task looking for a missing wrench. Start by clearing a clean, well-lit workspace. This helps prevent losing small parts.
Here is a list of essential items:
- Screwdrivers: Flathead and Phillips, various sizes for different screws.
- Wrenches/Nut Drivers: For bolts holding the carburetor in place.
- Pliers: Needle-nose pliers can help with fuel lines and small connections.
- Carburetor Cleaner: Choose a spray-type cleaner designed for carburetors. This product dissolves gum and varnish effectively.
- Compressed Air: A can of compressed air or an air compressor helps clear passages.
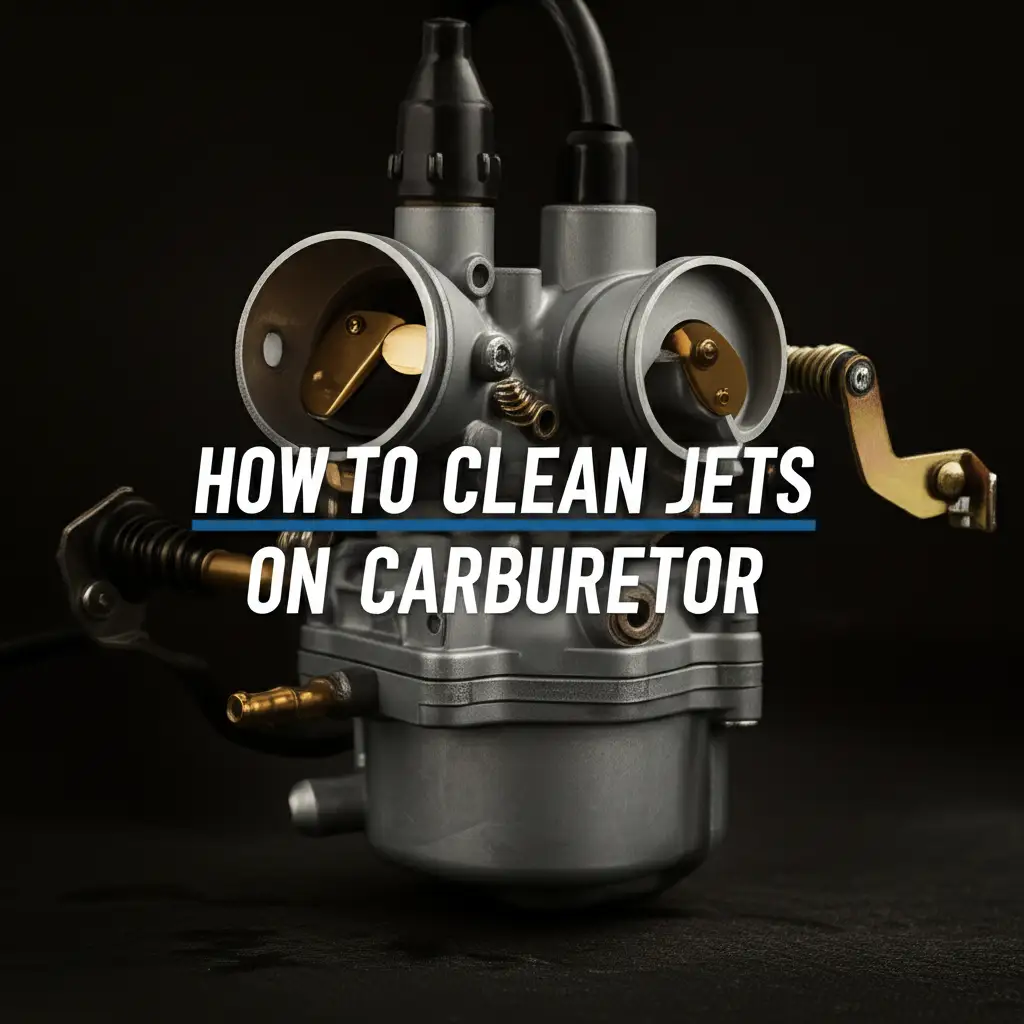
- Small Wire or Jet Cleaning Tool: These tools are crucial for clearing tiny jets and orifices. Sometimes, a strand from a wire brush works. You can find specialized tools for this purpose. If you are specifically interested in clearing the smallest pathways, learn more about how to clean jets on carburetor.
- New Gaskets and Diaphragm Kit: Often, a carburetor cleaning kit includes these. Replacing old gaskets is important for a proper seal.
- Container for Parts: A small plastic bin or tray keeps disassembled parts organized.
- Gloves and Safety Glasses: Protect your hands and eyes from fuel and cleaner.
- Shop Rags or Paper Towels: For wiping down parts and spills.
Using the right tools ensures you clean your weedeater carburetor effectively. This preparation prevents damage to delicate components. A well-prepared workspace also makes the job more enjoyable.
Safety First: Essential Precautions
Working with fuel and engine parts requires careful attention to safety. Your well-being is important. Taking proper precautions prevents accidents and injuries. Always prioritize safety before beginning any repair.
First, ensure the weedeater engine is completely cool before you start. A hot engine can cause burns. Disconnect the spark plug wire. This prevents accidental starting of the engine during your work. An unexpected start could lead to serious injury.
Work in a well-ventilated area. Carburetor cleaner fumes are strong and harmful if inhaled. A garage with an open door or an outdoor space is ideal. Avoid working in enclosed areas like a small shed without proper airflow. Wear safety glasses to protect your eyes from splashes of fuel or carburetor cleaner. These chemicals can cause severe eye irritation.
Wear chemical-resistant gloves to protect your hands. Fuel and carburetor cleaner can irritate your skin. They can also absorb through the skin, which is not good for your health. Have a fire extinguisher nearby, just in case. Fuel is highly flammable. Avoid open flames, sparks, or smoking near your workspace. Keep a clean workspace to reduce slip hazards or accidental spills. Dispose of old fuel and cleaning rags properly. Follow local regulations for hazardous waste disposal. These simple steps make your carburetor cleaning experience safe and successful.
Step-by-Step: Removing the Weedeater Carburetor
Removing the carburetor from your weedeater is the first major step. Take your time and keep track of all parts. This ensures a smooth reassembly later on. I always recommend taking photos with your phone as you go. This visual record is invaluable for remembering where everything connects.
First, drain the fuel tank. This prevents spills and fire hazards. Place an appropriate container under the fuel tank to catch the drained fuel. Next, locate the air filter housing. This is usually on the side of the engine. Remove its cover and then remove the air filter itself. You will see several screws or bolts holding the air filter base and carburetor in place. Loosen and remove these fasteners carefully.
Now, gently pull the carburetor away from the engine. Be ready for fuel lines and linkage rods. There are usually two fuel lines: one supplying fuel from the tank and one returning excess fuel. Pinch or plug these lines if possible to prevent fuel leaks. Disconnect them from the carburetor. You will also find throttle linkage rods and sometimes a choke linkage. Note their positions before detaching them. Some models might have a prime bulb with its own small hoses. Disconnect these as well.
Keep all screws, bolts, and small parts organized. A magnetic tray or labeled containers work well. Make a simple sketch if needed to remember the hose and linkage connections. Once all lines and linkages are free, you can carefully remove the entire carburetor assembly. You now have the carburetor separated from the weedeater, ready for cleaning. If you are familiar with maintaining other small engines, the process for removing a carburetor from a different tool, like a how to clean carburetor on push mower, shares many similarities.
Thorough Cleaning: Disassembling and Soaking
Now that you have the carburetor off the weedeater, it is time for the main event: cleaning. This step requires precision and attention to detail. Every tiny passage must be clear for the carburetor to work correctly.
Start by placing the carburetor on your clean work surface. Disassemble the carburetor carefully. You will typically find a fuel bowl at the bottom. Remove the screw or screws holding it in place. The bowl collects fuel. Inside the bowl, you might see a float and a needle valve. These components control fuel flow into the carburetor. Take note of how they fit together before removing them. Look for the main jet, which is usually a small brass fitting in the center of the carburetor throat or in the fuel bowl’s base. Some carburetors also have a pilot jet, which is even smaller. These jets are most prone to clogging. Learn specifically about how to clean jets on carburetor if you want a detailed guide on this critical part.
Spray carburetor cleaner into all ports, passages, and jets. Hold the can close and apply a steady stream. You should see the cleaner coming out of other openings. This confirms the passage is clear. Pay extra attention to the tiny holes in the jets. Use your small wire or a jet cleaning tool to gently poke through any stubborn clogs. Never force the wire; it can damage the jet’s precise opening. After spraying, use compressed air to blow out each passage. This removes dissolved gunk and cleaner residue. Ensure the air passes freely through all holes. Repeat the spray and blow process until every passage is clear. You can often see light through a clean jet.
Some carburetors have a diaphragm and cover. Carefully remove these. Inspect the diaphragm for tears or cracks. If it is damaged, you will need to replace it. Spray cleaner under the diaphragm and blow it out with compressed air too. If you are cleaning a specific type of engine, such as a Briggs & Stratton, many of the principles for how to clean briggs and stratton carburetor apply here. Make sure all parts are completely dry before reassembling.
Reassembling and Reinstalling the Carburetor
After thorough cleaning, it is time to put your carburetor back together. This step is a reversal of the disassembly process. Be patient and double-check your work. Proper reassembly is vital for the carburetor to function.
Start by reassembling the carburetor itself. Replace any old gaskets or diaphragms with new ones from your repair kit. These new parts ensure a good seal and prevent fuel leaks. Install the float, needle valve, and fuel bowl. Make sure the float moves freely. Tighten the fuel bowl screw securely but do not overtighten it. Install the main jet and pilot jet back into their proper places. If you took photos during disassembly, refer to them frequently. This helps confirm the correct placement of each tiny component.
Once the carburetor is reassembled, you can reinstall it on the weedeater. Position the carburetor back onto the engine studs. Reconnect all linkage rods (throttle and choke). Ensure they move freely without binding. Reattach the fuel lines to their correct ports. If you plugged them earlier, remove the plugs now. Make sure the fuel lines are snug and not kinked. Replace any small hoses for the prime bulb if your model has them.
Slide the air filter base back over the studs and onto the carburetor. Tighten the mounting screws or bolts. Do not overtighten them, as you can strip the threads. Reinstall the air filter and its cover. Finally, reconnect the spark plug wire. Add fresh fuel to the tank. Pump the prime bulb several times until you see fuel in it. This purges air from the fuel lines. Start the weedeater. It might take a few pulls to get fuel flowing and the engine to catch. Once it starts, let it run for a few minutes to warm up and check for smooth operation. You can learn more about similar small engine tasks, such as for a how to clean carburetor on Stihl hedge trimmer, which uses similar principles.
Post-Cleaning Tips and Carburetor Maintenance
Cleaning your weedeater carburetor is a great achievement. Now, let us talk about preventing future issues. Proper maintenance extends the life of your carburetor and your weedeater. This helps you avoid future breakdowns and ensures reliable performance.
First, always use fresh fuel. Old gasoline, especially fuel sitting for months, breaks down. This breakdown leaves behind sticky deposits that clog carburetors. Buy fuel in smaller quantities if you do not use your weedeater often. This ensures you always have fresh gasoline. Consider using a fuel stabilizer. Add the stabilizer to your fuel can when you buy new gas. This additive prevents fuel breakdown. It helps keep your carburetor clean between uses. Many fuel stabilizers also contain cleaners that help keep fuel lines and carburetor passages clear.
Before storing your weedeater for more than a few weeks, run it until the fuel tank is empty. This prevents stale fuel from sitting in the carburetor and gumming it up. Alternatively, you can use a fuel shut-off valve if your weedeater has one. Close the valve and let the engine run until it uses up all the fuel in the carburetor. This ensures the carburetor is dry.
Regularly check your fuel filter. A clogged fuel filter can restrict fuel flow and put strain on the carburetor. Replace it annually or if it appears dirty. Inspect the fuel lines for cracks or leaks. Repair or replace any damaged lines. Finally, keep the air filter clean. A dirty air filter restricts airflow, which makes the engine run rich and can lead to carbon buildup. This can indirectly affect carburetor performance. Simple preventative steps save you time and effort in the long run.
FAQ Section
How often should I clean my weedeater carburetor? Clean your weedeater carburetor every 1-2 years, especially if you use it frequently. If your weedeater sits unused for long periods, or if you use old fuel, consider cleaning it more often. Signs like hard starting, stalling, or poor acceleration also indicate a need for cleaning. Regular use of fuel stabilizer can extend cleaning intervals.
Can I clean a weedeater carburetor without removing it? It is difficult to thoroughly clean a weedeater carburetor without removing it. While you can spray carburetor cleaner into the intake, it usually does not clear all the tiny passages and jets. For a complete and effective cleaning, removal and disassembly are recommended. This allows you to access and inspect all internal components.
What type of cleaner should I use for my weedeater carburetor? Use a specialized carburetor cleaner spray. These cleaners contain strong solvents that dissolve gum, varnish, and carbon deposits common in fuel systems. Avoid using harsh solvents not designed for carburetors, as they might damage rubber and plastic components. Always follow the cleaner manufacturer’s instructions.
Why is my weedeater still not running after cleaning the carburetor? If your weedeater still has issues after cleaning the carburetor, check other common problems. Ensure the spark plug is clean and firing correctly. Check fuel lines for cracks or blockages. The fuel filter might be clogged. Also, verify that the carburetor reassembly was correct, especially the float and needle valve. A carburetor kit with new gaskets might be needed if old ones were damaged.
What are the common signs of a dirty weedeater carburetor? Common signs of a dirty weedeater carburetor include difficulty starting, even with a prime bulb, or a lack of power during operation. The engine might stall frequently or run erratically. You might also notice excessive smoke, rough idling, or the engine dying when you give it throttle. These symptoms point to an incorrect fuel-air mixture.
Conclusion
Cleaning your weedeater carburetor can seem like a daunting task at first, but it is a rewarding one. You have now learned the essential steps to bring your weedeater back to life. We covered diagnosing symptoms, gathering tools, ensuring safety, and performing a thorough cleaning and reassembly. Remember, a clean carburetor is key to a weedeater that starts easily and runs smoothly.
Regular maintenance, like using fresh fuel and stabilizers, helps prevent future clogs. By following these guidelines, you extend the lifespan of your weedeater and avoid costly professional repairs. Take pride in knowing you can handle this important maintenance task yourself. Keep your weedeater in top shape for years of efficient yard work. Your yard will thank you!
- weedeater repair
- carburetor cleaning
- small engine maintenance
- garden tool care
- outdoor power equipment

