· Home Improvement · 7 min read
How To Clean Caulking Around Windows
Revitalize Your View: How To Clean Caulking Around Windows
Is the caulk around your windows looking dingy, stained, or even moldy? Don’t worry, you’re not alone! Dirty caulk is a common problem, but it doesn’t mean you need to recaulk. Learning how to clean caulking around windows is a simple DIY project that can dramatically improve the appearance of your home and prevent further damage. This article will guide you through effective methods for removing grime, mold, and mildew, leaving your windows looking fresh and clean. We’ll cover everything from simple soap and water solutions to tackling stubborn stains with bleach, and even preventative measures to keep your caulk looking its best.
Cleaning the caulk around your windows isn’t just about aesthetics; it’s also about maintaining the integrity of your windows and preventing water damage. Dirty caulk can harbor moisture, leading to mold growth and potential leaks. This guide will provide you with the knowledge and techniques to address these issues effectively. Let’s dive in and get your windows sparkling!
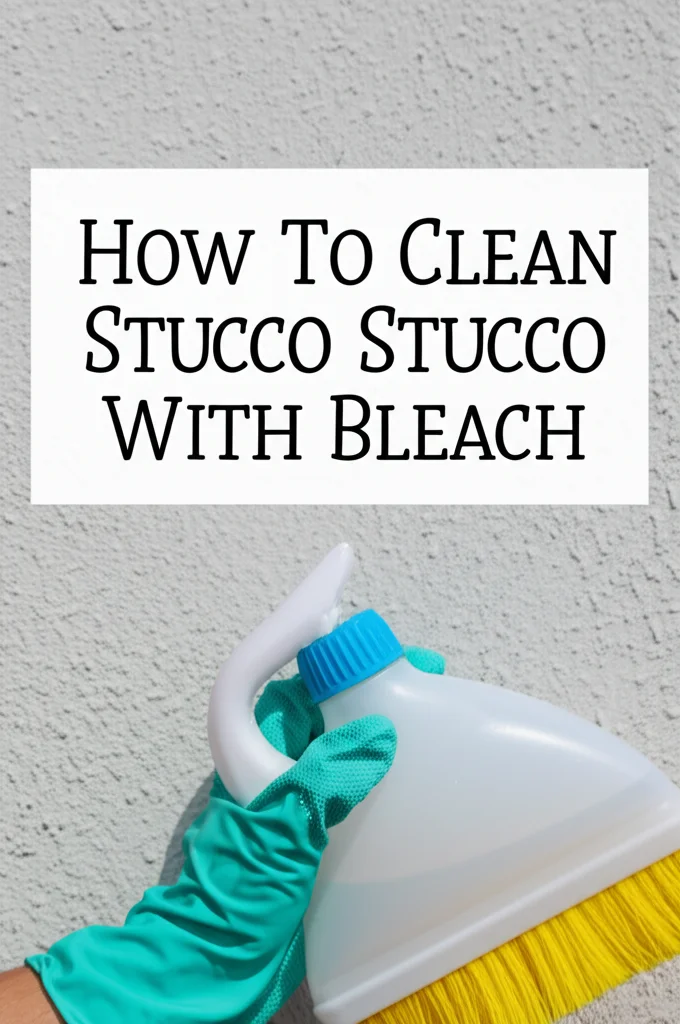
Quick Answer: To clean caulk around windows, mix a solution of warm water and mild dish soap. Apply with a soft brush, scrub gently, rinse thoroughly, and dry. For mold, use a bleach solution (1 part bleach to 3 parts water), apply carefully, let sit for 10-15 minutes, scrub, rinse, and dry.
Takeaway:
- Regular cleaning prevents buildup.
- Mild solutions are best for routine maintenance.
- Bleach is effective for mold, but use with caution.
- Proper drying prevents future issues.
Why Does Caulking Get Dirty?
Caulking, while durable, isn’t immune to the elements. It’s constantly exposed to moisture, dirt, and temperature fluctuations, all of which contribute to its deterioration. Understanding why caulk gets dirty helps you address the problem effectively. The porous nature of caulk allows it to absorb dirt and grime from the air and rainwater. This creates a breeding ground for mold and mildew, especially in humid environments.
Here’s a breakdown of the common culprits:
- Moisture: Rain, condensation, and humidity seep into the caulk, creating a damp environment.
- Dirt & Pollen: Airborne particles settle on the caulk, leading to discoloration.
- Mold & Mildew: These fungi thrive in damp, dark conditions, causing black or green stains.
- Sun Exposure: UV rays can break down the caulk over time, making it more susceptible to dirt and damage.
- Lack of Ventilation: Poor airflow around windows exacerbates moisture buildup.
Simple Cleaning: Soap and Water Solution
For lightly soiled caulk, a simple soap and water solution is often all you need. This method is gentle, effective, and safe for most types of caulk. It’s a great starting point for routine maintenance and prevents the buildup of stubborn stains. You likely already have everything you need in your kitchen!
Here’s how to do it:
- Mix the Solution: Combine warm water with a few drops of mild dish soap in a spray bottle or bowl.
- Apply & Let Sit: Spray or apply the solution to the caulk, allowing it to sit for 5-10 minutes to loosen dirt.
- Scrub Gently: Use a soft-bristled brush (an old toothbrush works perfectly!) to scrub the caulk gently. Avoid abrasive scrubbers, as they can damage the caulk.
- Rinse Thoroughly: Rinse the caulk with clean water, ensuring all soap residue is removed.
- Dry Completely: Wipe the caulk dry with a clean cloth. Moisture left behind can encourage mold growth.
Tackling Mold and Mildew: The Bleach Solution
When mold or mildew has taken hold, a bleach solution is often necessary. However, it’s crucial to use bleach safely and with proper ventilation. Bleach is a powerful disinfectant, but it can also be corrosive and harmful if not handled correctly. Always wear gloves and eye protection when working with bleach.
Here’s the process:
- Prepare the Solution: Mix 1 part bleach with 3 parts water. Never mix bleach with other cleaning products, as this can create dangerous fumes.
- Apply Carefully: Apply the bleach solution to the affected caulk using a spray bottle or cloth. Avoid getting bleach on surrounding surfaces.
- Let it Sit: Allow the solution to sit for 10-15 minutes to kill the mold and mildew.
- Scrub & Rinse: Scrub the caulk with a soft-bristled brush, then rinse thoroughly with clean water.
- Dry & Ventilate: Wipe the caulk dry and ensure the area is well-ventilated to remove any lingering bleach fumes. Consider opening a window.
If you’re concerned about using bleach, you can explore alternative mold removal solutions like vinegar or baking soda paste, though they may require more scrubbing. For more information on mold removal, check out this guide on https://beacleaner.com/how-to-remove-mold-from-painted-walls/.
Stubborn Stains: Baking Soda Paste Power
Sometimes, soap and bleach aren’t enough to tackle stubborn stains. That’s where baking soda paste comes in. Baking soda is a mild abrasive that can help lift away ingrained dirt and grime without damaging the caulk. It’s also a natural deodorizer, which is a bonus!
Here’s how to make and use baking soda paste:
- Make the Paste: Mix baking soda with a small amount of water to create a thick paste.
- Apply & Let Sit: Apply the paste to the stained caulk and let it sit for 15-20 minutes.
- Scrub Gently: Use a soft-bristled brush to scrub the paste into the caulk.
- Rinse & Dry: Rinse thoroughly with clean water and wipe dry with a clean cloth.
Preventing Future Buildup: Protective Measures
Once you’ve cleaned your caulk, you’ll want to keep it that way! Preventative measures are key to minimizing future buildup and maintaining a clean appearance. A little effort now can save you a lot of scrubbing later.
Here are some tips:
- Regular Cleaning: Wipe down your window caulk every month with a soap and water solution.
- Ventilation: Ensure good ventilation around your windows to reduce moisture buildup.
- Address Leaks Promptly: Fix any leaks around your windows immediately to prevent water damage.
- Caulk Sealant: Consider applying a caulk sealant to protect the caulk from dirt and moisture.
- Trim Vegetation: Keep plants and shrubs trimmed away from your windows to reduce moisture and dirt exposure.
Choosing the Right Cleaning Tools
Having the right tools makes the job much easier and more effective. You don’t need a lot of fancy equipment, but a few key items can make a big difference. Using the wrong tools can damage the caulk or surrounding surfaces.
Here’s a list of recommended tools:
- Soft-Bristled Brush: An old toothbrush is ideal for reaching tight spaces.
- Spray Bottle: For applying cleaning solutions.
- Microfiber Cloths: For wiping and drying.
- Gloves: To protect your hands from harsh chemicals.
- Eye Protection: To prevent splashes from getting in your eyes.
- Scraper (Optional): For removing loose or flaking caulk (use with caution!). If you’re dealing with damaged caulk, you might need to consider recaulking.
FAQ: Your Caulk Cleaning Questions Answered
Q: Can I use vinegar to clean caulk?
A: Yes, vinegar is a natural alternative to bleach. Mix equal parts vinegar and water, apply to the caulk, let sit for 10-15 minutes, scrub, and rinse. It’s effective for mild mildew but may not be strong enough for heavy mold.
Q: Will bleach damage my caulk?
A: Prolonged exposure to bleach can degrade some types of caulk. Use a diluted solution and rinse thoroughly to minimize damage. Always test in an inconspicuous area first.
Q: How often should I clean the caulk around my windows?
A: Ideally, clean your window caulk monthly with a soap and water solution. Address any mold or mildew as soon as you notice it.
Q: What if the caulk is cracked or damaged?
A: If the caulk is cracked or damaged, cleaning may not be enough. You may need to remove the old caulk and apply new caulk. You can find helpful guides on how to do this online. For example, you might find information on how to clean floors after a messy project like this at https://beacleaner.com/how-to-clean-hardwood-floors-with-vinegar/.
Conclusion: Sparkling Windows are Within Reach!
Cleaning the caulk around your windows is a simple yet impactful home maintenance task. By following the steps outlined in this guide, you can effectively remove dirt, grime, mold, and mildew, restoring your windows to their former glory. Remember to prioritize regular cleaning, use appropriate cleaning solutions, and take preventative measures to keep your caulk looking its best. Don’t underestimate the power of a little elbow grease and the right tools!
Maintaining clean caulk not only enhances the appearance of your home but also protects it from water damage and potential mold growth. So, grab your supplies, put on your gloves, and get ready to enjoy a brighter, cleaner view. If you’re looking for more ways to keep your home sparkling, explore our other cleaning guides at Beacleaner.com! And if you’re tackling other cleaning projects, remember to always prioritize safety and choose the right cleaning solutions for the job.