· Sustainable Living · 14 min read
How To Clean Cooking Grease To Reuse
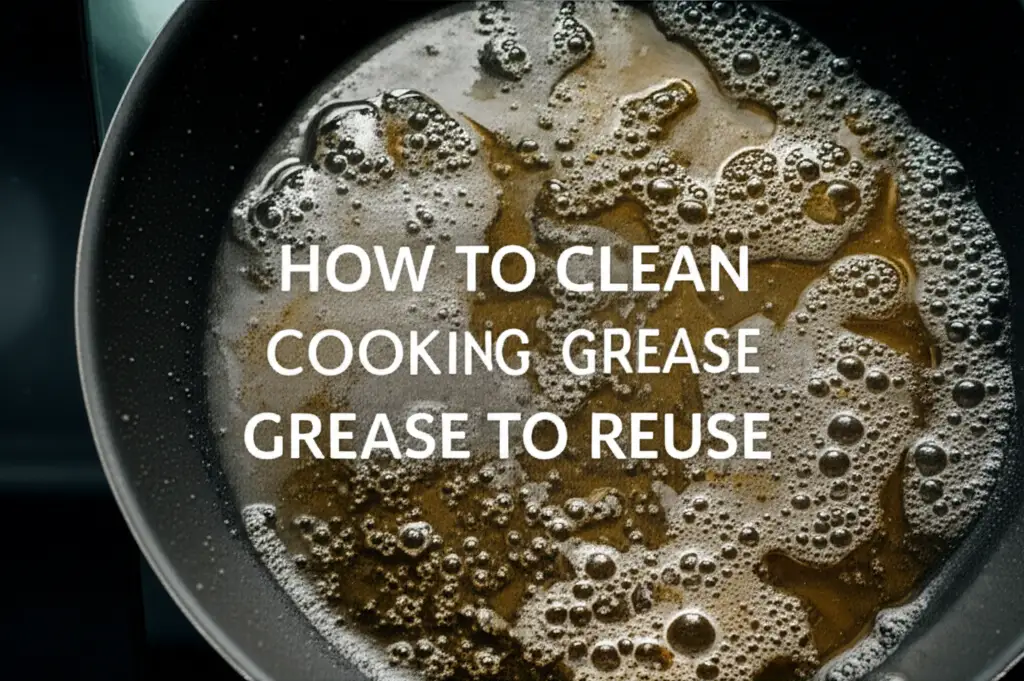
How To Clean Cooking Grease To Reuse
Do you often wonder what to do with leftover cooking grease? Tossing it out feels wasteful. Plus, improper disposal harms drains. Many people seek ways to reduce kitchen waste. What if you could give your used cooking oil a second life? Knowing how to clean cooking grease to reuse can save you money. It also promotes sustainable habits in your kitchen. This article will show you simple, effective methods. We will explore everything from basic straining to advanced clarification. Let’s transform your kitchen habits.
Takeaway
- Cool grease completely before handling.
- Strain grease through fine filters to remove food particles.
- Use advanced methods like water clarification for better purity.
- Store cleaned grease properly to prevent spoilage.
- Reuse grease only when it looks clean and smells fresh.
To clean cooking grease for reuse, first let it cool completely. Strain it through a fine-mesh sieve lined with cheesecloth or a coffee filter to remove food particles. For extra purity, consider water clarification. Store the filtered grease in an airtight container in a cool, dark place or refrigerator to prolong its shelf life.
The Benefits and Science of Reusing Cooking Grease
Reusing cooking grease offers several advantages. First, it reduces waste. We throw away less oil, which is good for the environment. Second, it saves money. You do not need to buy new oil as often. This makes your grocery budget stretch further. Third, it can add flavor. Grease from bacon or fried chicken adds depth to new dishes.
The science behind reusing grease involves understanding its properties. Cooking changes oil at a molecular level. High heat breaks down fats. This creates free fatty acids and other compounds. These compounds can cause off-flavors or make oil go rancid faster. The goal of cleaning grease is to remove impurities. Impurities include food particles and water. These elements accelerate spoilage. Filtration removes physical debris. Clarification methods address dissolved impurities or water. You want to extend the oil’s useful life. You also want to maintain its cooking quality. Careful handling is key to safe reuse.
Oil also absorbs flavors. If you fry fish, the oil will taste like fish. If you fry bacon, the oil will taste like bacon. This makes the oil useful for specific new dishes. Do not mix flavors you dislike. For example, do not use fish oil for pancakes. The cleaning process helps maintain flavor integrity. It also prevents cross-contamination of flavors. Your reused oil can become a flavorful ingredient. It can enhance many meals. This practice makes your kitchen more efficient. It also helps you cook creatively.
Essential Tools for Effective Grease Filtration
Having the right tools makes cleaning grease simple. You need a safe container for hot grease. A heat-proof bowl or a metal pot works well. Glass jars can break if the grease is too hot. Always let the grease cool first. Then, you need a way to filter the grease.
A fine-mesh sieve is your first line of defense. It catches large food bits. For smaller particles, you will need a finer filter. Options include cheesecloth, coffee filters, or paper towels. Cheesecloth is reusable, but you might need several layers. Coffee filters are single-use but very effective. Some people even use specialized grease strainers with built-in fine mesh. I find that a combination works best. I use a sieve first. Then, I filter through coffee filters. This two-step process gets the grease very clean.
You also need an airtight storage container. Glass jars with tight-fitting lids are ideal. Mason jars work great for this. You want to keep air out. Air causes oxidation. Oxidation makes oil go bad. Label your containers. Note the date and the type of grease. This helps you track its freshness. Proper tools ensure a clean, safe product. They also make the process less messy. Cleaning up after handling grease is important. Knowing how to clean grease off stainless steel can be helpful if you make a mess on your countertops.
Step-by-Step: The Basic Method to Clean Cooking Grease
Cleaning grease is a straightforward process. Follow these steps for best results. First, let the used grease cool down completely. This is very important for safety. Hot grease can cause severe burns. It can also melt plastic or crack glass containers. Wait until the grease is cool to the touch. This might take several hours. Some people even let it cool overnight.
Next, prepare your straining setup. Place a fine-mesh sieve over a heat-proof bowl or jar. Line the sieve with several layers of cheesecloth, a coffee filter, or a paper towel. The more layers, the finer the filtration. A single coffee filter usually works well. I often use a metal strainer with a coffee filter inside.
Carefully pour the cooled grease through the filter. Pour slowly to avoid overflow. The filter will catch all the solid food particles. These solids are what cause oil to spoil quickly. Let the grease drip naturally. Do not squeeze the filter. Squeezing can push small particles through. It can also tear the filter. Once all the grease has passed through, discard the solids. Now you have a cleaner batch of cooking grease. This basic method removes most impurities. It is the foundation for all grease reuse.
Advanced Techniques for Purifying Used Cooking Oil
Sometimes, simple straining is not enough. For truly purified oil, consider advanced methods. These techniques help remove even finer impurities. They also address odors and some dissolved compounds.
Water Clarification Method
The water clarification method is popular for rendering animal fats. It also works for vegetable oils. First, let your grease cool and strain it as usual. Then, pour the strained grease into a pot. Add an equal amount of water. For example, if you have two cups of grease, add two cups of water. Gently heat the mixture over low heat. Simmer for about 10-15 minutes. Stir occasionally. Do not boil vigorously. This process allows impurities to dissolve into the water. Water also helps lift off some odors.
After simmering, turn off the heat. Let the mixture cool completely. As it cools, the fat will solidify on top. The water, now holding the impurities, will settle below. Once fully solid, lift the disk of hardened fat out of the pot. Scrape off any dark bits or sediment clinging to the bottom of the fat disk. You will see a layer of murky water below. Discard this water. This method yields a very clean, often odor-free, block of fat. It is excellent for rendering bacon grease. This process is great if you have baked-on grease from pans that you want to prevent from forming by keeping your grease clean.
Salt Method
The salt method helps remove bitter flavors and some impurities. This technique is often used with bacon grease. After straining your cooled grease, put it back in a pot. Add a tablespoon or two of salt for every cup of grease. Gently heat the mixture over low heat. Stir until the salt dissolves. The salt helps absorb some off-flavors. It can also bind with certain impurities.
After dissolving, remove the pot from heat. Let the grease cool completely and solidify. The salt and impurities will settle at the bottom. Once solid, lift the grease disk out. Scrape off the bottom layer containing the salt and impurities. Discard the sediment. This method works well for bacon fat destined for savory dishes. It ensures your reused grease is fresh. It enhances the flavor of future meals.
Proper Storage for Reused Cooking Grease
Once you clean cooking grease, proper storage is vital. This step prevents spoilage. It also ensures the grease remains safe for reuse. Air, light, and heat are the enemies of stored fats. They cause oxidation, leading to rancidity. Rancid grease has an unpleasant smell and taste. It can also be harmful to consume.
Your best option for storage is an airtight container. Glass jars with tight-fitting lids are excellent. Mason jars are a popular choice. They seal well. They also do not absorb odors like some plastics. Metal containers can also work. Ensure they are clean and dry. Avoid plastic containers if possible, especially for warm grease. Plastic can leach chemicals. It can also retain odors. Always make sure the grease is completely cool before sealing it in any container.
Store your cleaned grease in a cool, dark place. The refrigerator is the ideal spot for most reused cooking fats. In the fridge, it will solidify. This greatly slows down oxidation. You can also store it in the freezer for very long-term storage. If you plan to use it frequently, a cool pantry or cabinet works. Ensure it is away from heat sources like stoves or ovens. Label your container with the date. Add the type of grease too. For example, “Bacon Grease - 07/09/2025.” This helps you keep track. Most properly stored, cleaned grease lasts for several weeks in the fridge. It can last months in the freezer. Always check for signs of spoilage before reuse.
When Not to Reuse Cooking Grease
Knowing how to clean cooking grease to reuse is great. But it is equally important to know when not to reuse it. Not all cooking grease is suitable for a second life. Certain conditions make grease unsafe or unpleasant.
First, consider the type of food cooked in the grease. If you fried breaded items, the grease likely contains many small crumbs. These crumbs burn easily. They can also introduce bacteria. Deep-frying foods with strong flavors, like fish, also changes the grease. That fishy flavor will transfer to anything else you cook in it. This might not be desirable. Highly seasoned or sugary foods also degrade oil faster. These impurities are hard to remove completely. You also want to be careful if you are dealing with a pan that has burnt grease from the bottom of frying pans. The oil that caused the burnt grease is likely not good for reuse.
Second, watch for signs of spoilage.
- Smell: This is your primary indicator. Fresh grease has a neutral or pleasant aroma. Rancid grease smells sour, metallic, or like old crayons. Trust your nose. If it smells off, it is off.
- Color: The grease should look relatively clear. It may have a slight tint from what was cooked in it. If it is cloudy, very dark, or has black specks, it is time to discard it.
- Texture: If the grease has a slimy or unusually sticky texture when solid, discard it.
- Foaming: Excessive foaming during reheating suggests spoilage.
Third, avoid reusing oil that has been heated many times. Each time oil is heated, its chemical structure changes. It breaks down further. Its smoke point lowers. It becomes less stable. A good rule of thumb is to reuse oil only a few times. Two to three uses are often safe for most cooking. If you frequently clean oil out of your oven, it’s a good sign that your oil is breaking down and splattering, which indicates it’s likely time to discard it rather than reuse it.
Finally, never reuse grease that contained raw meat juices. This poses a serious food safety risk. Raw meat juices can contain harmful bacteria. Cleaning processes may not eliminate all of them. It is always better to be safe than sorry. When in doubt, throw it out.
Creative Uses for Reclaimed Grease Beyond Cooking
Cleaning cooking grease for reuse does not always mean putting it back in the frying pan. Reclaimed grease has several non-food uses. These uses further reduce waste. They also highlight the versatility of this kitchen byproduct.
One popular use is for making bird feeders. Solidified animal fat, especially suet or bacon grease, is a great energy source for birds. You can mix it with birdseed, nuts, and dried fruit. Press the mixture into a mold. Once firm, hang it outdoors. Birds will flock to it, especially in colder months. This is a simple, eco-friendly way to support local wildlife.
Another practical use is as a fire starter. Dried grease-soaked cotton balls or paper towel bits ignite easily. They burn slowly and intensely. This makes them excellent for starting campfires or charcoal grills. Store these fire starters in a sealed container away from open flames. They are a good alternative to chemical fire starters.
Reused grease can also be a simple lubricant. A small amount can silence a squeaky door hinge. It can also lubricate rusty tools. It is not as refined as commercial lubricants. But it works in a pinch for non-critical applications. Be careful when using it indoors, as it can be messy. It might attract pests if not wiped clean. You can even combine it with beeswax to make a simple, natural wood polish for unsealed wood. For heavier cleaning jobs around the house, you might look into how to clean with vinegar and baking soda.
Some people even explore making homemade soap. Saponification is the chemical reaction that turns fat into soap. This is a more involved process. It requires lye, which is caustic. This use needs careful handling and safety precautions. For experienced DIY enthusiasts, it is a way to create a useful product from waste. Always research and follow strict safety guidelines if attempting soap making. These alternative uses ensure no drop of grease goes to waste. They contribute to a more sustainable lifestyle.
Troubleshooting Common Grease Cleaning Issues
Even with the best intentions, you might face issues when cleaning grease. Knowing how to troubleshoot helps ensure success.
Issue 1: Grease is still cloudy after filtering.
- Reason: This often means very fine particles or water are still present.
- Solution: Filter again. Use a finer filter. A new, unused coffee filter is very effective. For stubborn cloudiness, try the water clarification method. This method helps separate water and tiny impurities.
Issue 2: Grease smells off or rancid after storage.
- Reason: Improper storage, exposure to air/light/heat, or too many reuses.
- Solution: Discard the grease. It is not safe to use. Next time, store in an airtight container. Keep it in the refrigerator or freezer. Limit the number of times you reuse the oil. Always trust your nose.
Issue 3: Grease solidifies with dark sediment at the bottom.
- Reason: Incomplete initial straining. Food particles settled to the bottom during cooling.
- Solution: This is normal if you did not strain perfectly. You can carefully melt the grease again. Then, re-strain it through a very fine filter. You can also just scrape off the sediment layer when the grease is solid. Discard the dark sediment.
Issue 4: Grease tastes burnt or has a strong flavor from previous cooking.
- Reason: Oil absorbed flavors. Or it broke down due to high heat or too many uses.
- Solution: If the taste is too strong, it is best to discard the grease for cooking purposes. You might use it for non-food applications. Prevent this by using specific oils for specific foods. Do not mix flavors you do not want to combine.
Issue 5: Filter clogs quickly or tears.
- Reason: Pouring grease that is too hot. Too many large particles in the grease. Filter is too thin or weak.
- Solution: Always let grease cool completely before filtering. Use a preliminary coarser filter (like a wide-mesh sieve) first. This removes large chunks. Then, use a finer filter. Use multiple layers of cheesecloth or a sturdy coffee filter. Pour slowly.
Troubleshooting these issues helps you refine your cleaning process. It leads to better quality reused grease. This makes your efforts more rewarding.
Conclusion
Learning how to clean cooking grease to reuse is a valuable skill. It transforms a kitchen byproduct into a useful resource. This practice supports a more sustainable home. It saves you money on groceries. You reduce waste, which benefits the environment. Remember, the key steps are simple: cool, strain, and store properly.
By following these methods, you extend the life of your cooking oils. You ensure they remain safe and flavorful. Whether you choose basic filtration or advanced clarification, the payoff is clear. Your kitchen becomes more efficient. You develop eco-friendly habits. Always remember to check for signs of spoilage. Discard oil if it smells or looks off. Embrace the art of mindful cooking. Give your cooking grease a second life. Start cleaning and reusing today. You will appreciate the benefits.
- grease reuse
- cooking oil filtration
- sustainable kitchen
- kitchen hacks
- eco-friendly cooking
- oil purification

