· Home & Garden · 15 min read
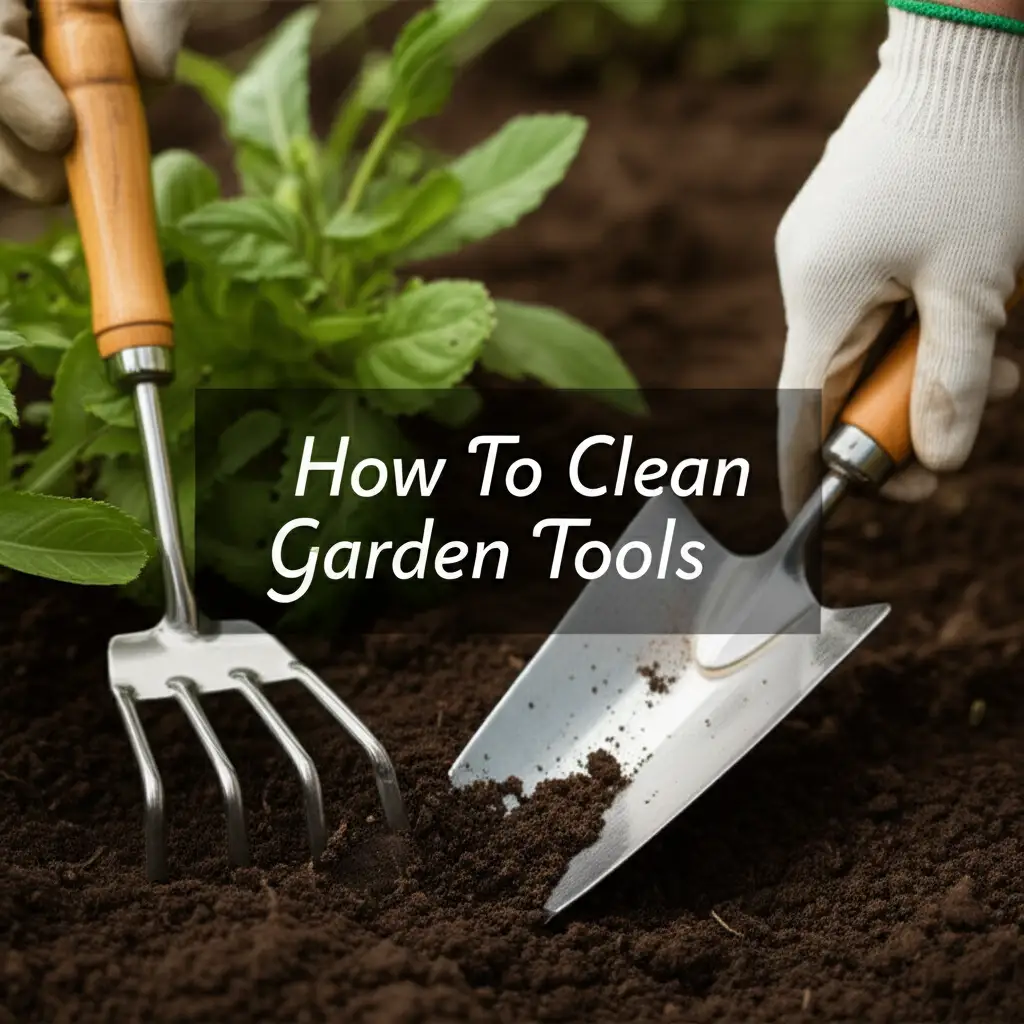
How To Clean Garden Tools
Clean Garden Tools: Essential Steps for Longevity
My garden is my sanctuary, but even the best tools need care. Do you ever wonder how to clean garden tools properly? Dirty tools can spread plant diseases. They also become less effective over time. Keeping your garden tools clean ensures they last longer. Clean tools also perform better when you need them. This article shares clear steps to clean, sharpen, and store your garden tools. You will learn about basic cleaning, rust removal, and disinfection. We will cover everything from hand pruners to shovels. Proper tool care makes gardening easier and more enjoyable. Let us make sure your gardening efforts are always fruitful.
Takeaway:
- Regular cleaning prevents rust and extends tool life.
- Disinfecting tools stops the spread of plant diseases.
- Sharpening blades improves cutting efficiency.
- Proper storage protects tools from elements.
- Simple care saves money and effort in the long run.
Clear Answer:
To clean garden tools, first remove loose dirt and debris. Then, scrub away stubborn grime with soap and water or a wire brush. Treat any rust spots. Disinfect the tools to prevent disease spread. Finally, sharpen the blades and oil moving parts before storing them properly in a dry place.
Why Clean Garden Tools? Benefits for Every Gardener
Cleaning your garden tools might seem like an extra chore. However, it offers many important benefits. I learned quickly that clean tools are happy tools. First, regular cleaning significantly extends the life of your gardening equipment. Dirt and moisture cause rust. Rust weakens tool parts and makes them brittle. A rusty shovel can break during use. A well-maintained tool lasts for many years. This saves you money in the long run.
Second, clean tools perform much better. Sharp, clean blades make precise cuts. This promotes healthier plant growth. Dull or dirty pruners can tear plant stems. Torn stems are more vulnerable to disease. When I use my freshly cleaned bypass pruners, I notice the difference immediately. The cuts are clean and quick. This makes my gardening tasks much easier.
Third, and very important, cleaning prevents the spread of plant diseases. Soil and plant debris can harbor fungi, bacteria, and viruses. If you prune a diseased plant with dirty shears, you can transfer pathogens to healthy plants. This can lead to widespread plant loss. Disinfecting your tools after each use, especially between plants, protects your whole garden. This is a simple step, but it provides huge protection for your plants. It gives me peace of mind knowing my plants are safe.
Finally, clean tools are safer to use. Rust and grime can make tools stick. They can also make them harder to handle. This increases the risk of accidents. A smooth, clean tool operates as intended. It provides better control during your gardening tasks. I feel much safer working with tools I know are clean and well-maintained. Always prioritize your safety and the health of your garden. Keeping tools clean is a small effort for big rewards.
Gathering Your Supplies: What You Need to Clean Garden Tools
Before you start the cleaning process, it helps to gather all your materials. Having everything ready makes the job much quicker. You do not want to stop mid-task looking for something. I always lay out my supplies before I begin. This prepares me for a smooth cleaning session. First, you will need a stiff brush or an old toothbrush. These are great for scrubbing away dirt and dried mud from tool surfaces. A wire brush is also good for tougher grime.
Next, prepare a bucket of warm, soapy water. Dish soap works fine for general cleaning. You will also need some clean rags or old towels for drying. Rust is a common problem for metal tools. For rust removal, I recommend steel wool or sandpaper (medium to fine grit). A sharpening stone or a file is essential for blades. This ensures they remain sharp and effective. You might also need some mineral oil or specialized tool oil. This protects metal surfaces after cleaning.
For disinfection, rubbing alcohol (70% isopropyl alcohol) or a diluted bleach solution works well. Bleach can be corrosive, so use it carefully. A ratio of one part bleach to nine parts parts water is usually sufficient. Remember to rinse tools thoroughly after using bleach. Wear gloves to protect your hands from harsh chemicals and dirt. Safety glasses are also a good idea when sharpening tools.
Sometimes, tools might have stubborn sap or sticky residues. For these, a product like mineral spirits or a specialized resin cleaner can be helpful. This is especially true for pruning shears. If you work with evergreens, resin buildup can be a challenge. You may find helpful insights on cleaning difficult residues by looking at how to clean resin off tools, which can often be applied to sap. Having the right cleaning kit makes all the difference. It ensures every part of your tool gets the attention it needs.
Step-by-Step: Deep Cleaning Your Garden Hand Tools
Cleaning your garden hand tools, like pruners, trowels, and cultivators, is straightforward. It is a process I do regularly to keep them in top condition. Start by removing all loose dirt. Use a stiff brush or a putty knife to scrape off any caked-on mud or plant debris. Pay close attention to hinges and joints where dirt often collects. You can knock tools together lightly to dislodge stubborn clumps. Make sure you get rid of as much dry matter as possible.
Next, it is time for a good wash. Fill a bucket with warm, soapy water. Submerge the metal parts of your tools. Let them soak for a few minutes. This softens any remaining grime. Then, use a stiff brush or sponge to scrub the surfaces thoroughly. For very stubborn dirt or sap, a wire brush can be effective. I find an old toothbrush works perfectly for getting into small crevices. Rinse the tools completely under running water. Ensure all soap residue is gone.
Drying your tools is a critical step to prevent rust. Do not let them air dry. Use a clean, dry rag to wipe every surface immediately. Pay extra attention to joints and nooks. Any lingering moisture will lead to rust formation. For my pruners, I open and close them a few times while drying to ensure the hinge is completely dry. If you have sticky sap, especially on your pruning shears, you might need extra effort. I once had a tough time with sap, and learning how to clean resin off tools gave me some great ideas for handling it more effectively.
Once dry, apply a light coat of mineral oil or tool oil to all metal parts. This creates a protective barrier against moisture. It also lubricates moving parts. For pruners, place a drop of oil on the pivot joint. Open and close the pruners several times to distribute the oil. This step is crucial for preventing rust and keeping tools moving smoothly. It feels good to see my tools shine after this process.
Restoring Metal Garden Tools: Tackling Rust and Grime
Rust is the enemy of metal garden tools. It degrades the metal and makes tools less effective. But do not worry, rusty tools are often salvageable. I have brought many old, neglected tools back to life. Start by scraping off any large flakes of rust with a wire brush or steel wool. This removes the loose layers. For tools that have seen better days, looking into how to clean old tools can provide a broader perspective on renovation. This initial step helps expose the more stubborn rust underneath.
For lighter rust, a simple scrub with a scouring pad and soapy water might be enough. For more persistent rust, you will need a stronger approach. One effective method uses white vinegar. Vinegar is mildly acidic and dissolves rust. Submerge the rusty parts of your tools in a bucket of undiluted white vinegar. Leave them to soak overnight, or for several hours for very heavy rust. Make sure the rusty parts are fully covered.
After soaking, remove the tools from the vinegar. Use a wire brush, steel wool, or sandpaper to scrub away the softened rust. The rust should come off much more easily now. For fine details or tight spots, an old toothbrush can be useful. I often find this step quite satisfying, watching the rust disappear. Remember that vinegar can be used for many cleaning tasks. You might find more general cleaning insights by exploring how to clean mold with vinegar, as it shares similar principles of using acidity for breakdown.
Once the rust is removed, rinse the tools thoroughly with clean water. It is very important to neutralize the acid from the vinegar. Any lingering vinegar can cause new rust. Dry the tools immediately and completely with a clean rag. As soon as they are dry, apply a protective layer of mineral oil. This prevents new rust from forming. This step is essential. It protects all your hard work. Regular cleaning prevents rust from becoming a major issue in the first place.
Disinfecting Garden Tools: Protecting Your Plants
Disinfecting garden tools is a crucial step that many gardeners overlook. It is not just about cleanliness; it is about plant health. I make sure to disinfect my tools regularly, especially after pruning diseased plants. Plant pathogens, like fungi, bacteria, and viruses, can easily spread from one plant to another on your tool blades. If you cut into a diseased branch, then immediately prune a healthy one, you risk infecting the healthy plant. This simple act can save your entire garden from widespread disease.
There are a few effective ways to disinfect your tools. One common method uses rubbing alcohol, specifically 70% isopropyl alcohol. It is easy to find and evaporates quickly. Simply wipe down the blades and cutting surfaces with a cloth soaked in rubbing alcohol. Ensure good contact for at least 30 seconds. This method is effective for most common pathogens. I keep a spray bottle of rubbing alcohol handy in my gardening shed for quick disinfection between cuts.
Another option is a diluted bleach solution. Mix one part household bleach with nine parts water. For example, use one cup of bleach per nine cups of water. Soak the metal parts of your tools in this solution for a few minutes. Bleach is very effective at killing pathogens. However, it is corrosive. After using bleach, always rinse your tools thoroughly with clean water. Then, dry them completely to prevent rust. Wear gloves when handling bleach solution to protect your skin. I personally prefer alcohol for its ease of use and less corrosive nature.
Heat can also disinfect tools. You can dip tool blades in boiling water for a few minutes. Alternatively, you can pass them through an open flame, like a propane torch, for a few seconds. Be careful with this method, as excessive heat can temper the metal, making it brittle. Always follow safety precautions. Whichever method you choose, consistency is key. Disinfecting your tools before and after each major pruning session, or when moving between different plants, provides the best protection for your precious plants.
Sharpening and Oiling: Final Touches for Peak Performance
After cleaning and disinfecting, the final steps are sharpening and oiling. These tasks ensure your garden tools perform at their best. Sharp blades make clean cuts. This promotes healthier plant growth. Dull blades tear and crush plant tissue. This leaves plants vulnerable to disease. I always make sure my pruners and loppers are razor-sharp. Sharpening is essential for all cutting tools, from pruning shears to hoes.
For most cutting tools, like pruners, loppers, and knives, you will need a sharpening stone or a file. Hold the tool securely. Follow the existing bevel angle of the blade. Push the sharpening stone along the cutting edge in one direction, maintaining the angle. Repeat several times until the blade is sharp. You can test sharpness on a piece of paper or by gently touching the edge (be careful!). For tools like shovels or hoes, a metal file works well. File in one direction, away from your body, to create a sharp edge.
Once your tools are sharpened, it is time to oil them. Oiling serves two main purposes: lubrication and rust prevention. Moving parts, like the pivot on pruners or loppers, need lubrication. This ensures smooth operation. Apply a few drops of mineral oil or a specialized tool oil to the pivot point. Open and close the tool several times to work the oil into the joint. You will feel the difference immediately. The tool moves more freely.
Next, apply a light coat of oil to all metal surfaces. This creates a protective barrier against moisture. Moisture is the primary cause of rust. I use an oil-soaked rag to wipe down blades, handles, and any other metal parts. This simple step prevents rust from forming. It also adds a nice sheen to the tool. Sharpening and oiling are small investments of time. They yield big returns in tool longevity and performance. Your plants will also thank you for clean, sharp cuts.
Storing Your Clean Garden Tools for Long-Term Care
Proper storage is the final, crucial step in garden tool maintenance. You have put in the effort to clean, sharpen, and oil your tools. Now, you must protect them from the elements. Incorrect storage can quickly undo all your hard work. I learned this the hard way, leaving a shovel out in the rain once. It rusted in just a few days. Always store your tools in a dry, protected environment.
A garden shed, garage, or even a tool cabinet works well. The goal is to keep tools away from moisture. Moisture is the biggest enemy of metal tools. It leads to rust and corrosion. Hang tools whenever possible. Hanging them prevents contact with damp floors. It also keeps them organized and easy to find. Wall-mounted racks or pegboards are excellent for this purpose. I have a dedicated spot for each tool on my pegboard.
Consider using tool organizers. These can be simple racks for long-handled tools or drawers for smaller hand tools. Keeping tools separate prevents them from rubbing against each other. This can prevent damage to sharp edges or finishes. For very valuable or delicate tools, you might even consider individual covers or sheaths. These provide an extra layer of protection.
Before storing, double-check that every tool is completely dry and oiled. Even a small amount of moisture can cause rust over time. For wooden handles, you might also consider applying a coat of linseed oil periodically. This nourishes the wood and prevents it from drying out or cracking. Regularly checking your stored tools is also a good habit. A quick wipe-down or re-oiling might be needed if they will be stored for a very long time, like over winter. Good storage ensures your tools are ready for action whenever you need them.
FAQ Section
How often should I clean my garden tools?
Clean your garden tools after each use, especially if they have caked-on dirt or sap. A quick wipe-down is often enough. Deep cleaning and sharpening should happen at least once per growing season, or more frequently if you use them heavily or for diseased plants. Regular small efforts prevent major cleaning tasks later.
Can I use bleach to clean garden tools?
Yes, you can use bleach to disinfect garden tools. Mix one part bleach with nine parts water. Soak tools briefly. Be aware that bleach is corrosive. Always rinse tools thoroughly with clean water immediately after using bleach. Dry them completely and apply oil to prevent rust.
What causes rust on garden tools?
Rust forms when metal, typically iron or steel, is exposed to moisture and oxygen. Water, humidity, and damp soil are common culprits. Leaving tools outdoors or storing them in a damp place without proper drying and oiling will quickly lead to rust formation. It’s a chemical reaction that degrades the metal.
How do I sharpen my pruning shears?
Use a sharpening stone or a diamond file. Identify the beveled edge of the blade. Hold the tool firmly and push the stone or file along the bevel, maintaining the original angle. Repeat until the blade feels sharp. Sharpen only the beveled side, then remove any burr on the flat side by stroking lightly.
What kind of oil should I use for garden tools?
Mineral oil is an excellent choice for lubricating and protecting garden tools. You can also use specialized tool oils. These oils create a protective barrier against moisture. They also ensure moving parts, like hinges, operate smoothly. Linseed oil is good for wooden handles to prevent drying and cracking.
Is it okay to use my garden tools if they are rusty?
Using rusty garden tools is not ideal. Rust makes tools less effective because it creates friction and dulls edges. Rusty tools can also damage plants by creating jagged cuts. More importantly, rust weakens the tool’s structure, making it prone to breaking during use. It’s always best to clean and remove rust before use.
Conclusion
Keeping your garden tools clean is more than just a chore. It is a vital part of good gardening practice. You have learned how to clean garden tools effectively. Regular cleaning makes your tools last longer. It also ensures they perform their best. Remember to clean off dirt, remove stubborn rust, and always disinfect your tools. This prevents the spread of diseases. Sharpening blades and oiling moving parts keeps everything working smoothly.
Proper storage in a dry place protects your investment. By following these steps, you extend the life of your tools. You also protect your plants from harm. A well-maintained set of tools makes every gardening task a joy. Take pride in your equipment. It truly enhances your gardening experience. So, grab your cleaning supplies. Give your trusty garden tools the care they deserve. Happy gardening!
- garden tool maintenance
- tool cleaning tips
- rust removal
- garden tool care
- garden equipment cleaning