· Home Cleaning · 15 min read
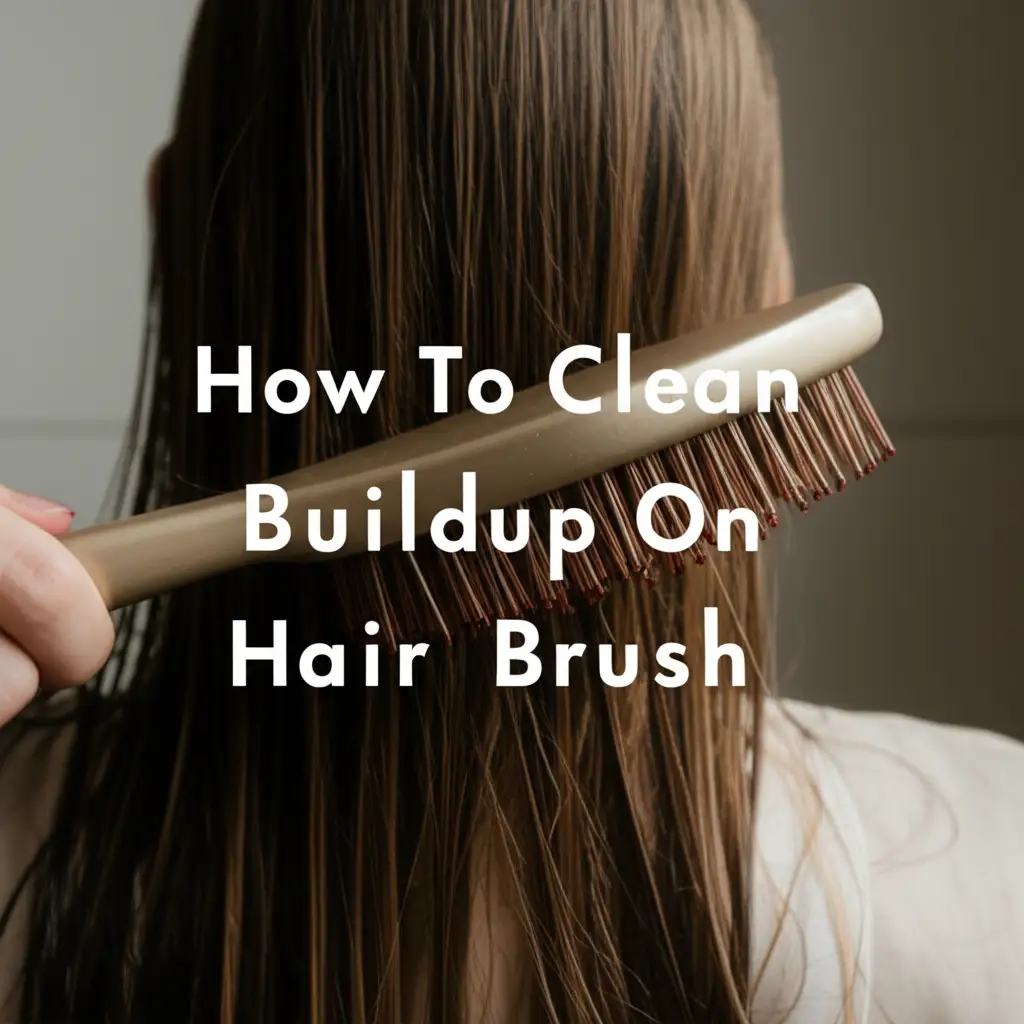
How To Clean Hair Brushes With Hydrogen Peroxide

Unlock a Fresh Brush: How To Clean Hair Brushes With Hydrogen Peroxide
Have you ever looked at your hair brush and wondered what exactly is clinging to its bristles? It is more than just stray hairs. Hair brushes collect a mix of dead skin cells, natural hair oils, dust, product residue, and even bacteria. Using a dirty brush can transfer all these unwanted elements back to your clean hair. This defeats the purpose of washing your hair. A truly clean brush is vital for healthy hair and a hygienic beauty routine. This guide shows you how to clean hair brushes with hydrogen peroxide. Hydrogen peroxide offers a powerful, yet simple, way to sanitize your brushes. We will cover why cleaning matters, how hydrogen peroxide works, a step-by-step cleaning process, safety tips, and care for different brush types. Get ready to give your hair brushes the deep clean they deserve.
Takeaway
- Regularly clean hair brushes to remove dirt, oils, and bacteria.
- Hydrogen peroxide effectively sanitizes brushes for better hygiene.
- Always remove hair and pre-clean brushes before peroxide treatment.
- Rinse brushes well and dry completely to prevent damage or mildew.
- Use hydrogen peroxide safely, wearing gloves and ensuring good ventilation.
To clean hair brushes with hydrogen peroxide, first remove all hair. Then, wash the brush with soap and water. Submerge non-wood brushes in a solution of 3% hydrogen peroxide and water for 20-30 minutes. Scrub, rinse thoroughly, and air dry completely. This process sanitizes your brushes effectively.
Why Your Hair Brush Needs a Deep Clean
Your hair brush works hard every day. It untangles strands, distributes natural oils, and styles your hair. Over time, brushes accumulate a surprising amount of grime. This grime includes shed hair, product buildup, dust, and sebum from your scalp. These things stick to the bristles and the brush base.
A dirty brush is not just unpleasant to look at. It also harbors bacteria and yeast. When you brush your hair, these unwanted guests transfer back to your clean scalp and strands. This can lead to various problems. Your hair might look greasy faster. You might experience scalp irritation or even breakouts. Using a brush full of old product can make your hair feel heavy. It can also prevent your styling products from working well. Regular deep cleaning stops this cycle. It ensures your brush performs its best. A clean brush makes your hair look and feel better. It also promotes overall scalp health.
Understanding Hydrogen Peroxide for Cleaning
Hydrogen peroxide is a common household chemical. It is known for its disinfecting properties. You often find it in first-aid kits. It treats cuts and scrapes. But its power extends beyond minor injuries. It serves as a great cleaner and sanitizer. The most common strength for home use is 3% hydrogen peroxide. This concentration is effective yet safe for many surfaces.
When hydrogen peroxide comes into contact with organic matter, it releases oxygen bubbles. This process is called oxidation. These bubbles help to lift dirt and break down grime. More importantly, this oxidation kills bacteria, viruses, and fungi. It disinfects surfaces. This makes it an excellent choice for sanitizing items like hair brushes. It helps remove germs that standard soap and water might miss. It is also a safer alternative to harsher chemicals for many cleaning tasks. You might use it to clean white shoes with hydrogen peroxide, or for general household disinfection. It offers a powerful clean.
Preparing Your Hair Brushes for Peroxide Treatment
Before you begin to clean hair brushes with hydrogen peroxide, proper preparation is key. This step removes the largest amount of debris. It makes the peroxide treatment more effective. Start by removing all visible hair from the brush. You can use a comb, scissors, or your fingers for this task. A fine-tooth comb works well to pull out tangled hairs from the bristles. Be thorough. Even small strands can hinder the cleaning process.
Next, wash the brush with warm, soapy water. Use a gentle shampoo or dish soap. Scrub the bristles and the base of the brush. You can use an old toothbrush or a small cleaning brush for this. Pay attention to the areas where bristles meet the brush head. This area often collects a lot of buildup. This pre-cleaning removes loose dirt, oils, and product residue. It prepares the brush for the deeper sanitizing action of hydrogen peroxide. Think of it as clearing the way. If you have ever had to clean hair out of a bathroom sink drain, you know how much hair can accumulate. Getting it out of the brush first is crucial.
Step-by-Step Guide: Cleaning Hair Brushes with Hydrogen Peroxide
Now, let’s get into the main process. This guide focuses on brushes that can withstand being submerged in liquid. Always check your brush type before proceeding. Wood-handled brushes need special care. We will cover those separately. For most plastic, metal, or ceramic brushes, this method works well.
Here are the steps to clean hair brushes with hydrogen peroxide:
- Gather Your Supplies: You will need 3% hydrogen peroxide, warm water, a large bowl or basin, and gloves. You may also want an old toothbrush or cleaning brush.
- Prepare the Solution: Pour one part 3% hydrogen peroxide into your bowl. Then add two parts warm water. For example, if you use 1 cup of peroxide, add 2 cups of water. This dilutes the peroxide. It makes it safe for most brush materials.
- Submerge the Brushes: Carefully place your pre-cleaned brushes into the hydrogen peroxide solution. Make sure the bristles are fully submerged. Avoid submerging wooden handles. If your brush has a wooden handle, only dip the bristle part into the solution. Hold it so the wood does not get wet.
- Soak Time: Allow the brushes to soak for 20 to 30 minutes. During this time, the hydrogen peroxide works to break down lingering grime. It also kills bacteria and fungi. You might see small bubbles forming. This shows the peroxide is working.
- Scrub if Needed: After soaking, remove the brushes. Use your old toothbrush or cleaning brush to gently scrub the bristles and base. This helps loosen any stubborn residue. The peroxide will have softened it.
- Rinse Thoroughly: This step is crucial. Rinse each brush under cool, running water. Make sure to rinse until no peroxide smell remains. You want to remove all traces of the cleaning solution. We will discuss this more in the next section.
- Dry Completely: Shake off excess water. Place the brushes bristle-down on a clean towel. Allow them to air dry completely. This can take several hours, or even overnight. Proper drying prevents mildew growth. Do not use heat to dry brushes, as it can damage bristles or the brush body.
Following these steps ensures your hair brushes are not just clean, but sanitized. This process contributes to a healthier hair care routine. You can also clean other items around your home using different common solutions, like when you clean with vinegar and baking soda.
Rinsing and Drying Your Peroxide-Cleaned Brushes
After soaking your brushes in hydrogen peroxide, the rinsing stage is critical. You must remove all traces of the cleaning solution. Residual peroxide can cause damage to your brush over time. It can also transfer to your hair or scalp. This could cause irritation. Hold each brush under cool, running water. Aim the water directly into the bristles. Swish the brush around. Use your fingers to help flush out any remaining solution. Rinse until you no longer detect the distinct peroxide smell. This might take a few minutes per brush. You want the water running off the brush to be clear and free of bubbles.
Once rinsed, the drying process is just as important. Improper drying can lead to several problems. Moisture left in the brush can encourage mold and mildew growth. This makes your brush dirty again very quickly. It can also weaken the adhesive holding bristles in place. For plastic or metal brushes, shake off as much water as possible. Then, lay them on a clean, dry towel. Position them bristle-down. This allows water to drip away from the brush head. If your brush has a cushion base, lay it bristle-down at an angle. This helps water drain from the cushion. Avoid drying brushes with direct heat. Heat from a blow dryer or direct sunlight can warp plastic. It can also damage or melt synthetic bristles. Allow brushes to air dry completely. This can take several hours, or even overnight. Make sure they are totally dry before using them again or storing them. This ensures your newly cleaned brushes stay fresh and hygienic.
Specific Brush Types: Peroxide Cleaning Considerations
Not all hair brushes are made equal. Different materials require slightly different approaches when you clean hair brushes with hydrogen peroxide. Understanding these differences helps prevent damage. It also ensures effective cleaning.
Plastic and Metal Brushes
These are the easiest types to clean with hydrogen peroxide. Most plastic and metal brushes are fully submersible. Their materials are non-porous. This means they do not absorb liquid easily. You can follow the step-by-step guide exactly. Submerge the entire brush head in the diluted peroxide solution. Make sure to rinse them thoroughly afterward. Allow them to air dry completely. Plastic bristles are generally very durable. Metal bristles are also resistant to chemical damage. These brushes can tolerate the soaking time without issues.
Natural Bristle Brushes
Natural bristles, like boar or badger hair, are more delicate. They can become dry or brittle with harsh chemicals. While hydrogen peroxide is generally mild, prolonged exposure might affect them. For natural bristle brushes, consider a shorter soak time. Limit it to 10-15 minutes. Alternatively, you can use a cloth or sponge dipped in the diluted peroxide solution. Gently wipe down the bristles and the base. Avoid saturating the bristles completely. Then, rinse thoroughly with cool water. Use a gentle touch. Ensure they air dry completely, lying flat or bristle-down.
Wooden Handles or Paddle Brushes
Brushes with wooden handles or full wooden bodies need special attention. Wood is porous. It can absorb water and peroxide. This can lead to warping, cracking, or damage to the finish. It can also cause mold if not dried properly. Never submerge wooden brushes fully in any liquid.
When cleaning a wooden brush:
- Remove all hair.
- Wipe the bristles with a cloth dampened in the diluted hydrogen peroxide solution.
- Avoid getting the wooden handle wet. You might need to hold the brush at an angle.
- If the base is wooden, wipe it carefully.
- Rinse the bristles by holding the brush under running water. Again, avoid wetting the wood.
- Immediately dry the wooden parts with a towel.
- Lay the brush bristle-down on a clean towel. This allows air circulation and protects the wood.
- Ensure it air dries completely. This might take longer than plastic brushes.
Taking these precautions helps keep your specific brush types in good condition. It also ensures they are effectively sanitized with hydrogen peroxide. For comparison, cleaning methods for other household items can also vary based on material, much like when you clean a dishwasher with vinegar and baking soda.
Safety Precautions When Using Hydrogen Peroxide
Hydrogen peroxide is a helpful cleaner, but it is still a chemical. Taking simple safety steps protects you and your belongings. Always treat it with respect. This ensures a safe cleaning experience.
- Wear Gloves: Hydrogen peroxide can dry out and irritate your skin. It can also lighten skin or hair with prolonged contact. Wearing rubber or latex gloves protects your hands. This is especially important if you have sensitive skin.
- Ensure Ventilation: Work in a well-ventilated area. Open a window or turn on a fan. While 3% hydrogen peroxide does not produce strong fumes, good airflow is always a smart choice when working with cleaning agents.
- Protect Surfaces: Hydrogen peroxide can bleach certain materials. It can also leave marks on some countertops or fabrics. Place an old towel or a protective mat under your cleaning area. This prevents accidental spills from causing damage.
- Avoid Contact with Eyes: Never let hydrogen peroxide get into your eyes. If accidental contact occurs, rinse your eyes immediately and thoroughly with water for several minutes. Seek medical attention if irritation persists.
- Store Properly: Keep hydrogen peroxide in its original dark bottle. Store it in a cool, dark place, away from direct sunlight. Light degrades peroxide. Keep it out of reach of children and pets.
- Do Not Mix with Other Cleaners: Never mix hydrogen peroxide with other cleaning products. Especially avoid mixing it with bleach. Mixing can create dangerous gases. Always use hydrogen peroxide on its own for brush cleaning.
- Test on an Inconspicuous Area: If you are unsure about how a particular brush material will react, test a small, hidden area first. This is especially true for brushes with painted designs or delicate finishes.
- Use the Correct Concentration: For cleaning hair brushes, 3% hydrogen peroxide is ideal. Higher concentrations are stronger and more dangerous for general household use. Do not use stronger solutions unless specifically instructed.
By following these safety guidelines, you can effectively clean hair brushes with hydrogen peroxide without putting yourself at risk. These precautions are standard for responsible chemical use in any cleaning task.
Maintaining Brush Hygiene: Beyond Peroxide Cleaning
Cleaning your hair brushes with hydrogen peroxide provides a deep, sanitizing clean. However, brush hygiene is an ongoing task. Regular, simpler cleaning keeps your brushes in top condition between deep treatments. This also extends the time needed between peroxide soaks.
Daily or Weekly Hair Removal: The simplest and most important step is to remove loose hair after each use, or at least once a week. This prevents hair from building up and becoming deeply embedded. You can use your fingers or a comb to quickly pull out strands. This action prevents the buildup of oils and product residue that cling to the hair. It also makes future deep cleaning much easier.
Monthly Mild Soap Wash: Even without peroxide, a monthly wash with mild soap and water is beneficial. After removing hair, gently wash the bristles and base with shampoo or dish soap. Rinse thoroughly and air dry. This removes general grime and product buildup. It keeps the brush fresh for daily use. This lighter wash complements the deeper peroxide cleaning.
Storing Your Brushes Properly: How you store your brushes matters. Avoid storing them in damp, enclosed spaces. These environments encourage mold and mildew growth. Do not leave them lying in the sink area where they might get splashed. Instead, store brushes upright in a clean container or drawer. Ensure they are completely dry before storing them away. Good air circulation is always helpful.
Knowing When to Replace Your Brush: Even with the best cleaning, brushes do not last forever. Bristles can become bent, worn, or break off. The cushion might flatten. A damaged brush can tug at your hair. It can also be less effective at styling. If your brush is severely worn, it is time to replace it. Typically, hair brushes should be replaced every 6 to 12 months, depending on use and material. Replacing old brushes ensures you are always using an effective tool. A well-maintained brush, even with regular use, will last longer. Combining these simple habits with periodic deep cleaning using hydrogen peroxide ensures your hair brushes remain clean, effective, and hygienic tools in your beauty routine.
FAQ Section
How often should I clean my hair brush?
For general hygiene, remove loose hair daily or weekly. A simple wash with soap and water is good once a month. A deep clean with hydrogen peroxide is recommended every 1-3 months. This frequency depends on how often you use styling products or if you have an oily scalp.
Can I use hydrogen peroxide on all types of brushes?
Hydrogen peroxide is generally safe for most plastic, metal, and ceramic brushes. Use caution with natural bristles and wooden handles. For these, use diluted peroxide and avoid prolonged soaking or full submersion of wood parts. Always prioritize gentler methods for delicate materials.
What strength of hydrogen peroxide should I use?
Always use 3% hydrogen peroxide, which is the common household strength. This concentration is effective for sanitizing without being overly harsh. Do not use higher concentrations for cleaning hair brushes, as they can be too strong and potentially damaging to brush materials or your skin.
Is hydrogen peroxide safe for my hair brush bristles?
Yes, 3% hydrogen peroxide, when diluted and used correctly, is safe for most synthetic and natural brush bristles. It effectively cleans and disinfects without causing damage if proper rinsing and drying follow. Avoid prolonged soaking, especially for natural bristles, to prevent dryness.
Can hydrogen peroxide damage my hair brushes?
Improper use of hydrogen peroxide can cause damage. Using too high a concentration, soaking for too long, or not rinsing thoroughly can harm bristles or brush materials. This is especially true for wood, which can warp or crack. Always follow dilution and contact time guidelines carefully.
What if my brush has a wooden handle?
If your brush has a wooden handle, do not submerge it. The wood can absorb water and peroxide, leading to damage like warping or cracking. Instead, clean the bristles only. Dip the bristle part into the diluted peroxide solution, keeping the handle dry. Wipe the wooden handle with a damp cloth if needed, and dry immediately.
Conclusion
A clean hair brush is not a luxury; it is a necessity for healthy hair and scalp. We have explored the simple yet powerful method of how to clean hair brushes with hydrogen peroxide. You now understand why your brushes get dirty. You also know how hydrogen peroxide sanitizes them. The step-by-step guide walks you through the process, from initial hair removal to the crucial rinsing and drying stages. We also covered specific considerations for different brush types, ensuring you can clean plastic, metal, natural bristle, and wooden brushes safely. Remember to always prioritize safety by wearing gloves and working in a well-ventilated area. Beyond deep cleaning, consistent brush hygiene like daily hair removal and monthly washes will keep your tools in excellent condition. Embrace these practices. You will ensure your hair brushes remain a beneficial part of your beauty routine, giving you cleaner, healthier hair with every stroke. Start your journey to a cleaner brush today.
- hair brush cleaning
- hydrogen peroxide uses
- sanitizing brushes
- deep clean hair tools
- brush hygiene
- peroxide cleaning
- DIY cleaning
- beauty routine