· Home Maintenance · 16 min read
How To Clean Hinges On Doors

Unlock Sparkling Doors: How To Clean Hinges On Doors
Have you ever noticed your door hinges collecting dust and grime? They often go overlooked during regular cleaning. Dirty hinges can make doors look neglected. They can also cause doors to stick or squeak. Learning how to clean hinges on doors keeps your home looking good. It also ensures your doors work smoothly.
This article will guide you through simple steps to restore your door hinges. We will cover different cleaning methods for various types of grime. You will learn how to handle rust, paint, and general dirt. We will also discuss essential tools and products. Keeping your hinges clean helps them last longer. Let’s make your door hinges shine again.
Takeaway
- Gather Tools: Collect screwdrivers, brushes, cloths, and cleaning solutions.
- Remove Hinges (Optional): Take hinges off doors for a deeper clean.
- Choose Cleaner: Use dish soap for light grime, vinegar for rust, or specialty cleaners.
- Scrub Away Dirt: Use brushes or steel wool to remove buildup.
- Rinse and Dry: Clean hinges thoroughly and dry completely to prevent new rust.
- Lubricate: Apply a lubricant to ensure smooth door operation.
- Regular Maintenance: Clean hinges periodically to prevent heavy buildup.
Door hinges collect dirt, dust, and sometimes rust or paint drips. Cleaning door hinges involves removing the hinge, scrubbing off grime with appropriate solutions like dish soap, vinegar, or a rust remover, rinsing, drying, and lubricating before reattaching. This process keeps them looking good and working well.
Why Clean Your Door Hinges?
Door hinges are small but important parts of your home. They connect the door to its frame. Over time, these hinges collect a lot of dirt. Dust settles on them every day. Grease from hands or other household activities can also stick. This buildup makes hinges look bad.
Dirt can also cause problems with door function. It can make doors hard to open or close. You might hear a creaking sound when the door moves. This noise means friction exists in the hinge. Cleaning helps reduce this friction. It ensures your doors operate quietly and smoothly.
Cleaning hinges also extends their life. Dirt and rust can damage the metal over time. Rust eats away at the hinge material. Regular cleaning removes these harmful elements. This simple care keeps your hinges in good shape for many years. It prevents the need for early replacement. Think of it as a small investment in your home’s upkeep.
Clean hinges also add to the overall look of your home. Shiny, well-maintained hardware shows attention to detail. It improves the appearance of your doors. This small detail can make a big difference in how your home feels. Make hinge cleaning a part of your regular home cleaning routine.
Essential Tools and Materials for Hinge Cleaning
Before you start cleaning your door hinges, gather everything you need. Having the right tools makes the job easier. It also helps you clean more effectively. You will not have to stop halfway through the process. A good setup ensures a smooth cleaning experience.
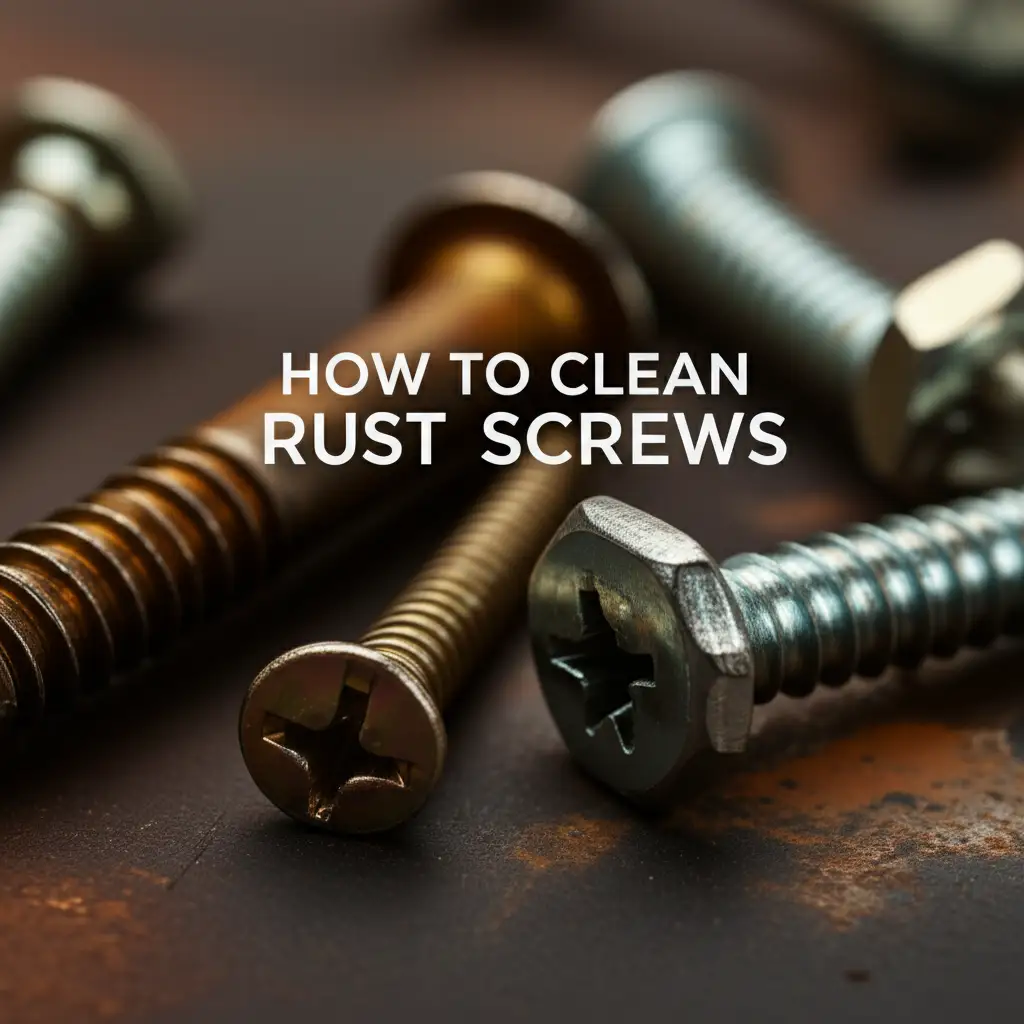
First, you will need some basic hand tools. A screwdriver is essential. You might need a Phillips head or a flathead, depending on your hinge screws. Make sure it fits snugly to avoid stripping the screw heads. You also need a small wire brush or an old toothbrush. These are great for scrubbing tight spaces.
For cleaning solutions, start with mild options. Dish soap mixed with warm water is a good general cleaner. White vinegar is another powerful option, especially for rust or grime. You can mix vinegar with water or use it straight for tough spots. For very stubborn rust, you might need a specialized rust remover. Make sure to read the product instructions carefully.
You will also need various cloths. Microfiber cloths are excellent for wiping and drying. Old rags can be useful for initial cleaning or applying solutions. Make sure to have a few on hand. A small bucket or bowl for mixing solutions will also be helpful. Some people like to use steel wool for heavy rust, but be careful not to scratch the finish. For more targeted cleaning of specific types of hinges, remember that different methods apply. You can learn more about how to clean old metal hinges for specific situations.
Finally, consider safety gear. Gloves can protect your hands from harsh cleaners. Safety glasses are a good idea if you are scrubbing vigorously or using strong chemicals. With these items ready, you are prepared to tackle even the dirtiest door hinges.
Step-by-Step Guide to Cleaning Hinges (On or Off the Door)
You can clean hinges while they are still on the door. This method is faster and easier. It works well for light dirt and dust. Use a damp cloth with mild soap and water. Wipe down the visible parts of the hinge. A toothbrush helps reach small crevices.
For a deeper clean, removing the hinges is best. This allows you to soak and scrub every part. Start by supporting the door. You can use shims or have someone hold it. Remove the screws from the top hinge first. Then remove the middle and bottom hinges. Keep the screws organized so you know where they go.
Once removed, place the hinges in a cleaning solution. For general dirt, a mix of warm water and dish soap works well. Let them soak for 15-30 minutes. This helps loosen grime. You might also want to explore techniques for how to clean door hinges without removing them if you prefer not to take the door down.
After soaking, scrub the hinges. Use a stiff brush or an old toothbrush. For tougher grime, you can make a paste of baking soda and water. Apply it and scrub gently. Rinse the hinges thoroughly under running water. Make sure no soap residue remains. Dry them completely with a clean cloth. Air drying can cause new rust.
Before reattaching, inspect the hinges. Apply a small amount of lubricant, like silicone spray, to the pin. This prevents squeaking. Reattach the hinges in reverse order. Start with the bottom hinge, then the middle, then the top. Make sure all screws are tight. Your door hinges will look and work like new.
Tackling Specific Hinge Problems: Rust, Paint, and Grease
Door hinges face different kinds of dirt. Rust, old paint, and sticky grease are common issues. Each problem needs a specific cleaning approach. Knowing these methods saves you time and effort.
Removing Rust from Hinges
Rust is a common issue for metal hinges. It happens when metal reacts with moisture. White vinegar is a great natural rust remover. Soak rusty hinges in undiluted white vinegar for several hours or overnight. For large rust spots, you can apply vinegar directly. Use a small brush or steel wool to scrub the rust away after soaking. This method works well for minor to moderate rust.
Another effective solution for rust is a baking soda paste. Mix baking soda with a little water to form a thick paste. Apply the paste generously to the rusty areas. Let it sit for an hour or two. Then, scrub with a wire brush or an old toothbrush. The abrasive nature of baking soda helps lift the rust. Remember to rinse and dry thoroughly after cleaning to prevent new rust. For particularly stubborn rust on old metal, you might consider specific guidance on how to clean old metal hinges.
Cleaning Paint Drips on Hinges
Paint drips on hinges are frustrating. They often occur during door painting. If the paint is fresh, wipe it off immediately with a damp cloth. If the paint is dry, you will need more effort. A plastic scraper or your fingernail can carefully chip away small drips. Avoid metal tools that might scratch the hinge.
For more stubborn dry paint, try a paint stripper. Always use chemical strippers in a well-ventilated area. Follow the product instructions carefully. Apply a small amount to the paint drip. Let it sit for the recommended time. Then, gently scrape the softened paint away. Wipe the hinge clean with a damp cloth afterward. Always test paint strippers on an inconspicuous area first.
Dealing with Grease and Grime
Grease and general grime make hinges sticky and dull. Dish soap is an excellent degreaser. Mix a few drops of dish soap with warm water. Soak the hinges in this solution. The soap breaks down the grease. Use a stiff brush to scrub off the softened grime.
For heavy grease, you can use a degreasing spray designed for kitchen surfaces. Spray the cleaner directly onto the hinges. Let it sit for a few minutes. Then, scrub with a brush. Rinse the hinges well with clean water. Dry them completely to prevent water spots and rust. Regular cleaning with dish soap can prevent heavy grease buildup. For general cleaning tasks using vinegar, such as how to clean shower with vinegar or how to clean glass with vinegar, these same principles of using natural acids to break down grime apply.
Natural and Chemical Cleaning Solutions for Hinges
You have many options for cleaning door hinges. Some people prefer natural solutions. Others choose stronger chemical cleaners. Both types have their benefits. Choosing the right one depends on the dirt level and your preferences.
Natural cleaning solutions are often safer for your home. They are also usually less expensive. White vinegar is a versatile natural cleaner. It contains acetic acid. This acid helps break down rust, mineral deposits, and soap scum. Mix equal parts white vinegar and water for general cleaning. For tougher stains, use undiluted vinegar. You can soak hinges in vinegar or apply it with a cloth. Remember to rinse thoroughly after using vinegar.
Baking soda is another natural powerhouse. It is a mild abrasive. This makes it good for scrubbing away dirt and grime. Mix baking soda with a little water to form a paste. Apply the paste to dirty areas. Let it sit for a bit, then scrub. Baking soda is also good at neutralizing odors. You can combine baking soda and vinegar for a fizzing action. This reaction helps lift stubborn grime.
On the chemical side, you have various options. Dish soap is a common household cleaner. It is excellent for cutting through grease and general dirt. A few drops in warm water create an effective cleaning solution. For heavy-duty rust, specialized rust removers are available. These products contain stronger acids or chemicals. Always read the label and follow safety instructions when using them. Wear gloves and ensure good ventilation.
For paint drips, mineral spirits or paint thinners can dissolve the paint. Use them sparingly and with caution. Apply to a cloth, then dab onto the paint. Avoid getting it on painted door surfaces. After using any chemical cleaner, rinse the hinges well. Then dry them completely to prevent damage or new issues. Choose the solution that best fits your cleaning needs and comfort level.
Preventing Future Hinge Problems and Maintaining Cleanliness
Cleaning your door hinges is a great step. But regular maintenance keeps them looking good. It also prevents new problems from starting. A little bit of care goes a long way. This saves you from heavy cleaning jobs later on.
First, make regular wiping a habit. During your weekly dusting, quickly wipe down the hinges. Use a damp cloth to remove surface dust and light grime. This simple step stops dirt from building up. It prevents the need for deep cleaning.
Lubrication is key for smooth operation. Hinges can become stiff or squeaky over time. This often happens from lack of lubrication. After cleaning, apply a small amount of lubricant. Silicone spray or a dry lubricant works well. Avoid using WD-40 for long-term lubrication, as it can attract more dust. A light oil can also work, but use sparingly. Apply lubricant to the hinge pin. Open and close the door a few times to distribute it. This reduces friction and prevents noise.
Protect hinges from moisture. Moisture causes rust. If your hinges are in a damp area, like a bathroom, ensure good ventilation. You can also apply a clear protective coating to metal hinges. This coating creates a barrier against moisture. For exterior doors, consider rust-resistant hinges.
Address small issues quickly. If you see a tiny rust spot, clean it right away. Do not wait for it to spread. If a hinge starts to squeak, lubricate it. Early action prevents bigger problems. Your hinges will stay clean, quiet, and functional for years. Regular, simple steps extend the life of your door hardware.
When to Consider Replacing Door Hinges
Sometimes, cleaning is not enough. Door hinges can become too damaged to fix. Knowing when to replace them saves you time and frustration. Replacing a hinge might be the best option for old or severely damaged ones.
One sign of needing replacement is severe rust. If hinges have deep, pitted rust that cleaning cannot remove, they are weakened. This kind of rust compromises the hinge’s strength. A weakened hinge might not hold the door securely. It could even break, causing the door to fall. Surface rust can often be cleaned, but deep rust indicates permanent damage.
Another reason for replacement is bent or warped hinges. This can happen from heavy impact or improper installation. A bent hinge will not allow the door to close properly. It might leave a gap between the door and the frame. The door could also sag or rub against the floor. Cleaning cannot fix a physical deformation.
Hinges with stripped screws are also problematic. If the screw holes are damaged, the hinge cannot be tightened. A loose hinge leads to a wobbly door. It can also cause further damage to the door frame. Sometimes, you can use larger screws or screw anchors. But if the hinge itself is damaged around the holes, replacement is better.
Finally, consider replacement for purely aesthetic reasons. If hinges are old and discolored, they might detract from your home’s appearance. Cleaning might improve them, but it cannot restore a perfect finish. If you are updating other door hardware, new hinges can complete the look. Replacing hinges ensures both functionality and beauty for your doors.
Expert Tips for Long-Lasting Hinge Health
Maintaining your door hinges goes beyond just cleaning. A few expert tips can ensure they last a very long time. Proper care keeps them working smoothly and looking great. These simple practices are easy to add to your home maintenance routine.
First, choose the right lubricant. Many people use WD-40 for squeaky hinges. WD-40 is a water displacement spray, not a long-term lubricant. It can attract dust and grime over time. Instead, use a silicone spray or a dry graphite lubricant. These products provide lasting lubrication. They also do not attract dirt. Apply lubricant sparingly to the hinge pin. Move the door back and forth to spread it.
Inspect your hinges regularly. At least once a year, take a close look at each hinge. Check for any signs of wear, rust, or loose screws. Catching problems early prevents bigger issues. Tighten any loose screws immediately. This simple check can prevent door sagging or alignment issues.
Consider the environment. Hinges in high-moisture areas, like bathrooms or exterior doors, need more attention. High humidity increases the risk of rust. Use rust-resistant hinges in these locations. Stainless steel or brass hinges are good choices. Apply a protective wax or clear coat to metal hinges in damp areas. This adds an extra layer of defense against moisture.
Finally, clean them properly. Always dry hinges completely after cleaning. Any moisture left on metal hinges can lead to new rust. Use a clean, dry cloth for this step. You can even use a hairdryer on a low setting for faster drying. Following these tips will help your door hinges stay in top condition for years to come.
FAQ Section
How often should I clean door hinges?
You should clean door hinges at least once or twice a year. For hinges in high-traffic areas or damp environments, clean them more often. A quick wipe down during regular house cleaning helps prevent heavy buildup. This simple routine keeps them looking good and working well.
Can I clean hinges without removing them from the door?
Yes, you can clean hinges without removing them. Use a damp cloth with mild soap and water to wipe visible surfaces. An old toothbrush can reach into crevices. This method works well for light dust and grime. For heavy rust or dried paint, removing the hinges provides a deeper clean.
What is the best way to remove rust from door hinges?
Soaking hinges in white vinegar is an effective way to remove rust. Let them sit for several hours or overnight. For stubborn rust, use a wire brush or steel wool after soaking. You can also make a paste of baking soda and water, apply it, let it sit, then scrub.
What should I use to lubricate door hinges?
For lubricating door hinges, use silicone spray or a dry graphite lubricant. Avoid using products like WD-40 as they can attract dust over time. Apply a small amount to the hinge pin. Open and close the door a few times to ensure the lubricant spreads evenly for smooth operation.
Can cleaning help a squeaky door hinge?
Yes, cleaning can help a squeaky door hinge. Dirt and grime can cause friction, leading to squeaking. Cleaning removes this buildup. After cleaning, apply a lubricant to the hinge pin. This reduces friction and makes the door open and close quietly. If it still squeaks, the hinge might be worn.
Is it safe to use strong chemicals on door hinges?
Using strong chemicals on door hinges can be safe with proper precautions. Always read product labels for specific instructions and warnings. Work in a well-ventilated area. Wear gloves and eye protection. Test the chemical on a small, hidden area first to ensure it does not damage the hinge finish or surrounding door material.
Conclusion
Cleaning door hinges might seem like a small task. But it makes a big difference in your home’s appearance and function. We have covered everything from basic tools to tackling tough problems like rust and paint. You now know how to clean hinges on doors effectively. Remember, regular care saves you from bigger problems later.
Whether you choose to clean hinges on or off the door, consistent effort pays off. Simple wiping, periodic deep cleaning, and proper lubrication keep your hinges pristine. They will look better and help your doors open and close smoothly and quietly. Start today. Give your door hinges the attention they deserve. Enjoy the quiet, smooth operation and enhanced look of your home.
- door hinges
- hinge cleaning
- rust removal
- metal cleaning
- home care