· Tech Maintenance · 13 min read
How To Clean Inside A Pc
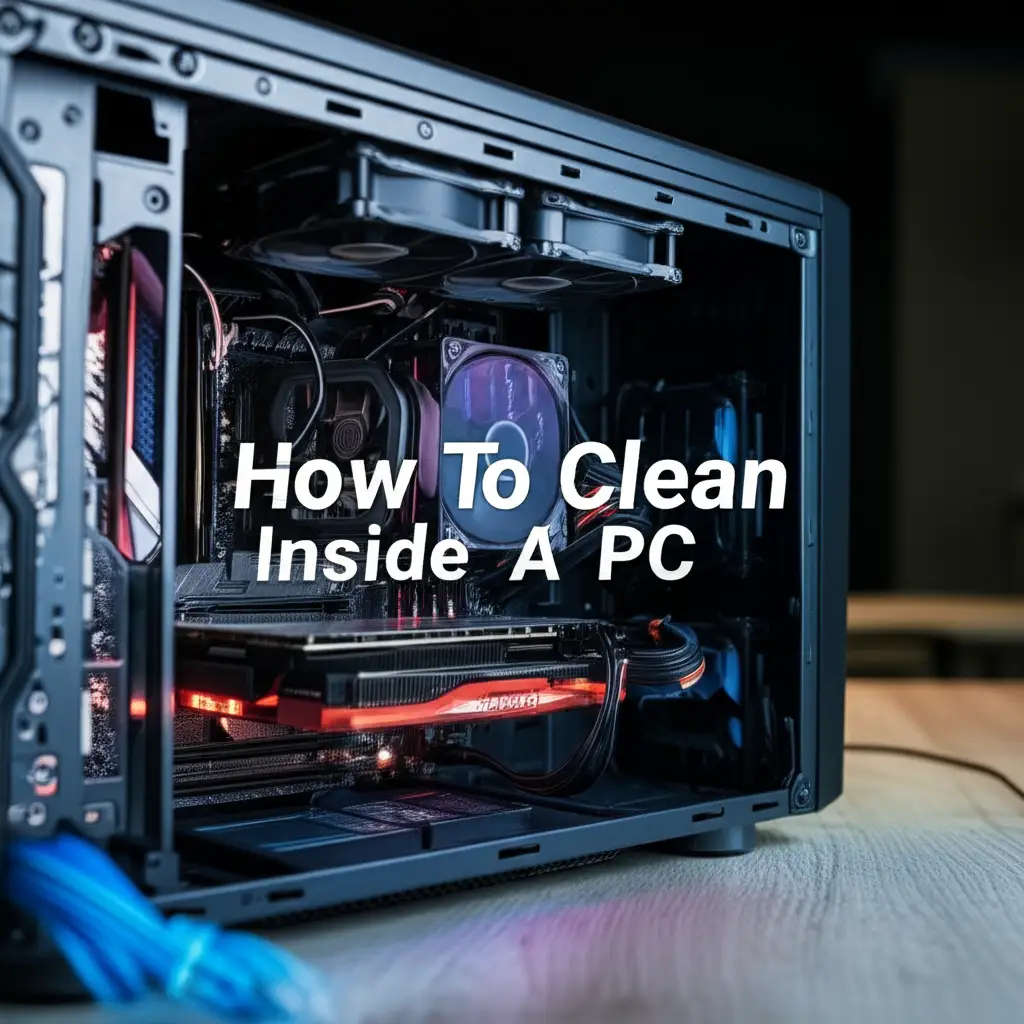
Boost Performance: How To Clean Inside A PC
My computer used to run so slowly. Programs would freeze, games would stutter, and loud fan noises became common. I wondered if I needed a new computer. Then I realized the real problem was often simple: dust. Dust builds up inside computers, affecting how they perform. It can block airflow, cause overheating, and make parts wear out faster.
This guide will show you how to clean inside a PC. We will cover important tools and safety steps. You will learn how to access your computer’s interior and clean its main parts. We will discuss fans, heatsinks, and even the motherboard. Following these steps helps your computer run better and last longer.
Takeaway
- Regularly cleaning inside your PC stops dust buildup.
- Dust causes overheating and poor performance.
- Proper tools like compressed air and an anti-static wrist strap keep you safe.
- Focus on fans, heatsinks, and vents for best results.
- A clean PC runs faster and lasts longer.
To clean inside a PC, you safely remove dust and debris from components. You use tools like compressed air, soft brushes, and microfiber cloths. This improves airflow and prevents overheating. A clean computer performs better and has a longer lifespan.
Why Cleaning Your PC Matters for Performance and Longevity
Think about how much dust collects on surfaces in your home. This dust also gets inside your computer. It enters through air vents and settles on components. Over time, this dust forms thick layers. These layers act like a blanket. They trap heat inside your PC.
Heat is a major enemy of computer parts. When parts get too hot, they work less efficiently. They can even fail completely. Your CPU (central processing unit) and GPU (graphics processing unit) generate a lot of heat. Fans and heatsinks remove this heat. If dust clogs these cooling systems, heat cannot escape. This leads to slower performance.
A clean PC maintains proper airflow. This keeps components cool. Cool components run at their best speeds. They also last longer. Regular cleaning protects your investment. It helps you avoid expensive repairs or early replacements. I see a big difference in my computer’s speed after I clean it. It truly brings new life to an old machine.
Dust also carries static electricity. Static electricity can damage delicate computer parts. Removing dust reduces this risk. It keeps your system stable. A clean computer means fewer crashes and more reliable operation. This simple maintenance step makes a huge impact.
Essential Tools and Safety Steps for PC Cleaning
Before you start cleaning inside a PC, gather the right tools. Using correct tools ensures a safe and effective cleaning process. I always lay out my tools first. This way, I do not have to stop mid-task. The right tools protect both you and your computer.
First, you need compressed air. This comes in a can with a small straw. It blasts dust away from hard-to-reach spots. Make sure it is “electronics safe” compressed air. Sometimes, people clean their PC without compressed air. If you need methods for how to clean a PC without compressed air, there are good alternatives. These alternatives include electric air blowers or soft brushes.
You also need a microfiber cloth. These cloths are lint-free. They will not leave fibers behind on components. Small, soft brushes are also helpful. A soft paintbrush or a dedicated electronics brush works well. These brushes dislodge dust from fan blades or heatsink fins. You might also want isopropyl alcohol (99% pure). Use this with cotton swabs for stubborn grime.
Safety is important when you clean inside a PC. Always unplug your PC first. Make sure it is completely off and disconnected from power. Next, protect yourself and your computer from static electricity. Static discharge can destroy components. Use an anti-static wrist strap. Connect the strap to an unpainted metal part of your PC case. This grounds you and prevents static buildup. Work in a well-lit and well-ventilated area. If you use compressed air, tiny dust particles will become airborne. Do not breathe them in.
Opening Your PC Case and Initial Dust Removal
Getting inside your PC case is usually simple. Most desktop computers have side panels that are easy to remove. I always place my PC on a flat, stable surface. A clean table works well. Ensure you have enough space to work comfortably. Have good lighting too.
Locate the screws on the back of your PC case. They typically hold the side panel in place. These are often thumb screws, which you can undo by hand. Sometimes, you need a screwdriver. Unscrew them and gently slide the side panel off. Some cases have a hinge, so the panel swings open. Pay attention to how the panel comes off. This helps you put it back correctly later.
Once the side panel is off, you will see the inside of your PC. It might be quite dusty! The first step is a general dust removal. Use your can of compressed air or your electric air blower. Hold the can upright to prevent liquid propellant from spraying out. Spray in short bursts. Start from the top of the case and work your way down.
Focus on getting large dust bunnies out. Do not spray too close to components. Maintain a distance of about 6-8 inches. This prevents damage from the air pressure. Angle the spray to blow dust out of the case, not deeper into it. Remember, if you do not have compressed air, there are methods for how to clean a PC without compressed air using alternatives like soft brushes and hand blowers. This initial pass clears most loose dust. It makes it easier to tackle specific components.
Cleaning Key Components: Fans, Heatsinks, and GPU
After the initial dust removal, it is time for a more detailed cleaning. This step focuses on the parts that move air and get hottest. These are often the dustiest areas. Always hold fan blades in place while cleaning them. This prevents them from spinning too fast. Spinning too fast can damage the fan motor.
CPU Cooler and Heatsink
The CPU cooler sits on top of your processor. It has a fan and many metal fins (the heatsink). Dust collects heavily on these fins. It also gathers on the fan blades. Use compressed air to blow dust out of the heatsink fins. Aim the air between the fins. If the dust is stubborn, use a soft brush to dislodge it. Brush gently in the direction of the fins.
For the fan blades, hold them still. Then, spray or brush off the dust. Make sure air flows freely through the heatsink once you finish cleaning. A clean CPU cooler helps your processor stay cool. This is important for steady performance.
Graphics Card (GPU)
Your graphics card often has its own fans and heatsinks. These are just as important as the CPU cooler. Dust buildup on the GPU can cause games to lag or crash. Carefully clean the fans on your graphics card. Hold each fan blade while you use compressed air or a brush.
Blow air through the heatsink fins of the GPU. Remove all visible dust. You might need to reach into tight spaces. A thin brush can help here. If you are cleaning a PC without compressed air, a very soft brush is key for these delicate parts. Making sure your GPU breathes freely extends its life.
Case Fans
Your PC case has several fans. These move air into and out of the case. They keep the entire system cool. There are often intake fans (front or bottom) and exhaust fans (back or top). Dust gathers on these fan blades and protective grilles. Use compressed air to clean the fan blades. Remember to hold the blades.
Also, clean any dust filters on your case. These filters capture dust before it enters. They are usually removable. Gently pull them out and rinse them under water, or simply brush off the dust. Let them dry completely before putting them back. Clean filters significantly improve your PC’s airflow. This helps keep dust out in the future. Remember there are many ways to clean if you cannot use compressed air, learn more about how to clean a PC without compressed air.
Tidying Up Your Motherboard and RAM
The motherboard is the main circuit board of your PC. All components connect to it. It does not have fans or heatsinks that collect a lot of dust. However, dust can settle on its surface. It can also get into slots. Cleaning these areas requires a gentle touch.
Use a soft brush to carefully sweep dust off the motherboard surface. Brush lightly. Do not press hard on any components or wires. You want to avoid static discharge or dislodging small parts. Pay attention to small nooks and crannies. These areas can hide dust.
RAM sticks (Random Access Memory) plug directly into the motherboard. Dust can collect around the RAM slots. If you notice dust, you can gently remove the RAM sticks. Press the small clips at each end of the RAM slot. The RAM stick will pop up slightly. Carefully pull it straight out. Once removed, you can use compressed air or a soft brush to clean the RAM slot. Do not touch the gold connectors on the RAM stick itself. If you must clean them, use a clean pencil eraser or a very small amount of 99% isopropyl alcohol on a lint-free cloth. Reinsert the RAM sticks firmly until the clips snap back into place.
For stubborn grime on the motherboard, a cotton swab with a tiny amount of 99% isopropyl alcohol works. Dab it lightly onto the dirty spot. Alcohol evaporates quickly and leaves no residue. Be extremely sparing with liquids. Never spray alcohol directly onto components. This precise cleaning helps maintain stable connections and good performance.
Power Supply Unit (PSU) and Cable Management
The power supply unit (PSU) is a vital part of your PC. It gives power to all components. It also has a fan that draws air in. This fan can accumulate a lot of dust. This dust can make the PSU overheat. Always use extreme caution with the PSU. Never open the PSU casing itself. It contains capacitors that can store high voltage even after unplugged.
You can clean the exterior of the PSU. Use compressed air to blow dust out of the fan grille and vents. Aim the air through the vents to push dust out. Hold the fan blades if you can reach them. If the PSU is difficult to access, you might need to unscrew it from the case. Then, you can pull it out slightly to get a better angle. Be very careful not to disconnect any cables. Only clean the external fan and vents. Do not attempt to dismantle the PSU.
Good cable management also helps with airflow. Tangled cables create barriers for air movement. This can lead to hot spots inside your PC. Take some time to tidy up your cables. Use zip ties or Velcro straps to bundle them together. Route cables along the edges of the case. Keep them away from fans and critical airflow paths.
Better cable management has two benefits. First, it looks much cleaner inside your PC. Second, it significantly improves airflow. Improved airflow means better cooling for all your components. This simple step complements your physical cleaning effort. It ensures dust does not settle as easily in future.
Reassembly and Post-Cleaning Checks
After you finish cleaning every component, it is time to put your PC back together. This step is usually straightforward. Just reverse the process you used to open it. Make sure all connections are secure. Double check that no cables block any fans.
Gently slide the side panel back onto the case. Make sure it aligns correctly. Replace any screws you removed earlier. Do not overtighten them. You want them snug, not forced. Once the panel is secure, reconnect all external cables. This includes the power cable, monitor cables, keyboard, mouse, and any other peripherals.
Now, it is time for the moment of truth: powering on your PC. Press the power button. Listen for the familiar startup sounds. Pay attention to the fans. They should spin smoothly and quietly. If you hear any unusual noises, turn off the PC immediately. Reopen the case and check for anything loose or misaligned.
After your PC boots up, monitor its performance. Open some programs or games you use regularly. Do they feel faster? Is the system more responsive? You can also use software to monitor component temperatures. Many free programs exist for this. Look for lower temperatures on your CPU and GPU. This confirms your cleaning efforts worked. A cleaner PC means lower temperatures and better overall performance. If you chose methods for how to clean a PC without compressed air, you will still see excellent results.
Regular internal cleaning helps your PC run efficiently for years. Make this a part of your routine PC maintenance. I clean my PC every six months. This schedule keeps it in top condition.
FAQ Section
How often should I clean inside my PC?
You should clean inside your PC every 6 to 12 months. This depends on your environment. If you have pets or smoke, dust builds up faster. You might need to clean it every three months. Regular cleaning keeps your PC running cool. It also prevents performance issues.
Can I use a vacuum cleaner to clean my PC?
No, do not use a household vacuum cleaner to clean inside your PC. Vacuum cleaners create a lot of static electricity. This static can damage sensitive electronic components. They also have strong suction that can pull off small parts. Stick to compressed air or an electric air blower.
What happens if I do not clean my PC?
If you do not clean your PC, dust buildup causes many problems. It acts as an insulator, trapping heat inside. This leads to higher operating temperatures for your CPU and GPU. High temperatures reduce performance and shorten component lifespan. It can also cause system crashes and instability.
Is it safe to clean a laptop inside?
Cleaning inside a laptop is more complex than a desktop PC. Laptops are compact. They require more disassembly. It is generally safe if you follow guides specific to your laptop model. Take care with small screws and delicate ribbon cables. If unsure, seek professional help.
What is static electricity and how do I avoid it?
Static electricity is an electrical charge build-up on surfaces. When you touch a grounded object, this charge can discharge as a spark. This spark can damage delicate PC components. To avoid it, use an anti-static wrist strap. Touch an unpainted metal part of your PC case before starting work.
Conclusion
Cleaning inside a PC is a simple yet powerful maintenance task. It might seem daunting at first. But by following our clear steps, you can do it easily. You have learned about the important tools and safety measures. You also know how to clean vital components like fans, heatsinks, and the motherboard.
Regular internal cleaning prevents dust from slowing down your computer. It stops overheating. It helps your PC run faster and more reliably. Your games will run smoother. Your applications will open quicker. You will extend the overall life of your machine. Make cleaning inside a PC a regular part of your computer care routine. Your PC will thank you with improved performance and years of loyal service. Start today and give your computer the clean slate it deserves!
- PC maintenance
- computer cleaning
- dust removal