· Home Cleaning · 12 min read
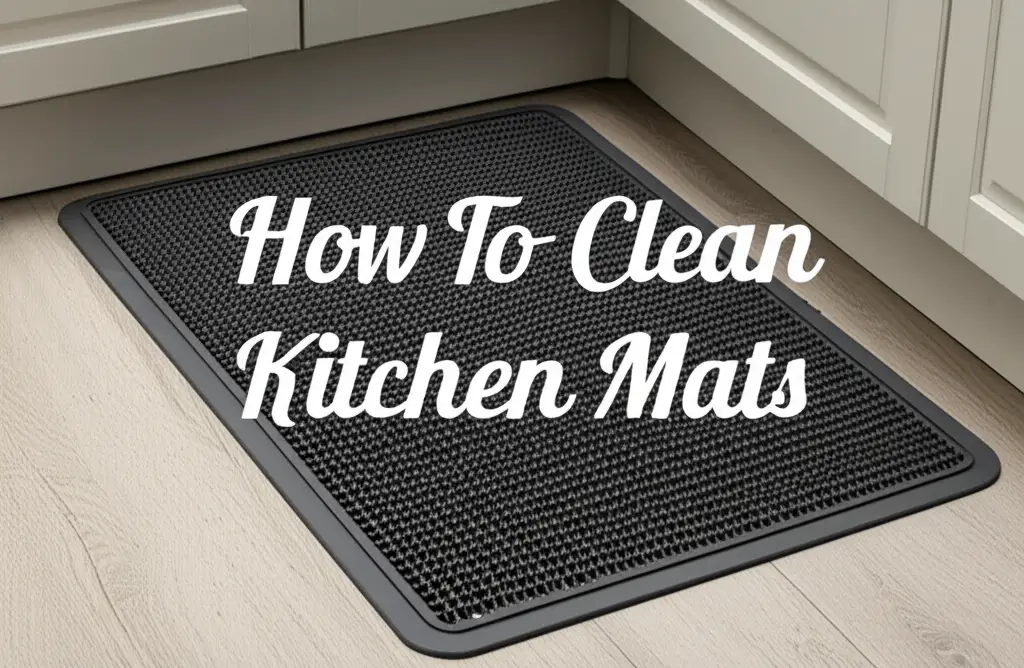
How To Clean Kitchen Mats
Keeping Kitchen Mats Clean: A Guide for Every Home
Stepping into your kitchen, do you notice your kitchen mats looking a little less vibrant? These essential items catch spills, crumbs, and daily foot traffic. They shield your floors and provide comfort. Yet, they absorb a lot of grime. Learning how to clean kitchen mats properly is important. It keeps your kitchen hygienic and extends the life of your mats.
This guide will walk you through the best methods. We will cover different mat materials and common cleaning challenges. You will learn easy steps for routine maintenance and deep cleaning. I will share tips for tackling tough stains. You will also discover how to dry your mats correctly. By the end, you will have a spotless, fresh kitchen mat.
Takeaway:
- Regularly shake out and vacuum your kitchen mats.
- Clean spills immediately to prevent stains.
- Follow specific cleaning instructions based on your mat’s material.
- Ensure mats are completely dry before placing them back on the floor.
- Deep clean mats every few weeks to remove built-up grime and odors.
To clean kitchen mats, first identify the material. Then, shake off loose dirt. Spot clean small stains with a gentle cleaner. For a deep clean, machine wash washable mats on a gentle cycle. Hand wash or wipe down non-washable mats. Always dry mats fully before use to prevent mold and mildew.
Why Keeping Your Kitchen Mats Clean Matters
Kitchen mats are more than just decorative items. They serve many practical purposes. They protect your floors from spills and dropped items. They also provide cushioning, which reduces fatigue during long cooking sessions. But because of their location, they get dirty fast. My kitchen mat always seems to catch everything.
A dirty mat collects food particles, grease, and dust. This creates a breeding ground for bacteria. An unclean mat can also become slippery from grease buildup. This poses a safety risk. A clean mat helps maintain overall kitchen hygiene. It also keeps your home looking tidy and smelling fresh. Ignoring regular cleaning reduces your mat’s lifespan. This makes it necessary to replace them more often.
Understanding Different Kitchen Mat Materials
Before cleaning your kitchen mat, identify its material. Different materials require different cleaning methods. Using the wrong method can damage your mat. Most kitchen mats fall into a few common categories. Knowing your mat type ensures a safe and effective clean.
Rubber or PVC Mats
Many anti-fatigue mats are made from rubber or PVC. These materials are durable and water-resistant. They are excellent for cushioning your feet. They typically feature a smooth or textured surface. Cleaning these mats is usually straightforward. You do not need special equipment.
Fabric Mats (Cotton, Synthetic Blends)
These mats feel softer underfoot. They come in many designs and colors. Fabric mats are often machine washable. They absorb spills easily. This also means they can stain more quickly. Examples include rugs or woven mats. They provide good traction and warmth.
Gel or Foam Core Mats
These mats offer superior comfort. They have a soft core covered by a durable outer layer. The outer layer is usually PVC or vinyl. These mats are not typically machine washable. The internal gel or foam can break down. Cleaning focuses on the exterior surface. You must be gentle with these mats.
WaterHog Mats
Some kitchens use mats designed for high traffic, like WaterHog mats. These mats are highly absorbent and trap dirt and moisture. They are made from durable polypropylene. Their unique design helps keep floors clean. You can learn more about caring for these specific mats in our guide on how to clean WaterHog mats. They are excellent for entryway and kitchen use.
Everyday Care for Your Kitchen Mats
Regular cleaning prevents dirt from building up. It makes deep cleaning easier. I try to do these steps a few times a week. Simple habits keep your kitchen mats fresh. This also extends their overall life.
Shaking and Vacuuming
Start by taking your mat outside. Give it a good shake to remove loose crumbs and dirt. If it is too heavy, vacuum it in place. Use your vacuum’s hose attachment for edges and corners. This simple step removes surface debris. It prevents dirt from getting ground into the mat fibers. Do this daily or every other day, especially in busy kitchens.
Spot Cleaning Spills
Spills happen often in the kitchen. Act fast when they occur. Use a clean cloth and warm, soapy water. Gently blot the spill. Avoid rubbing, as this can spread the stain. For tougher greasy spills, a mild degreaser might be needed. Sometimes, I use a diluted dish soap solution. This quick action prevents stains from setting. It also keeps your mat looking cleaner between washes.
Deep Cleaning Your Kitchen Mats
Routine care is good, but deep cleaning is essential. It removes embedded dirt and odors. The method depends on your mat’s material. Let us look at different approaches.
Machine Washing Fabric Kitchen Mats
Many fabric kitchen mats are machine washable. Check the care label first. This label gives specific washing instructions. I always read mine carefully.
- Shake out loose dirt: Before washing, shake or vacuum the mat. This removes large debris. It prevents clogs in your washing machine.
- Pre-treat stains: Apply a stain remover to any visible spots. Let it sit for a few minutes. This helps lift tough stains before washing.
- Use cold water and mild detergent: Wash the mat on a gentle cycle. Cold water helps prevent shrinking or color fading. A mild detergent is gentle on the fabric.
- Air dry or tumble dry low: Air drying is usually best. If machine drying, use a low heat setting. High heat can damage the mat’s backing. Ensure the mat is completely dry before placing it back.
Hand Washing or Wiping Down Rubber, PVC, Gel, and Foam Mats
These mats are not suitable for machine washing. Water can get trapped inside gel or foam cores. This leads to mold.
- Prepare a cleaning solution: Mix warm water with a few drops of mild dish soap. You can also use a gentle all-purpose cleaner.
- Wipe the surface: Use a soft cloth or sponge dipped in the solution. Wipe down the entire surface of the mat. Focus on greasy spots or soiled areas.
- Rinse thoroughly: Rinse the cloth and wipe the mat again with clean water. This removes soap residue. Make sure no soap film remains.
- Flip and clean the underside: Don’t forget the bottom surface. This area collects dust and dirt. Wipe it down as well. Pay attention to any textured areas. You can also use a mop to clean larger rubber mats if they are too big for hand wiping.
Tackling Common Kitchen Mat Stains
Kitchen mats face various stains. Grease, food spills, and general grime are common. Each stain needs a targeted approach. My kitchen mat has seen it all.
Removing Grease Stains
Grease is a persistent problem in kitchens. It comes from cooking oils and food splatters. To remove grease from kitchen mats:
- Blot excess grease: Use paper towels to absorb as much grease as possible. Do not rub, as this pushes grease deeper.
- Apply dish soap: Dish soap cuts grease effectively. Apply a small amount directly to the stain. Work it in gently with your fingers or a soft brush.
- Let it sit: Let the soap sit for 10-15 minutes. This gives it time to break down the grease.
- Rinse or wipe: For washable mats, rinse thoroughly under warm water. For non-washable mats, wipe with a damp cloth. Repeat if necessary. For general kitchen grease issues, our guide on how to clean grease from kitchen cabinets offers related insights on battling kitchen grease.
Dealing with Food and Drink Stains
Coffee, wine, or food spills can leave colorful marks. Time is key with these stains.
- Scrape off solids: Remove any solid food particles first. Use a dull knife or spoon.
- Blot liquids: Use a clean, dry cloth to blot liquid spills. Absorb as much as you can.
- Apply stain remover: Mix a small amount of white vinegar and water. Or use a commercial carpet cleaner. Apply it to the stain.
- Blot and rinse: Blot the area until the stain lifts. Then rinse with clean water. Repeat until the stain is gone.
Eliminating Odors from Kitchen Mats
Odors often come from trapped food particles or moisture. A smelly mat affects the whole kitchen.
- Baking soda treatment: Sprinkle baking soda generously over the mat. Let it sit for several hours, or even overnight. Baking soda absorbs odors.
- Vacuum it up: Vacuum the baking soda thoroughly. This removes the odor-absorbing powder.
- Sunlight exposure: If possible, place the mat outside in direct sunlight for a few hours. Sunlight is a natural disinfectant and deodorizer. This works well for most mat types.
Drying and Maintaining Your Kitchen Mats
Proper drying is as important as proper cleaning. A damp mat can lead to mold and mildew. This creates bad odors and unhealthy conditions. It also damages the mat material over time.
Ensuring Complete Drying
Always ensure your kitchen mat is completely dry before putting it back. This is especially true for rubber-backed mats. Trapped moisture can cause mold growth underneath. It can also damage your flooring.
- Air drying: Hang fabric mats over a clothesline or drying rack. Allow plenty of airflow. This is the gentlest drying method.
- Tumble drying: If your mat is machine washable, use a low heat or air-only setting. Add a few dry towels to the dryer. They help absorb moisture and speed up drying. Remove the mat while it is still slightly damp and air dry the rest of the way. This prevents damage to the rubber backing.
- Wiping for non-washable mats: For rubber, PVC, or gel mats, wipe them dry with a clean towel. Then, prop them up or hang them. Let them air dry fully for several hours. This prevents water spots and ensures no moisture is trapped.
Preventative Measures for Long-Lasting Mats
Prevention is better than cure. Taking a few simple steps helps your mats stay clean longer.
- Use a crumb tray: Place a small crumb tray or a thin, easily washable runner under the mat in high-spill areas. This catches most crumbs.
- Wipe spills immediately: As mentioned, quick action prevents stains from setting. Keep a cleaning cloth handy.
- Rotate mats: If you have multiple mats, rotate them regularly. This spreads out wear and tear. It allows some mats to rest and air out.
- Regular shaking: Make it a habit to shake out your mats every day or two. This simple step removes surface dirt. It stops grime from building up and becoming embedded. This helps maintain the mat’s original texture and appearance.
When to Replace Your Kitchen Mat
Even with the best cleaning, mats do not last forever. Knowing when to replace your kitchen mat is crucial for hygiene and safety.
Signs of Wear and Tear
Look for visible signs of damage. These include cracks, tears, or fraying edges. If the anti-fatigue properties are gone, the mat will feel flat. This means it no longer provides comfort. The cushioning effect will be reduced. A worn mat can also become a tripping hazard. This is especially true if its edges curl up.
Persistent Odors or Stains
Sometimes, a mat develops an odor you cannot remove. This happens even after deep cleaning. This might mean mold or bacteria have grown deep inside the material. Similarly, if stubborn stains remain after all your efforts, it is likely time for a new mat. Old, unremovable stains look unsightly. They also indicate deep-seated grime.
Loss of Non-Slip Properties
The non-slip backing on kitchen mats is very important. It keeps the mat from sliding. Over time, this backing can wear out. It might become smooth or sticky. A mat that slides easily is a serious safety risk. It can cause slips and falls in the kitchen. If your mat moves too much, even on a dry floor, replace it immediately. Prioritizing safety is paramount in your home.
Frequently Asked Questions
Q1: How often should I clean my kitchen mats?
You should spot clean spills immediately. Shake out or vacuum your kitchen mats daily or every other day. Deep clean washable mats every 2-4 weeks, depending on kitchen traffic. Non-washable mats should be wiped down thoroughly weekly. Regular cleaning prevents dirt buildup and keeps mats fresh.
Q2: Can I put a kitchen mat with a rubber backing in the washing machine?
Some kitchen mats with rubber backings are machine washable, but always check the care label first. If allowed, use cold water and a gentle cycle. High heat can damage or melt the rubber backing. Always air dry or tumble dry on the lowest heat setting to prevent damage and ensure longevity.
Q3: What is the best way to remove sticky residue from a kitchen mat?
For sticky residue, try using warm, soapy water and a soft cloth to gently scrub the area. If that doesn’t work, a small amount of rubbing alcohol or diluted vinegar can help break down sticky substances. Always test on an inconspicuous area first. Rinse thoroughly and dry completely after cleaning.
Q4: How do I prevent mold and mildew on my kitchen mats?
To prevent mold and mildew, ensure your kitchen mats are completely dry after cleaning. Avoid placing damp mats back on the floor. Allow proper airflow for drying. Promptly clean up any spills to prevent moisture from sitting. Consider using a dehumidifier in humid kitchens.
Q5: Is it safe to use bleach on kitchen mats?
Using bleach on kitchen mats is generally not recommended. Bleach can cause discoloration, weaken fibers, or damage rubber backings. It might also leave harsh chemical residues. Stick to mild detergents, dish soap, or specific stain removers designed for your mat’s material. Always read the mat’s care instructions.
Q6: Can I use a steam cleaner on kitchen mats?
Using a steam cleaner is usually safe for most rubber, PVC, and some fabric mats. It helps sanitize and remove deep grime without harsh chemicals. Test a small, hidden area first to ensure it does not damage the material or cause discoloration. Avoid steam cleaning mats with gel or foam cores, as moisture can get trapped inside.
Conclusion
Keeping your kitchen mats clean is simple when you know the right steps. From quick daily shakes to deeper monthly washes, consistent care makes a big difference. I hope these tips help you maintain a cleaner, more comfortable kitchen. Remember to consider your mat’s material before cleaning. This ensures you choose the correct method.
A well-maintained kitchen mat not only looks great but also promotes a healthier home environment. It protects your floors and offers comfort while you cook. Take the time to implement these cleaning practices. You will enjoy a fresh and hygienic kitchen for years to come. Your kitchen mats work hard for you; give them the cleaning they deserve.
- kitchen mats
- mat cleaning
- anti-fatigue mats
- floor care
- kitchen hygiene
- stain removal