· Home Cleaning · 7 min read
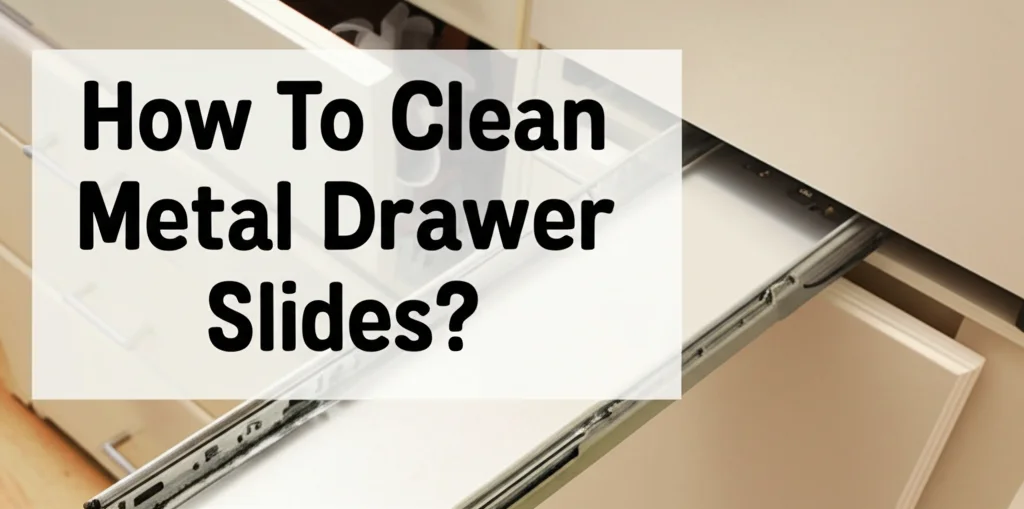
How To Clean Metal Drawer Slides?

Smooth Gliding: How To Clean Metal Drawer Slides?
Have you noticed your drawers sticking, squeaking, or just not sliding as smoothly as they used to? Often, the culprit isn’t a structural issue, but simply dirty drawer slides. Cleaning metal drawer slides is a surprisingly easy task that can significantly improve the functionality of your furniture. This article will guide you through everything you need to know to clean your drawer slides, from gathering supplies to preventative maintenance. We’ll cover different cleaning methods, address common issues, and help you keep your drawers gliding effortlessly.
Takeaway:
- Regular cleaning prevents buildup and ensures smooth drawer operation.
- Simple household items like vacuum cleaners, lubricants, and cleaning solutions are effective.
- Preventative maintenance, like lubrication, extends the life of your drawer slides.
Quick Answer:
To clean metal drawer slides, first vacuum away loose debris. Then, use a damp cloth with mild soap to wipe down the slides, followed by a dry cloth. Finally, apply a silicone-based lubricant to ensure smooth gliding.
Why Cleaning Metal Drawer Slides Matters
Dirty drawer slides aren’t just annoying; they can also cause damage. Dust, dirt, and grime accumulate over time, creating friction that makes it harder to open and close drawers. This friction can wear down the slides, leading to costly repairs or replacements. Cleaning your drawer slides regularly prevents this wear and tear, extending the life of your furniture. Plus, smooth-gliding drawers are simply more pleasant to use!
Think about how often you open and close drawers each day. That’s a lot of movement, and any resistance adds up. Keeping those slides clean minimizes that resistance and keeps everything working as it should. It’s a small task that makes a big difference.
Gathering Your Cleaning Supplies
Before you start, gather everything you’ll need. You likely already have most of these items around the house. This will make the cleaning process quick and efficient. Here’s a checklist:
- Vacuum cleaner with a brush attachment: For removing loose debris.
- Screwdriver: To remove the drawer slides if necessary (optional, but recommended for thorough cleaning).
- Mild dish soap: For gentle cleaning.
- Warm water: To create a cleaning solution.
- Soft cloths or microfiber towels: For wiping down the slides.
- Silicone-based lubricant: Essential for smooth gliding after cleaning. Avoid oil-based lubricants as they attract dust.
- Old toothbrush: For getting into tight spaces.
- Small bucket or bowl: For mixing the cleaning solution.
Having these supplies ready will streamline the process and ensure you have everything at your fingertips. Don’t skip the lubricant – it’s the key to long-lasting smooth operation!
Step-by-Step Guide to Cleaning Drawer Slides
Now, let’s get to the cleaning process. This method works for most metal drawer slides, but always test a small, inconspicuous area first.
- Empty the Drawers: Remove everything from the drawers to give yourself plenty of working space.
- Vacuum the Slides: Use the brush attachment on your vacuum cleaner to remove loose dust, dirt, and debris from the slides. Pay attention to the corners and crevices.
- Remove the Slides (Optional): For a more thorough cleaning, remove the drawer slides from both the drawer and the cabinet. This allows you to access all surfaces easily. If you choose to remove them, take a picture beforehand to remember how they go back together!
- Prepare the Cleaning Solution: Mix a few drops of mild dish soap with warm water in a bucket or bowl.
- Wipe Down the Slides: Dip a soft cloth into the cleaning solution and wring out any excess water. Gently wipe down the drawer slides, removing any remaining dirt or grime. Use the old toothbrush to scrub hard-to-reach areas.
- Rinse and Dry: Use a clean, damp cloth to rinse away any soap residue. Then, dry the slides thoroughly with a clean, dry cloth.
- Apply Lubricant: This is the most important step! Apply a silicone-based lubricant to the entire length of the drawer slides. A little goes a long way.
- Reinstall the Slides (If Removed): Carefully reinstall the drawer slides, referring to the picture you took earlier if needed.
- Test the Drawers: Open and close the drawers several times to ensure they glide smoothly.
Following these steps will leave your drawer slides clean, lubricated, and functioning like new. Remember, regular cleaning is key to preventing future problems.
Dealing with Stubborn Grime and Rust
Sometimes, you’ll encounter more than just dust and dirt. Stubborn grime or even rust can build up on metal drawer slides. Here’s how to tackle those issues:
- For Grime: Make a paste of baking soda and water. Apply the paste to the grime, let it sit for a few minutes, then scrub gently with an old toothbrush. Rinse thoroughly and dry. You can find more information on removing baking soda residue here.
- For Rust: Light rust can often be removed with a mixture of vinegar and water (equal parts). Apply the solution to the rust, let it sit for 15-30 minutes, then scrub with a steel wool pad or abrasive sponge. Rinse thoroughly and dry. Be careful when using vinegar on certain metal finishes.
- For Sticky Residue: Isopropyl alcohol can help dissolve sticky residue. Apply a small amount to a cloth and gently wipe the affected area.
Always test any cleaning solution in an inconspicuous area first to ensure it doesn’t damage the finish of the drawer slides.
Preventing Future Buildup: Maintenance Tips
Cleaning your drawer slides is important, but preventing buildup in the first place is even better. Here are a few maintenance tips:
- Regular Vacuuming: Vacuum around the drawer slides every few weeks to remove loose dust and debris.
- Lubricate Annually: Apply a silicone-based lubricant to the slides at least once a year, even if they seem to be gliding smoothly.
- Avoid Overloading Drawers: Overloading drawers puts extra stress on the slides, leading to wear and tear.
- Protect from Moisture: Keep the area around the drawers dry to prevent rust.
- Gentle Handling: Avoid slamming drawers shut, as this can damage the slides.
By following these simple tips, you can keep your drawer slides in top condition for years to come. Maintaining your furniture is a great way to protect your investment and keep your home looking its best.
FAQ About Cleaning Metal Drawer Slides
Q: What type of lubricant should I use? A: Always use a silicone-based lubricant. Oil-based lubricants attract dust and grime, which can worsen the problem. Silicone lubricant provides smooth gliding without attracting debris.
Q: Can I use WD-40 on drawer slides? A: While WD-40 can temporarily loosen things up, it’s not a long-term solution. It’s an oil-based product that will attract dust and eventually gum up the slides.
Q: How often should I clean my drawer slides? A: It depends on how often you use the drawers and the environment. Generally, cleaning them every 6-12 months is sufficient.
Q: My drawer slides are still sticking after cleaning. What could be the problem? A: The slides may be bent or damaged. In this case, you may need to replace them. You can also check if the screws are loose and tighten them.
Conclusion
Cleaning metal drawer slides is a simple yet effective way to improve the functionality and longevity of your furniture. By following the steps outlined in this guide, you can easily remove dirt, grime, and rust, and keep your drawers gliding smoothly. Remember to use a silicone-based lubricant and practice preventative maintenance to avoid future problems. Don’t let sticky drawers ruin your day – take a few minutes to clean those slides and enjoy effortless operation! If you’re looking for more ways to keep your home clean and organized, check out our article on how to clean vinyl plank flooring for another easy home improvement project.


