· Auto Maintenance · 7 min read
How To Clean Oil Pan Gasket Surface
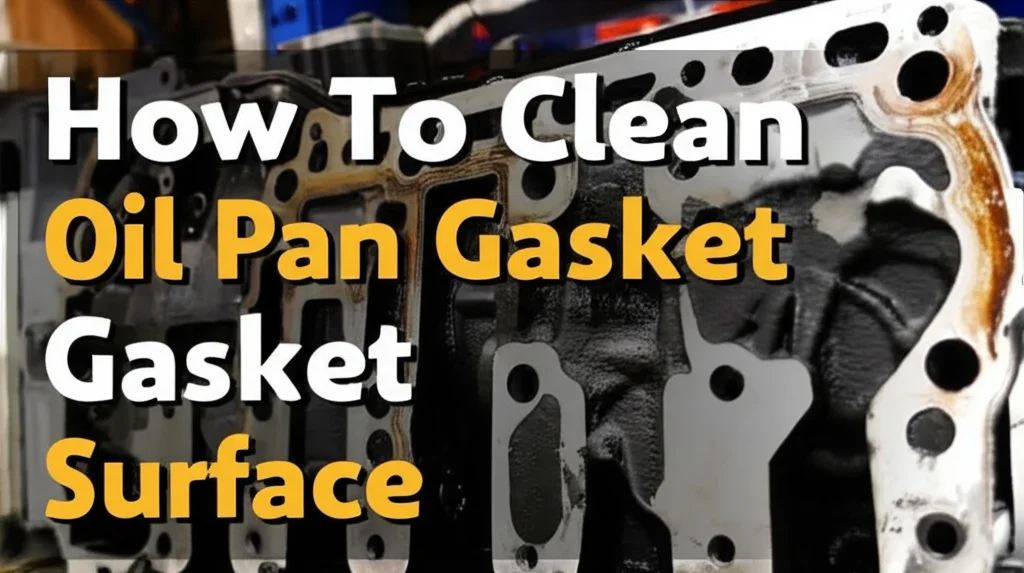
Properly Cleaning Your Oil Pan Gasket Surface
Have you noticed an oil leak coming from the bottom of your engine? It could be a failing oil pan gasket. Replacing the gasket is a common repair, but it’s crucial to properly prepare the mating surfaces for a reliable, leak-free seal. This article will guide you through how to clean the oil pan gasket surface effectively. We’ll cover the necessary tools, the best cleaning methods, and how to inspect the surface for damage. A clean surface is the foundation of a successful gasket replacement, preventing future oil leaks and costly engine damage.
Quick Answer: To clean an oil pan gasket surface, remove all old gasket material using a plastic scraper, then degrease the surface with brake cleaner or a dedicated engine degreaser. Finally, wipe clean with a lint-free cloth. Avoid abrasive cleaners that can damage the sealing surface.
Takeaway:
- Remove all traces of the old gasket.
- Degrease the surface thoroughly.
- Inspect for damage and address it.
- Ensure a clean, smooth surface for the new gasket.
Why Cleaning the Oil Pan Gasket Surface Matters
Before diving into the “how-to,” let’s understand why this step is so important. An oil pan gasket creates a seal between the oil pan and the engine block. Any debris, old gasket material, or oil residue on either surface will compromise this seal. This can lead to oil leaks, which can cause engine damage, reduced oil pressure, and even engine failure. Taking the time to clean the surfaces properly ensures the new gasket has a perfect contact point, maximizing its effectiveness. Think of it like building with LEGOs – a solid foundation is essential for a stable structure.
Tools You’ll Need for Oil Pan Gasket Surface Cleaning
Gathering the right tools beforehand will make the job much smoother. You don’t need a lot of specialized equipment, but having the correct items will save you time and frustration. Here’s a list of what you’ll need:
- Plastic Scraper: Essential for removing old gasket material without damaging the metal surface. Avoid metal scrapers, as they can easily scratch the sealing area.
- Brake Cleaner or Engine Degreaser: These solvents effectively remove oil, grease, and other contaminants.
- Lint-Free Cloths: Crucial for wiping surfaces clean without leaving behind fibers that could interfere with the gasket seal. Microfiber cloths work well.
- Gloves: Protect your hands from harsh chemicals and grime.
- Safety Glasses: Protect your eyes from debris and solvents.
- Inspection Light: Helps you thoroughly inspect the surface for damage.
- Small Wire Brush (Optional): For stubborn, stuck-on gasket material. Use very gently.
Removing the Old Gasket Material
The first step is to remove all remnants of the old oil pan gasket. Start with a plastic scraper. Gently work around the perimeter of the gasket, applying consistent pressure. Avoid digging in or using excessive force, as this can damage the sealing surface. If the gasket material is particularly stubborn, you can try gently warming it with a heat gun (on a low setting) to soften the adhesive. Be careful not to overheat the metal. Once you’ve removed the bulk of the gasket, inspect the surface closely for any remaining pieces. A small wire brush can help with these, but use it cautiously.
Degreasing the Oil Pan and Engine Block Surfaces
After removing the old gasket, the surfaces will likely be covered in oil residue and grime. This is where a degreaser comes in. Spray the oil pan gasket surface and the corresponding area on the engine block with brake cleaner or engine degreaser. Allow the degreaser to sit for a few minutes to break down the contaminants. Then, thoroughly wipe both surfaces clean with lint-free cloths. Repeat this process if necessary until the surfaces are completely free of oil and grease. Remember, a clean surface is a happy surface! If you’re looking for other ways to keep your engine bay clean, consider checking out resources on how to clean a stove top with baking soda – the principles of degreasing are similar.
Inspecting the Surfaces for Damage
Cleaning isn’t just about removing debris; it’s also about inspecting for damage. Once the surfaces are clean, carefully examine them for any scratches, gouges, or corrosion. Use an inspection light to help you see any imperfections. Minor scratches may be acceptable, but deep gouges or significant corrosion can prevent the new gasket from sealing properly. If you find any damage, you may need to have the surface professionally machined or consider replacing the oil pan or engine block. Ignoring damage can lead to recurring oil leaks and more extensive repairs down the road.
Addressing Minor Imperfections
If you find minor imperfections, like small scratches, you might be able to address them yourself. A fine grit sandpaper (400 grit or higher) can be used to lightly smooth out the surface. However, be extremely careful not to remove too much material. Always follow up with a thorough cleaning to remove any sanding residue. For corrosion, a wire brush can be used to remove loose rust, followed by a rust converter to prevent further corrosion. Remember, prevention is key, so consider applying a sealant to protect the surface after repairs.
Final Wipe Down and Gasket Installation
Before installing the new oil pan gasket, give both surfaces one final wipe down with a clean, lint-free cloth. This ensures there are no lingering contaminants. Carefully position the new gasket onto the oil pan or engine block, ensuring it’s properly aligned. Follow the manufacturer’s instructions for tightening the oil pan bolts. Use a torque wrench to ensure the bolts are tightened to the correct specification. Over-tightening can damage the gasket or the oil pan, while under-tightening can lead to leaks. After installation, it’s a good idea to start the engine and check for any leaks. If you’re concerned about other potential leaks in your vehicle, you might find information on how to remove mold from painted walls helpful, as it highlights the importance of addressing moisture issues.
FAQ: Oil Pan Gasket Surface Cleaning
Q: Can I use acetone to clean the oil pan gasket surface?
A: While acetone is a strong solvent, it can be too harsh and potentially damage the metal surface or any protective coatings. Brake cleaner or engine degreaser are safer and more effective options for this application.
Q: What if I can’t get all the old gasket material off?
A: Persistent gasket material can be carefully addressed with a small wire brush, but proceed with caution. If you’re unable to remove it completely, a gasket sealant can help fill any gaps and ensure a good seal.
Q: Is it okay to use sandpaper on the oil pan gasket surface?
A: Light sanding with very fine grit sandpaper (400 grit or higher) can address minor imperfections, but be extremely careful not to remove too much material. Always clean the surface thoroughly after sanding.
Q: How do I know if the oil pan is warped?
A: A warped oil pan won’t sit flush against the engine block. Use a straight edge to check for gaps between the pan and the block. If there are gaps, the pan may need to be replaced or professionally machined.
Conclusion
Cleaning the oil pan gasket surface is a critical step in any oil pan gasket replacement. By following these steps – removing the old gasket, degreasing the surfaces, inspecting for damage, and performing a final wipe down – you can ensure a leak-free seal and prevent costly engine problems. Remember, a little extra effort during this process can save you a lot of headaches down the road. Proper preparation is key to a successful repair. So, take your time, be thorough, and enjoy the peace of mind that comes with a properly sealed oil pan. If you’re looking for more cleaning tips around the house, you might find how to clean bacon grease from pan a useful read.