· Automotive · 7 min read
How To Clean Old Gas Out Of The Plastic Tank
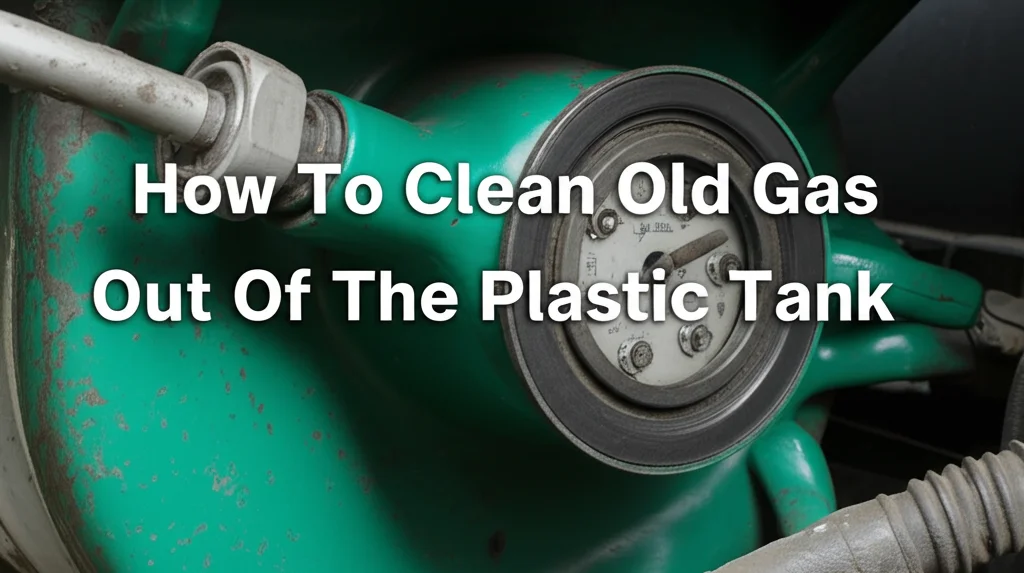
Cleaning Old Gas From Your Plastic Tank: A Step-by-Step Guide
Have you ever wondered what to do with a lawnmower, boat, or other small engine that’s been sitting for a while? Often, the culprit is stale gasoline left in the fuel tank. Old gas can cause starting problems, corrosion, and even damage to your engine. This article will guide you through how to safely and effectively clean old gas out of a plastic fuel tank, getting you back up and running. We’ll cover everything from safety precautions to the best cleaning methods.
Takeaway:
- Always prioritize safety when working with flammable materials.
- Proper ventilation is crucial during the cleaning process.
- Thoroughly rinse and dry the tank after cleaning.
- Dispose of old gas responsibly.
Quick Answer:
To clean old gas from a plastic tank, first drain the remaining fuel. Then, rinse the tank with fresh gasoline, followed by a baking soda and water solution to neutralize residue. Finally, thoroughly rinse with water and allow it to air dry completely before refilling.
Why Old Gas is Bad News for Your Fuel Tank
Leaving gasoline to sit in your fuel tank for extended periods isn’t just inconvenient; it’s detrimental. Gasoline degrades over time, losing its volatility and forming gum and varnish deposits. These deposits can clog fuel lines, carburetors, and injectors, leading to poor engine performance or even complete failure. Plastic tanks, while resistant to rust, can still be affected by the corrosive nature of degraded fuel. Understanding this degradation is the first step in preventative maintenance.
Safety First: Precautions Before You Begin
Working with gasoline requires extreme caution. Gasoline is highly flammable and its vapors are explosive. Before you even think about draining the tank, take these essential safety steps. Ignoring these precautions could lead to serious injury or property damage.
- Work Outdoors: Always perform this task in a well-ventilated area, preferably outdoors.
- No Sparks: Eliminate all sources of ignition – no smoking, open flames, or electrical sparks nearby.
- Wear Gloves & Eye Protection: Protect your skin and eyes from contact with gasoline.
- Fire Extinguisher: Keep a Class B fire extinguisher readily available.
- Grounding: Ground the fuel tank to prevent static electricity buildup. You can use a grounding wire connected to a metal object.
- Proper Disposal: Have a plan for safely disposing of the old gasoline (more on that later).
Draining the Old Fuel: The First Step
The first step in cleaning your plastic fuel tank is to remove as much of the old gasoline as possible. This is usually straightforward, but depending on the tank’s design, you might need a little ingenuity.
- Siphon: A siphon is the safest and most effective way to drain the tank. Use a fuel-resistant siphon hose and follow the instructions carefully.
- Gravity Drain: If the tank has a drain plug, simply open it and allow the fuel to drain into a suitable container.
- Tilting (Carefully!): If neither of the above options is available, you can carefully tilt the tank to pour out the fuel. Be extremely cautious and avoid spilling.
- Container: Always drain the fuel into an approved gasoline storage container. Never use glass or plastic containers not specifically designed for fuel.
Cleaning with Gasoline: A Counterintuitive But Effective Method
This might sound strange, but using fresh gasoline to clean out old gasoline residue is surprisingly effective. Fresh gasoline acts as a solvent, dissolving the gum and varnish deposits left behind by the stale fuel.
- Add Fresh Gas: Pour a small amount (about a quart) of fresh gasoline into the tank.
- Swirl & Agitate: Gently swirl the tank to coat all interior surfaces with the fresh gasoline.
- Drain Again: Drain the fresh gasoline into your approved container. You’ll likely see a lot of debris come out with it.
- Repeat: Repeat this process several times until the gasoline comes out relatively clean. This ensures you’ve removed as much of the old residue as possible.
Neutralizing Residue: Baking Soda and Water
While gasoline is great at dissolving deposits, it leaves behind a residue. To neutralize this residue and prepare the tank for final cleaning, we’ll use a baking soda and water solution. This also helps to eliminate any lingering gasoline odor.
- Mix Solution: Combine 1/2 cup of baking soda with 1 gallon of warm water.
- Pour into Tank: Pour the baking soda solution into the fuel tank.
- Swirl & Soak: Swirl the tank to ensure the solution coats all surfaces. Let it soak for at least 30 minutes, or even overnight for heavily contaminated tanks.
- Drain & Rinse: Drain the baking soda solution and thoroughly rinse the tank with clean water until all traces of baking soda are gone.
Final Rinse and Drying: Preparing for Fresh Fuel
The final steps are crucial to ensure your tank is completely clean and ready for fresh gasoline. Any remaining water can cause corrosion or interfere with combustion.
- Thorough Rinse: Rinse the tank repeatedly with clean water until no soap or residue remains.
- Air Dry: The best way to dry the tank is to let it air dry completely. Remove the fuel cap and prop the tank in a well-ventilated area, allowing air to circulate freely. This can take several hours or even a day.
- Inspect: Before refilling, inspect the tank for any remaining debris or residue.
Responsible Disposal of Old Gasoline
You can’t just pour old gasoline down the drain or into the ground! Proper disposal is essential for environmental protection and safety.
- Local Recycling Centers: Many communities have hazardous waste recycling centers that accept old gasoline.
- Auto Parts Stores: Some auto parts stores will accept old gasoline for recycling.
- Hazardous Waste Collection Events: Check your local government’s website for scheduled hazardous waste collection events.
- Never Mix: Do not mix old gasoline with other fluids, such as oil or antifreeze.
FAQ: Common Questions About Cleaning Fuel Tanks
Q: Can I use a pressure washer to clean the fuel tank?
A: While tempting, using a pressure washer is generally not recommended. The high pressure can damage the plastic tank and potentially create sparks. Gentle rinsing with a garden hose is much safer.
Q: What if the tank has a stubborn residue that won’t come off?
A: For particularly stubborn residue, you can try a specialized fuel tank cleaner available at auto parts stores. Follow the product instructions carefully. You might also consider repeating the gasoline and baking soda cleaning steps.
Q: How long can gasoline realistically sit in a fuel tank before it goes bad?
A: Gasoline typically starts to degrade within 3-6 months. After a year, it can become significantly stale and cause problems. Adding a fuel stabilizer can extend its shelf life. You can find more information on fuel stabilizers at https://www.beacleaner.com/how-to-clean-luxury-vinyl-plank-flooring/.
Q: Is it safe to use a metal tool to scrape residue from the plastic tank?
A: Avoid using metal tools, as they can scratch the plastic and potentially create sparks. Use a soft brush or cloth instead. If you’re dealing with tough stains on other surfaces, you might find this article helpful: https://www.beacleaner.com/how-to-clean-floor-grout-without-scrubbing/.
Conclusion: Keeping Your Fuel System Healthy
Cleaning old gas out of your plastic fuel tank is a relatively simple process that can save you a lot of headaches down the road. By following these steps and prioritizing safety, you can ensure your small engine runs smoothly and reliably. Remember to always handle gasoline with care, dispose of it responsibly, and keep your fuel tank clean to prevent future problems. Regular maintenance, like this, is key to extending the life of your equipment. Don’t let stale fuel ruin your next project – take the time to clean your tank and get back to work! If you’re looking for more cleaning tips for your home and vehicle, explore our other articles at Beacleaner.com.