· Cleaning Tips · 15 min read
How To Clean Plastic Hair Brushes
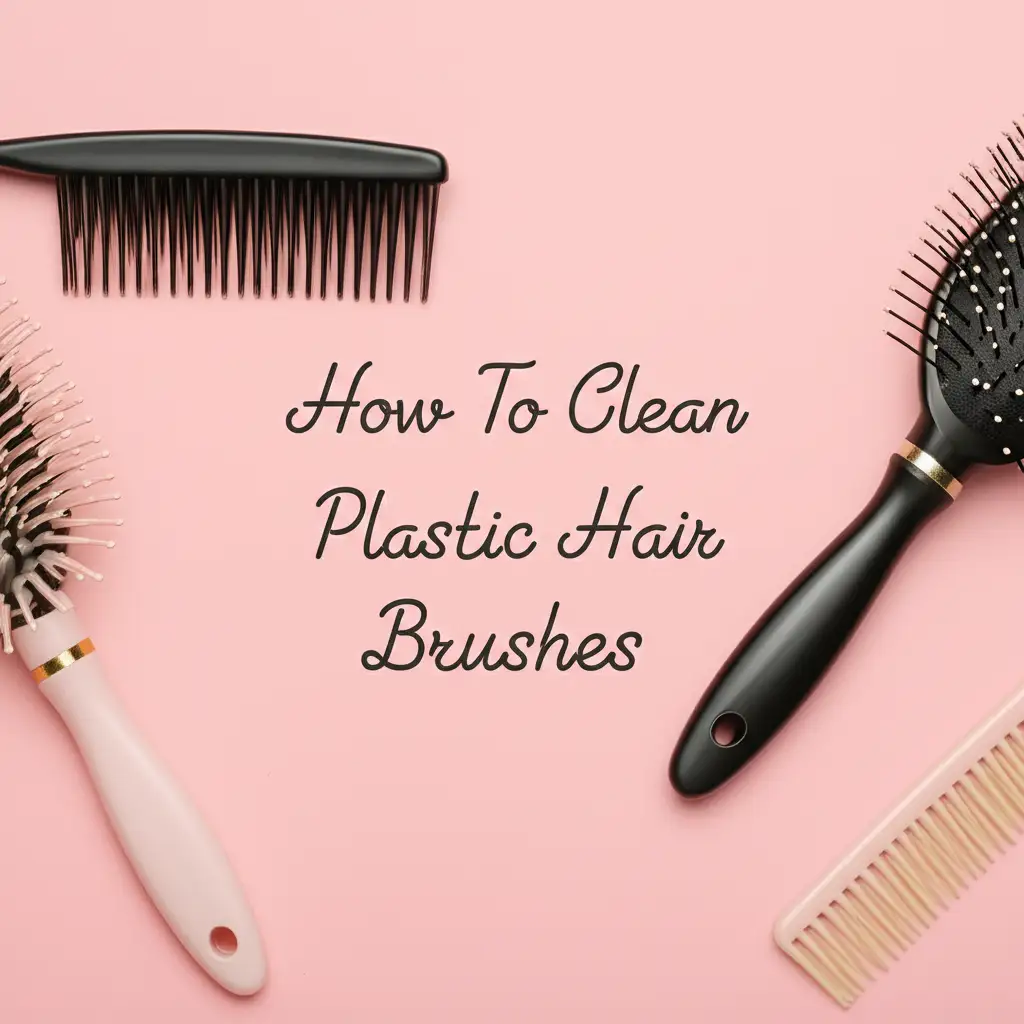
Unlock a Fresh Start: How to Clean Plastic Hair Brushes
Think about your trusty hair brush. You use it every day. It untangles knots, smooths strands, and helps style your hair. But when was the last time you truly cleaned it? If you are like most people, your plastic hair brush probably collects a lot of hair, dust, and product residue. This buildup can make your brush less effective. A dirty brush can even transfer grime back to your clean hair.
Cleaning your plastic hair brushes is simple. It improves your hair health and extends the life of your brush. This guide explains how to clean plastic hair brushes thoroughly. We will cover basic cleaning and deep cleaning methods.
You will learn what tools you need and how often to clean your brushes. Let us make your hair care routine cleaner and more effective.
Takeaway:
- Regularly remove loose hair from your plastic brush.
- Use warm soapy water for basic cleaning.
- Apply baking soda or vinegar solutions for deep cleaning.
- Always dry your plastic brush completely to prevent mildew.
- Clean your plastic hair brush at least once a month for hygiene.
To clean plastic hair brushes, first remove all visible hair. Then, soak the brush in warm water mixed with shampoo or mild soap. Scrub the bristles and base with an old toothbrush. Rinse thoroughly under clean water. Let the brush air dry completely before using it again.
The Hidden Truth: Why Your Plastic Hair Brush Needs Regular Cleaning
Your hair brush sees a lot of action. Each time you brush, it collects more than just hair. It picks up dead skin cells, natural oils from your scalp, and residue from hair products. Think about the hairspray, mousse, or dry shampoo you use. These products build up on the bristles and base of your plastic brush. Over time, this mixture creates a sticky grime.
This grime makes your brush less effective. It also becomes a breeding ground for bacteria and yeast. Using a dirty brush can transfer these microbes back to your clean hair and scalp. This can lead to oily hair, scalp irritation, or even infections. Keeping your plastic brush clean promotes scalp health. It also ensures your hair always looks its best. A clean brush moves smoothly through your hair. It does not drag or pull strands. This protects your hair from damage. Regular cleaning also makes your brush last longer. It prevents the buildup from hardening and damaging the plastic bristles. This simple act improves your daily routine significantly.
Gather Your Arsenal: Essential Tools and Supplies for Cleaning Plastic Brushes
Before you start cleaning, gather a few basic items. Most of these are already in your home. Having everything ready makes the cleaning process smooth. You will need something to remove the tangled hair. A fine-tooth comb or small scissors works well for this. Warm water is a must. It helps loosen dirt and grime.
For cleaning, a mild shampoo or dish soap is perfect. These cut through oil and product residue. For deeper cleaning, baking soda or white vinegar are excellent choices. An old toothbrush or a dedicated small cleaning brush helps scrub between the bristles. A towel is useful for drying your brush. Remember, you do not need harsh chemicals. Simple household items do the job effectively. They are safe for your plastic brush and for your hands.
Here is a simple list:
- Comb or Small Scissors: For removing hair.
- Warm Water: To loosen dirt and rinse.
- Mild Shampoo or Dish Soap: For cleaning and cutting grease.
- Baking Soda or White Vinegar: For deep cleaning and sanitizing.
- Old Toothbrush or Small Cleaning Brush: To scrub bristles.
- Clean Towel: For initial drying.
- Sink or Basin: For soaking and rinsing.
These tools make the task of cleaning plastic hair brushes easy. You will find that regular brush cleaning takes little effort. A quick routine helps maintain hygiene. You will notice a difference in your hair and scalp health. A clean brush feels good to use every time. If you want to learn more about cleaning other hair tools, consider reading our guide on how to clean combs and brushes. It offers more general advice.
Step-by-Step Guide: The Basic Method for Cleaning Plastic Hair Brushes
Cleaning your plastic hair brush does not require much time. Follow these simple steps for a basic, effective clean. This method removes most daily dirt and product buildup. I use this method for my own brushes weekly. It keeps them feeling fresh.
First, remove all the hair from the brush. This is the most important step. Use your fingers or a comb to pull out loose strands. Sometimes, hair gets tightly wound around the bristles. For this, small scissors are helpful. Carefully snip through the matted hair. Be careful not to cut the bristles or the brush base. Once you cut the hair, it becomes much easier to pull it away. Take your time with this part. Getting all the hair out prevents future buildup and makes cleaning easier.
Next, prepare a cleaning solution. Fill a sink or basin with warm water. Add a few drops of mild shampoo or dish soap. Swirl the water to create some suds. Submerge your plastic hair brush in the soapy water. Let it soak for 5 to 10 minutes. This helps loosen any remaining dirt and product residue. The warm water and soap begin to break down the oils. Soaking makes the next step much simpler.
After soaking, it is time to scrub. Use an old toothbrush or a small cleaning brush. Gently scrub between the bristles and around the base of the brush. Pay attention to any areas with visible grime. You might see milky white buildup on the bristles. This is often a mix of product residue, dead skin, and dust. The toothbrush bristles can reach into tight spaces. Scrub all sides of the brush. Do this until the water runs clear when you rinse it. This ensures all the loosened dirt is removed.
Finally, rinse your brush thoroughly under cool, running water. Make sure no soap residue remains. Soap left on the brush can make your hair sticky later. Shake off excess water. Then, place your brush on a clean towel. Let it air dry completely with the bristles facing down. This prevents water from pooling inside the brush base. Proper drying stops mildew from forming. Your brush will be clean and ready for use. If you have trouble with buildup, checking our guide on how to clean buildup on hair brush might give you more ideas.
Deep Cleaning Solutions: Tackling Stubborn Buildup and Grime
Sometimes, a basic wash is not enough. Plastic hair brushes can accumulate very stubborn grime. This includes heavy product buildup, oils, and even mold. When your brush looks cloudy or smells musty, it needs a deep clean. I have found that baking soda and white vinegar are powerful natural cleaners. They effectively sanitize and break down tough residue.
Harnessing the Power of Baking Soda
Baking soda is a fantastic abrasive and deodorizer. It is gentle enough for plastic. You can use it as a paste or add it to your soak. For a paste, mix baking soda with a little water. Create a thick consistency. Apply this paste directly onto the dirty areas of your brush. Let it sit for about 15-20 minutes. Then, scrub with your old toothbrush. The gentle grittiness of baking soda helps lift away stubborn gunk. It also neutralizes odors. After scrubbing, rinse the brush well. This method works wonders on that white, flaky buildup. For even more detailed instructions on using baking soda for brushes, refer to our article on how to clean hair brushes baking soda.
The Magic of White Vinegar
White vinegar is another hero for deep cleaning. Its acidic nature helps dissolve mineral deposits and product buildup. It also acts as a disinfectant. Mix equal parts white vinegar and warm water in a basin. After removing hair, submerge your plastic brush in this solution. Let it soak for 30 minutes to an hour. You might see the water change color as grime dissolves. After soaking, scrub any remaining spots. Rinse the brush thoroughly with clean water. The vinegar smell will dissipate as the brush dries. This method leaves your brush sanitized and sparkling.
Addressing Other Issues
For tough stains on the plastic parts of your brush, vinegar or a baking soda paste can often help. If you notice mold, which can happen if a brush stays wet, act quickly. A vinegar soak is very effective against mold. Hydrogen peroxide can also be used, but test it on an inconspicuous spot first. For stubborn stains on plastic items, you might find more tips on how to clean stains on plastic. If you suspect mold or mildew, our guide on how to clean mold off plastic provides detailed steps for safe removal. Always ensure full drying after any deep clean to prevent future issues.
Special Considerations: Cleaning Different Types of Plastic Brushes
While the basic steps work for most plastic hair brushes, some designs need extra attention. Different brush types have unique features. These features can trap more dirt or require specific cleaning methods. Knowing your brush type helps you clean it more effectively. I have learned this through trial and error.
Paddle Brushes: These brushes have a large, flat surface. They often have an air cushion base. Hair and lint can easily collect across the wide base. When cleaning, pay extra attention to the edges of the paddle. Ensure water does not get trapped inside the air hole in the base. This hole helps the brush flex. However, water can enter through it if fully submerged for too long. If water gets in, gently squeeze the air cushion. This helps push the water out. Always dry these flat.
Vent Brushes: Vent brushes have large open spaces between the bristles. This design allows air to flow through. They are great for blow-drying. The open design makes them easier to clean. Hair and product buildup are less likely to get deeply trapped. You can often rinse them more quickly. Still, use a brush or comb to clear hair from the vents. Ensure no residue remains in the open slots.
Round Brushes: Round brushes have bristles all around a cylindrical core. They are used for styling and adding volume. Hair and product can wrap tightly around the core. This makes removing hair more challenging. Use scissors carefully to snip through hair wrapped around the barrel. Then, proceed with soaking and scrubbing. Make sure to rotate the brush when scrubbing. This ensures all sides get cleaned.
Detangling Brushes: Many detangling brushes have flexible plastic bristles. These bristles are designed to bend. This flexibility helps them glide through knots. When cleaning, be gentle with the bristles. Avoid scrubbing too hard, as this can deform them. Use a soft brush or your fingers to clean between the flexible rows. They often accumulate hair at the base of each bristle.
Wet Brushes (and similar plastic detanglers): These are popular for use on wet hair. They are usually all plastic. Their flexible bristles are prone to buildup. Because they are often used in the shower, they can dry slowly. This increases the risk of mildew. Clean these frequently. Ensure they dry completely after each use and after cleaning. Place them bristles down to help water drain. No matter the type, always check for hidden grime. Different designs simply require a slight adjustment to your cleaning method.
Drying Your Brush: Preventing Mold and Extending Lifespan
Proper drying is just as important as the cleaning itself. If your plastic hair brush remains wet, it creates a perfect environment for mold and mildew. This is especially true for brushes with a padded base. Water can collect inside the cushion. Mold not only looks unsightly but also smells musty. More importantly, it can transfer spores to your hair and scalp. This can cause irritation or other issues. I always make sure my brushes are bone dry.
After rinsing your plastic hair brush, shake off as much excess water as possible. Then, gently tap it against a clean towel. This helps dislodge any remaining water droplets. Next, lay your brush on a clean, dry towel. Position it with the bristles facing downwards. This allows gravity to pull any trapped water out of the base. Air circulation is key. Place the brush in an open area. Avoid enclosed spaces like drawers or cabinets. These trap moisture and slow drying.
Do not use high heat to dry your plastic brush. A hairdryer on a hot setting can damage the plastic bristles. It can also warp the brush’s base. The plastic may melt or deform, ruining your brush. Air drying is the safest and most effective method. Depending on humidity levels, it can take several hours or overnight for a brush to dry completely. Be patient. Ensure it is completely dry before putting it away or using it. This simple step protects your investment. It keeps your hair brush hygienic and extends its useful life. Preventing mold means your brush stays fresh.
Maintenance Matters: How Often to Clean and Best Practices
Regular maintenance of your plastic hair brush is key to keeping it clean. It also ensures healthy hair and scalp. Think of it like washing your clothes or dishes. You use your brush daily, so it collects grime daily. Developing a routine for cleaning your plastic hair brushes makes the process less daunting. Small, frequent actions prevent large buildup.
How Often to Clean: I recommend a multi-tiered approach.
- After Each Use: Quickly pull out any loose hair from the bristles. This prevents hair from tangling deeply. It also stops it from mixing with oils and product. This simple step takes seconds.
- Weekly: Give your brush a quick wash. Remove hair, then rinse it under warm water. Use a few drops of shampoo to gently scrub the bristles with your fingers. Rinse well and air dry. This removes light product buildup and keeps it fresh.
- Monthly (or Bi-monthly): Perform a deep clean. This involves soaking the brush in a solution of warm water and shampoo, then scrubbing with an old toothbrush. If you use a lot of styling products, or have an oily scalp, do this every month. If not, every two months might be enough. This tackles the stubborn grime.
Signs It Is Time to Clean:
- You see a visible layer of dust, lint, or product residue on the bristles.
- The brush smells musty or unpleasant.
- Your hair feels dirtier after brushing.
- The bristles feel sticky or greasy.
- Hair struggles to move smoothly through the brush.
Best Practices for Longevity:
- Store Properly: Store your plastic hair brush in a clean, dry place. Avoid leaving it in humid bathrooms where moisture can encourage mold growth.
- Have a Spare: Consider having two brushes. You can rotate them while one is drying.
- Gentle Use: Do not yank or pull hair excessively. This puts stress on the bristles and base.
- Replace When Needed: Even with good care, brushes do not last forever. If bristles are bent, broken, or missing, it is time for a new one. A damaged brush can cause hair breakage.
Following these practices ensures your plastic hair brush remains a valuable tool. It supports good hair hygiene. A clean brush makes your hair feel better. It also makes your hair look healthier. This small effort yields big rewards for your beauty routine.
FAQ Section
How often should I clean my plastic hair brush?
You should remove loose hair after each use. Give your plastic brush a quick wash weekly to remove light buildup. Perform a deep clean with soap and water monthly. If you use many hair products, deep clean your brush every two to three weeks.
Can I use bleach on my plastic hair brush?
No, I do not recommend using bleach on your plastic hair brush. Bleach can damage the plastic, making it brittle or discolored. It can also leave harsh chemical residues. Mild soap, baking soda, or vinegar are safer and effective cleaning agents for plastic brushes.
What is the best way to remove hair from a brush?
The best way to remove hair is to use a comb or small scissors. First, pull out as much hair as you can with your fingers. For tightly woven hair, use the tip of a comb to lift and separate it. Alternatively, carefully snip through the hair with small scissors. This makes it easier to pull out the remaining strands.
Why does my hair brush get so dirty?
Your hair brush gets dirty from a combination of things. It collects loose hair, dead skin cells from your scalp, and natural oils. Additionally, residue from hair styling products like hairspray, mousse, and dry shampoo builds up on the bristles. This mix creates a sticky film over time.
Is it okay to put my plastic hair brush in the dishwasher?
I do not recommend putting your plastic hair brush in the dishwasher. High heat from the dishwasher can melt or warp the plastic bristles and base. Dishwasher detergents can also be too harsh. Hand washing with mild soap and warm water is much safer and more effective.
How do I prevent my brush from getting moldy?
To prevent mold on your plastic hair brush, ensure it dries completely after every use and cleaning. After washing, shake out excess water. Lay the brush bristles-down on a clean towel in an open area. Avoid storing it in humid places like a closed shower or damp drawer. Good air circulation is key.
Conclusion
A clean hair brush is a simple but powerful tool for healthy hair. You have learned that cleaning your plastic hair brushes is not just about aesthetics. It is vital for hygiene and hair health. From removing daily loose hair to tackling stubborn grime with baking soda or vinegar, these steps ensure your brush stays effective. You now know the essential tools, the step-by-step process, and special considerations for different brush types.
Remember, consistent effort makes a big difference. A weekly quick wash and a monthly deep clean keep your brushes in top condition. This prevents buildup, promotes scalp health, and extends the life of your favorite hair tools. Do not let your dirty brush undo all your hair care efforts.
Take action today. Make cleaning your plastic hair brushes a regular part of your beauty routine. Your hair will thank you for it! Start fresh with a sparkling clean brush tomorrow.
- hair brush cleaning
- plastic brush care
- deep clean hair brush
- brush hygiene
- home cleaning tips