· Audio Equipment Care · 12 min read
How To Clean Record Player Needle

How to Clean Your Record Player Needle for Better Sound
Do you love the warm, rich sound of vinyl records? A record player brings so much joy. But sometimes, that perfect sound changes. Your music might sound dull or distorted. Often, a dirty record player needle causes this problem. A clean needle makes a big difference. It improves sound quality. It also protects your valuable record collection.
Cleaning your record player needle is simple. It does not take much time. This guide helps you understand why cleaning is important. We will show you easy steps to clean your needle. You will learn about the right tools and methods. We will also share tips to keep your stylus in good shape. Get ready to bring back the clear sound of your vinyl. Let’s make your record player sound amazing again.
Takeaway
- Regularly clean your record player needle to maintain sound quality.
- Use proper tools like a stylus brush or cleaning fluid, and follow instructions carefully.
- Clean the stylus by brushing from back to front, never side to side.
- Prevent dirt buildup by keeping records clean and using dust covers.
- Replace your stylus when it shows signs of wear or damage.
Clear, Concise Answer
To clean a record player needle, carefully brush it from back to front using a specialized stylus brush. For deeper cleaning, use a dedicated stylus cleaning fluid with the brush. Always move the brush in the direction of record play to avoid damage. This removes dirt and ensures clear sound.
Why Your Record Player Needle Needs Regular Cleaning
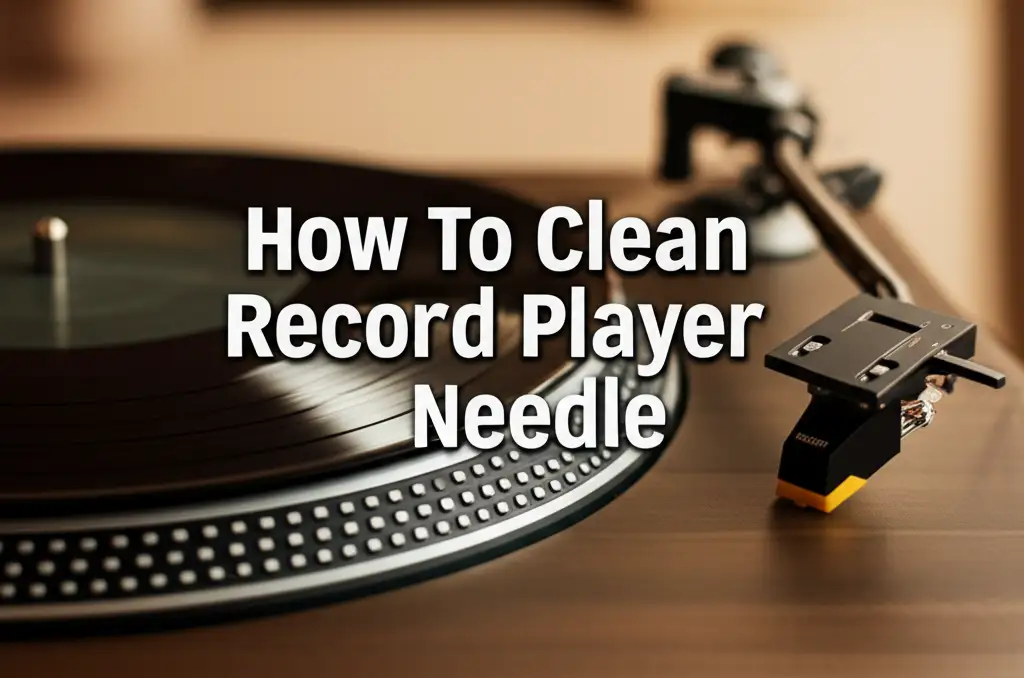
A record player needle, also called a stylus, is tiny. It sits in the grooves of your vinyl records. This tiny part reads the music. Over time, dirt collects on the needle. Dust, lint, and record residue build up. This buildup harms your sound. It also damages your records.
Think about how much work your stylus does. It traces miles of grooves on your records. Each spin can add more dirt. This dirt acts like sandpaper. It grinds away at your vinyl. It also reduces the needle’s ability to read the music correctly. Your records can get permanent scratches. The stylus itself can wear out faster.
A dirty stylus cannot track properly. It skips more often. The sound becomes muffled. You might hear crackling or static. This is not the sound you want from your vinyl. Regular cleaning prevents these issues. It keeps your records safe. It also makes your music sound amazing. Keep your needle clean for the best listening experience.
Signs Your Record Player Needle Needs Cleaning
Your record player needle sends clear signals when it needs cleaning. Listen closely to your music. Look closely at the stylus. These simple checks tell you a lot. Recognizing these signs helps you act fast. You can prevent damage to your records and equipment.
One big sign is poor sound quality. Your music might sound dull. It may lack clarity. You could hear distortion, especially in loud parts. Static or crackling noises also point to a dirty stylus. Sometimes, one channel might sound weaker than the other. This happens when dirt blocks the signal. The music just does not sound right anymore.
Visual inspection is also helpful. Take a close look at the needle. Use a magnifying glass if you have one. You might see a small ball of dust or lint stuck to the tip. This is easy to spot. Sometimes, the dirt is very fine. It looks like a gray fuzz. Even a small amount of buildup affects performance. If you see anything clinging to the stylus tip, it is time for a clean. Trust your ears and eyes. They tell you when to act.
Essential Tools for Cleaning Your Record Player Stylus
Before you clean your record player stylus, gather the right tools. Using the correct items prevents damage. It also ensures an effective clean. Do not use household cleaners. They can harm the delicate parts of your turntable. Always choose products made for record player care.
First, you need a stylus cleaning brush. These brushes have very fine, stiff bristles. They are designed to safely remove dirt. Look for carbon fiber brushes. They are gentle but effective. Always brush in the direction of the stylus travel. This means brushing from back to front. Never brush side to side. That can bend or break the stylus.
Next, consider a dedicated stylus cleaning fluid. These fluids dissolve stubborn dirt. They are safe for diamond tips. Apply a tiny drop to your stylus brush. Then, brush the needle carefully. You might not need fluid every time. For light dust, a dry brush is fine. For deeper grime, the fluid helps a lot. Finally, a small magnifying glass is useful. It lets you see the tiny needle tip clearly. This helps you spot dirt and confirm cleanliness. Having these tools makes cleaning easy and safe.
Step-by-Step Guide: How to Safely Clean Your Record Player Needle
Cleaning your record player needle does not have to be scary. It is a simple process. Just follow these steps carefully. You will keep your stylus in top condition. This ensures great sound and long life for your equipment. Always work gently. Remember, the stylus is very fragile.
Dry Cleaning Method
Start with dry cleaning for regular maintenance. This method is quick and effective for everyday dust. I do this after every few record plays.
- Lift the Tonearm: Gently lift the tonearm away from the record. Place it on its rest. Lock it in place if your turntable has a lock. This prevents accidental drops.
- Position the Stylus: Move the tonearm so the stylus is easy to reach. Make sure you have good lighting. You need to see the tiny tip clearly.
- Brush the Stylus: Hold your carbon fiber stylus brush. Place it behind the stylus tip. Brush forward, in the same direction a record spins. Use a gentle, sweeping motion. Do not press hard. Perform 3-5 strokes. This removes loose dust and lint.
This dry method helps prevent buildup. It should be your first line of defense. It is fast and easy to do.
Wet Cleaning Method
Use the wet cleaning method for stubborn dirt. This helps dissolve grime that dry brushing cannot remove. Do not do this too often. Once a month, or when sound quality drops, is usually enough.
- Apply Fluid to Brush: Put one small drop of stylus cleaning fluid onto your stylus brush. Do not apply it directly to the needle. The fluid should only be on the brush bristles. A tiny amount is enough.
- Brush with Fluid: Position the tonearm. Repeat the brushing motion from the dry method. Brush the stylus from back to front. Use short, gentle strokes. Perform 2-3 strokes. The fluid will dissolve stuck-on dirt.
- Allow to Dry: Let the stylus air dry completely. This takes only a few seconds. Do not play a record until it is dry. This prevents damage to the record.
Always be careful when cleaning delicate electronics. Cleaning other audio equipment, like a cassette player in your car or a car CD player, requires similar care. Precision and gentle actions are key. Taking these steps keeps your record player stylus in excellent shape. You will enjoy clear, vibrant sound from your vinyl collection.
Common Mistakes to Avoid When Cleaning a Record Player Needle
Cleaning your record player needle seems simple. But some common mistakes can damage it. Knowing what not to do is as important as knowing what to do. Avoid these pitfalls to protect your equipment. A tiny mistake can cost you a new stylus.
First, never brush the stylus side to side. The stylus moves in a front-to-back motion in the record groove. Brushing sideways can bend or break the cantilever. This is the tiny arm holding the diamond tip. A bent cantilever ruins your stylus. Always brush only from back to front. Imagine the record spinning towards you. That is the direction to brush.
Second, avoid harsh chemicals. Do not use rubbing alcohol, nail polish remover, or window cleaner. These products are not safe for stylus materials. They can damage the delicate adhesive holding the diamond. They might also dry out rubber parts. Stick to stylus-specific cleaning fluids. These are formulated to be safe. Also, do not use your fingers or cotton swabs. Cotton fibers can get stuck on the needle. Your fingers have oils that transfer to the stylus. Use only the proper tools. Proper tools ensure a safe and effective clean.
Maintaining Optimal Needle Condition for Longevity
Cleaning your record player needle is a vital step. But good maintenance goes beyond cleaning. It involves a full approach. You want your stylus to last a long time. You also want your records to stay in good condition. Taking extra steps prevents damage and dirt buildup. This saves you money in the long run.
Start by keeping your records clean. Dirty records are the main cause of a dirty stylus. Always clean your records before playing them. Use a record brush. A carbon fiber record brush removes dust and static. This greatly reduces the amount of debris transferred to the needle. Store your records properly. Keep them in anti-static sleeves. Store them upright in a dry, cool place. This protects them from dust and warpage.
Always use your turntable’s dust cover. This simple cover keeps airborne dust off your platter and stylus. Lower the tonearm gently onto the record. Do not drop it. A hard drop can damage the stylus. When you finish playing, always return the tonearm to its rest. Lock it if possible. This prevents accidental bumps. Regularly check your turntable’s setup. Make sure the tracking force and anti-skate settings are correct. Incorrect settings cause undue wear on the stylus. They also harm your records. These small actions add up. They help your needle stay clean and last longer.
When to Replace Your Record Player Stylus
Even with the best cleaning and care, your record player stylus will eventually wear out. Knowing when to replace it is important. A worn stylus harms your records. It also makes your music sound bad. Replacing it on time protects your collection. It keeps your listening experience high quality.
The lifespan of a stylus depends on many factors. Playing time is the biggest one. A typical diamond stylus lasts about 1,000 hours of play. If you listen for 3 hours a day, that is less than a year. If you listen less, it lasts longer. Record condition also matters. Playing dirty or scratched records wears out a stylus faster. High tracking force also speeds up wear.
Look for signs of wear. Sound quality is the first indicator. You might notice sibilance, which is harsh ‘S’ sounds. The sound might become dull or distorted. Bass notes might lose their punch. Visually, a worn stylus might look chipped. Its tip might appear flat when viewed under a microscope. Some people use a magnifying glass to check. If you see any signs of damage or wear, get a new stylus. Do not wait until it completely fails. Replacing it promptly saves your vinyl. It also restores your perfect sound.
FAQ Section
How often should I clean my record player needle?
You should clean your record player needle with a dry brush before or after every few plays. For deeper cleaning with fluid, aim for every 20-30 hours of playback or when sound quality degrades. Regular light cleaning prevents significant dirt buildup. This keeps your stylus working well and extends its life.
What happens if I don’t clean my record player needle?
If you do not clean your record player needle, dirt and grime build up. This leads to poor sound quality, like distortion, muffled audio, or static. A dirty stylus also causes increased wear on your vinyl records. It can scratch them. The stylus itself wears out much faster. This harms both your music and your equipment.
Can I use rubbing alcohol to clean my stylus?
No, do not use rubbing alcohol or similar household cleaners on your stylus. These chemicals can damage the delicate adhesive that holds the diamond tip. They might also dry out and crack rubber parts on the cartridge. Always use a dedicated stylus cleaning fluid designed for record player needles. These fluids are safe and effective.
How long does a record player stylus last?
A typical diamond record player stylus lasts for about 500 to 1,000 hours of play. This depends on factors like stylus quality, record cleanliness, and tracking force. Heavy use, dirty records, or incorrect settings can shorten its life. Listen for sound degradation or inspect it for wear. Replace it when signs of wear appear.
What is the best way to store records to help my needle?
Store your records upright in high-quality, anti-static inner sleeves. This prevents dust accumulation and static cling. Keep them in a cool, dry place away from direct sunlight. Proper record storage minimizes the amount of dust and grime that transfers to your record player needle during playback. Clean records mean a cleaner stylus.
Conclusion
Cleaning your record player needle is simple. It is a powerful way to enhance your listening experience. It protects your cherished vinyl collection. A clean stylus means clear, vibrant sound. It prevents damage to your records. It also extends the life of your valuable audio equipment. We have explored why regular cleaning matters. We looked at the signs of a dirty needle. We identified the right tools for the job. You now know the step-by-step process for safe cleaning. You also understand common mistakes to avoid.
Remember, a little care goes a long way. Make stylus cleaning a routine part of your vinyl enjoyment. Brush your stylus regularly. Use cleaning fluid when needed. Always follow the proper back-to-front motion. Keep your records clean. Store them well. These habits ensure optimal performance. They make your music sound its very best. Do not let a dirty record player needle diminish your vinyl experience. Take action today. Enjoy every note in crystal-clear quality. Your records will thank you for it.
- record player maintenance
- turntable cleaning
- stylus care
- vinyl care
- audio equipment


