· Home Cleaning · 7 min read
How To Clean The Oven After A Fire
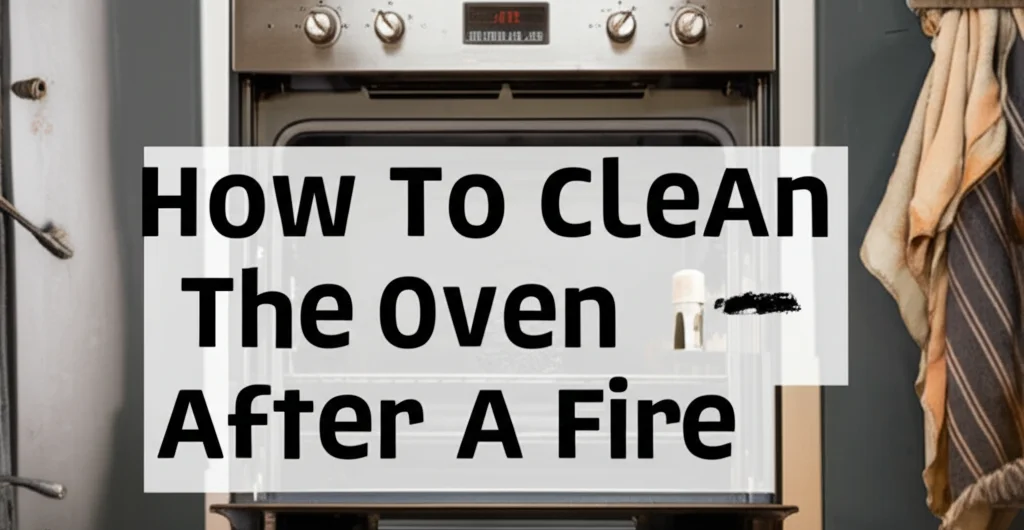
Cleaning Your Oven After a Fire: A Step-by-Step Guide
Dealing with a fire in your kitchen is stressful, and cleaning up afterward can feel overwhelming. One of the biggest challenges is often figuring out how to clean the oven after a fire. Soot, ash, and potentially melted materials can leave a stubborn mess, but don’t worry – it is possible to restore your oven to its former glory. This article will guide you through the process, ensuring safety and effectiveness. We’ll cover everything from initial safety checks to deep cleaning techniques, helping you get your kitchen back in working order.
Takeaway:
- Prioritize safety by disconnecting power and wearing protective gear.
- Remove loose debris with a vacuum and damp cloths.
- Use a baking soda paste for stubborn soot and residue.
- Thoroughly rinse and dry all components before reassembly.
Can you clean an oven after a fire?
Yes, you can clean an oven after a fire, but it requires careful attention to safety and thorough cleaning. The process involves removing soot, ash, and any melted residue, and ensuring all components are properly rinsed and dried before use. Always disconnect the power before starting and wear appropriate protective gear.
1. Safety First: Before You Begin Cleaning
Before you even think about cleaning, safety is paramount. A fire can cause hidden damage, and you need to protect yourself. First, disconnect the oven from its power source – either unplug it or turn off the breaker. This prevents accidental electrocution. Next, wear appropriate protective gear. This includes safety glasses to protect your eyes from falling debris, a dust mask or respirator to avoid inhaling soot particles, and rubber gloves to shield your skin from harsh cleaning agents. Finally, open windows and doors to ensure adequate ventilation during the cleaning process.
- Disconnect Power: Unplug the oven or switch off the breaker.
- Protective Gear: Wear safety glasses, a dust mask, and rubber gloves.
- Ventilation: Open windows and doors for fresh air.
- Inspect for Damage: Look for any visible damage to wiring or components. If you see anything concerning, contact a qualified appliance repair technician.
2. Removing Loose Debris: Vacuuming and Initial Wipe-Down
Once you’ve ensured your safety, it’s time to remove the loose debris. Start by carefully vacuuming the inside of the oven, including the racks, floor, and walls. Use a hose attachment to reach tight corners and crevices. Be gentle to avoid spreading soot further. After vacuuming, use a damp cloth to wipe down all surfaces. Avoid using harsh scrubbing motions, as this can embed soot deeper into the surfaces. Simply wipe gently to remove the remaining loose particles.
- Vacuum Thoroughly: Use a hose attachment to reach all areas.
- Damp Cloth Wipe-Down: Gently wipe surfaces to remove remaining soot.
- Avoid Harsh Scrubbing: This can spread soot and damage surfaces.
- Remove Oven Racks: Take out the racks for separate cleaning.
3. Tackling Stubborn Soot: The Baking Soda Paste Method
Soot can be incredibly stubborn, and a simple wipe-down often isn’t enough. That’s where baking soda comes in. Create a paste by mixing baking soda with water – aim for a consistency similar to toothpaste. Apply this paste generously to all soot-covered surfaces inside the oven. Let the paste sit for at least 15-20 minutes, allowing it to break down the soot. For particularly tough areas, you can let it sit for several hours, or even overnight. After the soaking period, use a damp sponge or cloth to gently scrub away the paste and loosened soot.
- Baking Soda Paste: Mix baking soda and water into a paste.
- Generous Application: Apply the paste to all soot-covered areas.
- Soaking Time: Let the paste sit for 15-20 minutes (or longer for tough areas).
- Gentle Scrubbing: Use a damp sponge or cloth to remove the paste and soot. If you’re looking for more information on cleaning floors, check out https://www.beacleaner.com/how-to-clean-luxury-vinyl-plank-flooring/.
4. Cleaning Oven Racks and Components
Don’t forget about the oven racks and other removable components! These often accumulate a significant amount of soot and residue. Soak the racks in hot, soapy water for several hours, or overnight if possible. This will help loosen the baked-on grime. After soaking, scrub the racks with a non-abrasive brush or sponge. For stubborn spots, you can use the same baking soda paste method described earlier. Rinse the racks thoroughly with clean water and allow them to dry completely before reinserting them into the oven.
- Soak in Hot, Soapy Water: Soak racks overnight for best results.
- Non-Abrasive Scrubbing: Use a brush or sponge to remove grime.
- Baking Soda Paste (Optional): For stubborn spots, apply baking soda paste.
- Thorough Rinse and Dry: Ensure racks are completely dry before reassembly.
5. Dealing with Melted Plastic or Food Residue
If the fire involved melted plastic or food residue, the cleaning process becomes more challenging. Allow the melted material to cool completely before attempting to remove it. Once cooled, carefully scrape away as much of the material as possible using a plastic scraper or spatula. Avoid using metal tools, as these can damage the oven’s interior. For remaining residue, you can try using a specialized oven cleaner, but always follow the manufacturer’s instructions carefully. Remember to ventilate the area well when using chemical cleaners. If you’re dealing with other messes, you might find this article helpful: https://www.beacleaner.com/how-to-get-motor-oil-out-of-carpet/.
- Cool Completely: Allow melted material to cool before attempting removal.
- Plastic Scraper: Use a plastic scraper to carefully remove the material.
- Avoid Metal Tools: These can damage the oven’s interior.
- Oven Cleaner (Optional): Use with caution and follow instructions.
6. Final Rinse and Drying: Ensuring a Safe Oven
After cleaning all surfaces, it’s crucial to rinse everything thoroughly with clean water. This removes any remaining cleaning agents or residue. Use a clean sponge or cloth to wipe down all interior surfaces, ensuring no traces of baking soda or oven cleaner remain. Finally, allow the oven to dry completely before reconnecting it to the power source. You can speed up the drying process by leaving the oven door open and using a fan to circulate air. A damp oven can create electrical hazards.
- Thorough Rinse: Use clean water to remove all cleaning agents.
- Clean Cloth Wipe-Down: Wipe down all surfaces to ensure cleanliness.
- Complete Drying: Allow the oven to dry completely before use.
- Ventilation: Use a fan to circulate air and speed up drying.
7. FAQ: Common Questions About Cleaning After an Oven Fire
Q: Is it safe to use a self-cleaning oven cycle after a fire? A: No, it’s generally not recommended. The high heat can potentially worsen any remaining damage or release harmful fumes from the fire.
Q: What if the soot is extremely stubborn and won’t come off? A: Repeat the baking soda paste application and allow it to sit for a longer period. You may also consider consulting a professional appliance cleaning service.
Q: Can I use vinegar to clean the oven after a fire? A: While vinegar is a good cleaner, it may not be strong enough to tackle heavy soot. It can be used as a final rinse to neutralize odors.
Q: How do I know if the oven is safe to use after cleaning? A: Ensure all components are completely dry, there are no visible signs of damage, and the oven operates normally after being reconnected to power.
Conclusion: Restoring Your Oven and Peace of Mind
Cleaning your oven after a fire is a challenging task, but it’s achievable with patience and the right approach. Remember to prioritize safety, remove debris thoroughly, and utilize effective cleaning methods like the baking soda paste. A clean oven not only restores functionality to your kitchen but also provides peace of mind. If you’re unsure about any aspect of the cleaning process, or if you suspect significant damage, don’t hesitate to contact a qualified appliance repair technician. For other cleaning challenges around your home, consider checking out https://www.beacleaner.com/how-to-clean-hardwood-floors-with-vinegar/ for helpful tips.

