· Home Cleaning · 16 min read
How To Clean White Cabinets That Have Yellowed
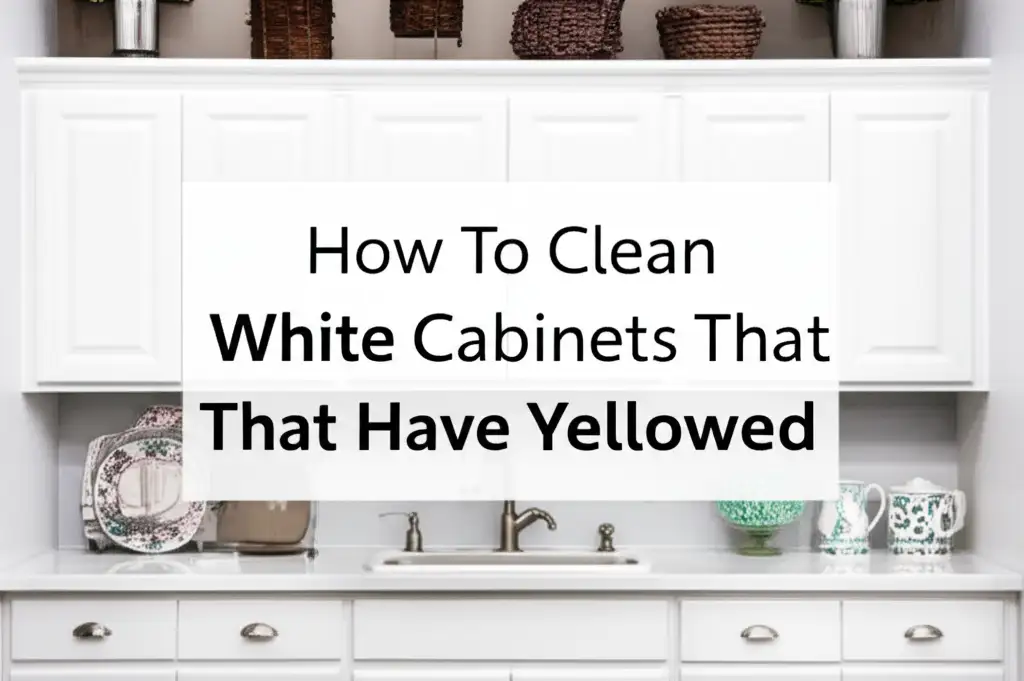
Restore Brilliance: How To Clean White Cabinets That Have Yellowed
Are your once bright white cabinets now showing a dull, yellow tint? It happens often in busy homes. Yellowing can make your kitchen or bathroom look tired and unclean. You are not alone in facing this common issue. Many factors cause white cabinets to yellow over time.
But do not worry, there are effective ways to bring back their original crispness. I will guide you through simple, safe, and powerful cleaning methods. This article covers everything from understanding why yellowing occurs to applying the best cleaning solutions.
Get ready to transform your discolored cabinets back to their sparkling white state. We will explore various approaches to clean white cabinets that have yellowed.
Takeaway
- Identify the cause of cabinet yellowing before cleaning.
- Always test cleaning solutions on a small, hidden area first.
- Use gentle, non-abrasive cloths and sponges.
- Apply appropriate cleaning solutions like dish soap, baking soda, vinegar, or hydrogen peroxide.
- Rinse and dry cabinets thoroughly after cleaning.
- Implement regular cleaning and protective measures to prevent future yellowing.
To effectively clean white cabinets that have yellowed, first identify the cause. Then, choose a suitable non-abrasive cleaning solution such as dish soap, baking soda, vinegar, or hydrogen peroxide, applied gently. Always test a small area first to ensure no damage to the finish.
Understanding Why White Cabinets Yellow Over Time
Have you ever wondered why your beautiful white cabinets lose their brightness? Many factors contribute to the yellowing of white cabinets. Understanding these causes helps you choose the right cleaning approach. It also helps prevent future discoloration. This section details the most common reasons for cabinet yellowing.
One major culprit is kitchen grease and grime. Cooking releases oils and tiny food particles into the air. These particles settle on cabinet surfaces, especially near the stove. Over time, these layers build up, attracting more dirt and dust. This sticky residue often appears yellow or brownish. It is one of the most common reasons you need to clean white cabinets that have yellowed.
Another common cause is exposure to sunlight. White paint and finishes, especially those made from certain materials, can react to UV rays. Direct sunlight causes a chemical reaction in the finish. This reaction breaks down the material, leading to a visible yellow tint. Areas of cabinets that receive more direct light often yellow faster. This is why you might see uneven yellowing on your cabinets.
Smoking indoors also contributes significantly to cabinet yellowing. Nicotine and tar from cigarette smoke leave a sticky, yellow residue on surfaces. This residue is very difficult to remove once it builds up. It coats everything in the room, including your white cabinets. The yellowing from smoke is usually uniform and pervasive. It requires deep cleaning to restore the original white.
Cleaning products themselves can sometimes cause yellowing. Some harsh cleaners or those with strong chemicals can damage the cabinet finish. This damage makes the surface more porous. A damaged finish can then absorb dirt and oils more easily. Some cleaners also leave behind a residue that yellows as it ages. Always choose gentle, appropriate cleaners for your cabinet material. Understanding these causes is the first step to successfully clean white cabinets that have yellowed.
Preparing Your Cabinets for a Deep Clean
Before you begin the cleaning process, proper preparation is important. This step ensures safety and better cleaning results. Skipping preparation can lead to uneven cleaning or even damage to your cabinet finish. I always start with a clean workspace. This helps me focus on the task.
First, remove everything from inside and on top of your cabinets. Clear out all dishes, food items, and decorative pieces. This prevents them from getting wet or damaged during cleaning. It also gives you full access to all cabinet surfaces. Take your time with this step. It makes the cleaning process much easier.
Next, dust off all cabinet surfaces. Use a soft, dry cloth or a duster to remove loose dirt and dust. This initial dusting prevents dirt from turning into muddy streaks when you introduce liquid cleaners. Pay attention to corners and crevices where dust often collects. A thorough dusting prepares the surface for the wet cleaning solutions.
Protect your surrounding areas. Lay down old towels or plastic sheets on your countertops and floors. This protects them from drips and spills. Especially when using stronger cleaning agents, protecting your surfaces is critical. Covering nearby appliances also helps keep them clean. This prevents accidental splashes.
Finally, gather all your cleaning supplies. Have everything within reach before you start. You will need soft cloths, sponges, buckets, and your chosen cleaning solutions. Having everything organized saves time and effort. It also ensures a smooth cleaning process from start to finish. Proper preparation is the foundation for successfully cleaning white cabinets that have yellowed.
Gentle Solutions for Light Yellowing and Grime
When your white cabinets show only light yellowing or greasy buildup, gentle solutions often work best. These methods are safe for most cabinet finishes. They are also effective at lifting away minor discoloration. I always recommend starting with the least abrasive option first. This protects your cabinet’s integrity.
A simple mixture of warm water and dish soap is often surprisingly effective. Fill a bucket with warm water and add a few drops of mild dish soap. Mix it until suds form. Dish soap is excellent at cutting through grease. This is the common cause of light yellowing. Dip a soft cloth into the soapy water and wring it out well. The cloth should be damp, not dripping wet. Wipe down your cabinet surfaces in small sections. For general cleaning of kitchen surfaces, this gentle approach is usually sufficient. You can also learn how to clean kitchen cabinets without removing their finish for more comprehensive tips. how to clean kitchen cabinets without removing finish
For slightly more stubborn grime, a vinegar solution can be very useful. Mix equal parts white vinegar and warm water in a spray bottle. Vinegar is a natural degreaser and disinfectant. Spray the solution onto a soft cloth, not directly onto the cabinets. Wipe the yellowed areas gently. Let the solution sit for a minute or two on stubborn spots. Then, wipe it away with a clean, damp cloth. Vinegar has a strong smell, but it dissipates quickly. This method is excellent for lifting away light yellow stains.
Baking soda paste provides a mild abrasive action for more concentrated yellow spots. Mix a few tablespoons of baking soda with just enough water to form a thick paste. Apply this paste directly onto the yellowed areas. Let it sit for about five to ten minutes. The baking soda works to absorb stains and gently scour the surface. Gently scrub the paste with a soft cloth or sponge. Rinse thoroughly with a clean, damp cloth. For more ideas on how to clean with vinegar and baking soda, you can explore other resources. how to clean with vinegar and baking soda Always make sure to remove all paste residue. These gentle solutions are your first line of defense when you need to clean white cabinets that have yellowed.
Tackling Stubborn Yellow Stains with Stronger Cleaners
Sometimes, gentle methods are not enough for deeply yellowed white cabinets. For stubborn stains and significant discoloration, you might need stronger cleaning agents. Always proceed with caution when using more powerful cleaners. Test them in an inconspicuous area first. This prevents any damage to your cabinet finish.
Hydrogen peroxide is a safe and effective option for whitening surfaces. It is a mild bleaching agent that works well on yellow stains. Mix one part hydrogen peroxide (3% solution) with two parts warm water. Apply this solution using a clean, soft cloth. Gently wipe the yellowed areas. For tougher stains, dampen a cloth with straight 3% hydrogen peroxide. Lay the cloth over the stained area for 10-15 minutes. Hydrogen peroxide breaks down organic stains. It is also used to clean other white items, such as shoes. You can find more tips on how to clean white shoes with hydrogen peroxide for context. how to clean white shoes with hydrogen peroxide After soaking, wipe the area clean with a fresh damp cloth. Rinse thoroughly.
For very severe yellowing, especially from smoke or old grease, a specialized degreaser might be necessary. Look for degreasers formulated for kitchen surfaces. Read the product instructions carefully. Some degreasers are very strong and require dilution. Always wear gloves to protect your hands. Apply the degreaser to a cloth, not directly to the cabinet. Wipe in small sections. Allow it to sit for the recommended time. Then, wipe away the degreaser and rinse the surface completely. Be very careful with these products. They can strip finishes if left on too long.
Using a melamine foam eraser, often called a magic eraser, can also help. These sponges are gently abrasive. They can lift away tough stains without harsh chemicals. Dampen the eraser slightly and gently rub the yellowed areas. Use light pressure. Excessive scrubbing can remove paint or finish. The eraser works by breaking down the stain with its microscopic structure. Rinse the cabinet surface thoroughly after using a magic eraser. These stronger solutions offer a way to restore badly yellowed white cabinets. Always remember to rinse thoroughly after using any cleaning product. This removes all residue.
Restoring and Protecting Your White Cabinet Finish
After successfully cleaning your white cabinets and removing the yellowing, the next step is restoration and protection. This ensures they stay bright longer. It also helps prevent future discoloration. Proper post-cleaning care is as important as the cleaning itself. I always make sure to put a protective layer on my cabinets. This preserves their renewed appearance.
First, ensure your cabinets are completely dry. Use a clean, dry microfiber cloth to wipe down all surfaces. Any residual moisture can attract dust or even encourage mildew growth. Drying also prepares the surface for any protective treatments. Go over every corner and edge. Make sure no dampness remains. A completely dry surface is key to successful protection.
Consider applying a cabinet polish or wax. These products create a protective barrier on the cabinet surface. They repel grease, dirt, and moisture. This barrier helps prevent yellowing from setting in again. Choose a polish or wax specifically designed for your cabinet material. For painted cabinets, a non-yellowing, clear cabinet wax is ideal. Apply a thin, even coat according to product instructions. Buff it gently with a soft cloth for a smooth finish. This step adds a layer of defense against environmental factors. It helps maintain the crisp white color.
For additional protection against UV yellowing, consider window films. If your cabinets are directly exposed to strong sunlight, UV-blocking window films can help. These films reduce the amount of harmful UV rays entering your kitchen. This lessens the impact on your cabinet finish. It is a proactive step for cabinets in sunny locations. This helps prevent future fading and yellowing. Installing these films is a long-term solution. It keeps your cabinets looking white.
Finally, regular, light cleaning is essential for ongoing protection. Do not wait for yellowing to reappear. Wipe down your cabinets weekly or bi-weekly with a mild solution of dish soap and water. This removes daily grime and grease before it builds up. Consistent cleaning prevents stains from setting deeply. It also minimizes the need for aggressive cleaning later. These steps will keep your white cabinets looking new for years.
Preventive Measures: Keeping Your Cabinets White
Once you have restored your white cabinets, the goal is to keep them that way. Prevention is key to avoiding future yellowing. Simple habits and proactive steps can make a big difference. I find that regular upkeep saves a lot of work in the long run. These measures help your cabinets stay pristine.
Ventilate your kitchen well during cooking. Grease and steam are major contributors to cabinet yellowing. Always use your range hood or exhaust fan when cooking, especially when frying or boiling. This pulls grease particles and moisture out of the air. Good ventilation prevents them from settling on your cabinet surfaces. If you do not have an exhaust fan, open windows to improve air circulation. This simple act reduces airborne contaminants significantly.
Regularly wipe down cabinet surfaces with a mild cleaner. Do not wait for visible yellowing to appear. A quick wipe-down once a week can prevent grime buildup. Use a damp cloth with a few drops of dish soap. Pay special attention to areas around handles and near the stove. These areas collect dirt faster. Consistent, light cleaning removes fresh grease before it has a chance to bake onto the finish. This proactive approach keeps surfaces clean and bright.
Address spills and splatters immediately. Any food or liquid left on cabinet surfaces can lead to stains and discoloration over time. Wipe them up as soon as they happen. This prevents them from drying and setting into the finish. Quick action minimizes the risk of stubborn yellow spots. This is especially true for oily or acidic spills. Prompt cleaning protects your cabinets from permanent marks.
Consider using cabinet liners, especially for frequently accessed drawers and shelves. Liners protect the interior surfaces from spills and scratches. While they do not prevent exterior yellowing, they help maintain the overall cleanliness and integrity of your cabinets. They also make interior cleaning easier. When you clean white cabinets that have yellowed, think about these preventive tips for lasting brightness. These measures extend the life and beauty of your white cabinets.
When to Consider Repainting or Refinishing
Despite your best efforts, sometimes yellowing on white cabinets can be too severe. Or, the finish might be too damaged to restore. In these cases, repainting or refinishing your cabinets becomes a practical solution. This can give your kitchen a completely fresh look. It is a bigger project, but often worthwhile. I consider this option when cleaning no longer yields satisfactory results.
One clear sign is deep, pervasive yellowing that cleaning cannot remove. If you have tried several cleaning methods, including stronger ones, and the yellow tint persists, the discoloration might be permanent. This happens when the original finish has degraded significantly. It can also occur if the cabinets are very old and deeply stained. At this point, the pigment in the finish itself has likely yellowed. Cleaning surface dirt will not fix this.
Another indicator is a damaged or deteriorating finish. Cracks, chips, or peeling paint mean the protective layer is compromised. Once the finish is damaged, it becomes very difficult to clean effectively. Dirt and grease can penetrate deeper into the wood or MDF. Cleaning might even worsen the damage. A new coat of paint or finish can seal and protect the surface again. It brings back a smooth, clean appearance.
Consider the amount of effort versus results. If you are spending hours cleaning, only to see minimal improvement, repainting might be more efficient. Investing time and money into a repaint can offer a better return. It provides a truly fresh start for your cabinets. This option also allows you to update the look of your kitchen. You can choose a new shade of white or even a different color entirely.
Finally, think about the overall aesthetic of your home. If the yellowed cabinets make your entire kitchen look dated or dingy, a repaint can dramatically improve its appearance. It is a significant upgrade. Hiring a professional or doing it yourself are both options. Repainting is a permanent solution for when you cannot clean white cabinets that have yellowed sufficiently. It ensures your cabinets look bright and new again.
Frequently Asked Questions
Q1: Can I use bleach to clean yellowed white cabinets?
A1: Avoid using straight bleach on white cabinets. Bleach can strip the finish, damage the wood, or even cause further yellowing over time, especially if not rinsed thoroughly. It is very harsh. Stick to milder alternatives like hydrogen peroxide diluted in water. Always test any cleaner in a hidden spot first to ensure it does not harm your cabinet material or finish.
Q2: How often should I clean my white cabinets to prevent yellowing?
A2: For optimal prevention, wipe down your white cabinets at least once a week with a mild solution of dish soap and water. This regular cleaning removes fresh grease and grime before it builds up. For areas near the stove, wipe them more frequently, even daily if cooking often. Consistent, light cleaning is key.
Q3: Will painting my cabinets white prevent them from yellowing again?
A3: Repainting with high-quality, non-yellowing cabinet paint can significantly reduce future yellowing. Look for paints formulated with UV inhibitors. However, no paint is completely immune to yellowing over decades. Regular cleaning, good ventilation, and avoiding direct sunlight exposure will still be necessary to maintain their pristine white color.
Q4: What types of cabinet materials are most prone to yellowing?
A4: Cabinets made from thermofoil, laminate, or certain types of painted wood (especially those with oil-based paints or lacquers) are more prone to yellowing. These materials can react to UV light, cooking oils, and smoke over time. Solid wood cabinets with high-quality, non-yellowing finishes tend to resist yellowing better.
Q5: Is professional cleaning worth it for yellowed cabinets?
A5: Professional cleaning can be worthwhile for very old or severely yellowed cabinets, especially if you are unsure about DIY methods. Professionals have specialized tools and stronger, safer chemicals. They can often achieve better results without damaging the finish. They can also advise if refinishing or repainting is a more viable option.
Conclusion
Tackling yellowed white cabinets can seem like a daunting task, but it is entirely manageable. We have covered the common reasons for yellowing, from kitchen grease to sunlight exposure. You now have a clear understanding of what causes this discoloration. Remember, identifying the cause is the first step toward finding the right solution.
We explored various effective cleaning methods, starting with gentle solutions like dish soap and vinegar for light yellowing. For more stubborn stains, we discussed the power of hydrogen peroxide and specialized degreasers. Always remember to test these solutions in a small, hidden area first. This crucial step protects your cabinet’s finish. I hope these steps help you bring back the sparkle to your kitchen.
Beyond cleaning, we looked at how to protect your newly brightened cabinets. Regular wiping, using a range hood, and applying protective polishes are simple ways to prevent future yellowing. These preventive measures are your best defense. They keep your white cabinets looking fresh and new for longer.
Finally, we discussed when repainting or refinishing might be the best option for badly damaged or deeply stained cabinets. Sometimes a fresh coat of paint is the only way to truly revitalize them. By following these comprehensive steps, you can effectively clean white cabinets that have yellowed. You can restore their beauty and maintain them for years to come. Do not let yellowing diminish your home’s appeal; take action today.
- White Cabinets
- Cabinet Cleaning
- Yellowed Cabinets
- Kitchen Cleaning Tips
- Home Maintenance