· Auto Detailing · 7 min read
How To Make Red Tail Lights Clear
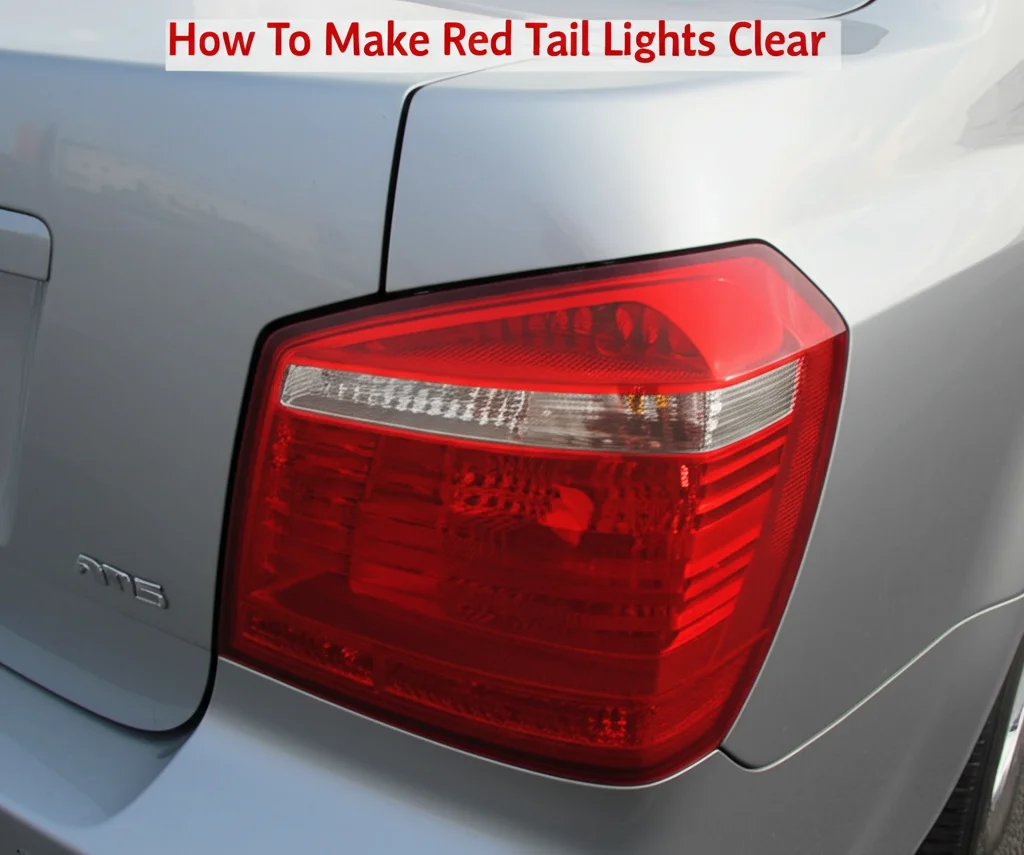
How To Make Red Tail Lights Clear
Have you noticed your car’s red tail lights looking hazy, cloudy, or just generally faded? This is a common problem, but thankfully, it’s one you can often fix yourself. Clear tail lights aren’t just about aesthetics; they’re crucial for safety, ensuring other drivers can clearly see your brake lights and signals. This article will guide you through several methods to make your red tail lights clear again, from simple cleaning techniques to more involved restoration processes. We’ll cover everything you need to know to restore visibility and keep your vehicle safe on the road. Let’s dive in and get those tail lights shining!
Takeaway:
- Regular cleaning prevents buildup.
- Polishing removes oxidation and scratches.
- UV protection maintains clarity long-term.
- DIY methods are cost-effective and achievable.
Can you clear cloudy red tail lights?
Yes, you can! Cloudy or faded red tail lights are usually caused by oxidation and sun damage to the plastic lens. Using polishing compounds and protective coatings can restore clarity and improve visibility.
Why Do Red Tail Lights Become Cloudy?
It’s frustrating to see your car’s appearance diminish over time, and cloudy tail lights are a prime example. The primary culprit is exposure to the elements. Sunlight, specifically the UV rays, breaks down the plastic polymers in the tail light lens, causing oxidation. This oxidation creates a hazy or cloudy film on the surface.
Think of it like leaving plastic outside for years – it becomes brittle and discolored. Road grime, salt, and pollutants also contribute to the problem, embedding themselves in the damaged plastic. Over time, even minor scratches can become more noticeable as the plastic around them degrades. Addressing this isn’t just about looks; it’s about ensuring your brake lights are visible, which is a safety concern. Regular maintenance can prevent this degradation and keep your tail lights functioning optimally.
Simple Cleaning: The First Step to Clear Tail Lights
Before you jump into more intensive restoration methods, start with a thorough cleaning. Often, what appears to be cloudiness is simply a buildup of dirt, grime, and road salt. This initial step can make a surprising difference.
Here’s what you’ll need:
- Car wash soap
- Water
- Soft microfiber cloths
- Detailing brush (optional)
Instructions:
- Wash the tail lights with car wash soap and water, using a soft microfiber cloth.
- Use a detailing brush to gently scrub away any stubborn dirt or grime in crevices.
- Rinse thoroughly with water.
- Dry with a clean microfiber cloth.
This simple cleaning can remove surface contaminants and reveal the true condition of your tail lights. If they’re still cloudy after cleaning, it’s time to move on to polishing. Remember, consistent cleaning is a preventative measure that can delay the need for more extensive restoration.
Polishing Red Tail Lights: Removing Oxidation
If cleaning doesn’t fully restore clarity, polishing is your next best bet. Polishing removes a thin layer of the oxidized plastic, revealing the clear plastic underneath. This process requires a bit more effort but delivers significant results.
What you’ll need:
- Automotive polishing compound (specifically for plastic)
- Polishing pads (foam or microfiber)
- Drill or orbital polisher (optional, but recommended)
- Masking tape
- Microfiber cloths
Instructions:
- Masking: Tape off the area around the tail light to protect your car’s paint.
- Application: Apply a small amount of polishing compound to a polishing pad.
- Polishing: Using a drill with a polishing attachment or an orbital polisher, work the compound into the tail light lens in circular motions. Apply moderate pressure. If polishing by hand, use firm, even strokes.
- Wipe Clean: Wipe away the residue with a clean microfiber cloth.
- Repeat: Repeat the process if necessary, until the desired clarity is achieved.
Be patient and avoid applying excessive pressure, as this could damage the plastic. Using an orbital polisher will make the job much easier and provide more consistent results. You can find dedicated plastic polishing kits at most auto parts stores.
Wet Sanding for Severely Oxidized Tail Lights
For tail lights with heavy oxidation or deep scratches, wet sanding might be necessary. This is a more aggressive method, but it can dramatically improve clarity. It’s important to proceed with caution and follow the steps carefully.
What you’ll need:
- Wet/dry sandpaper (various grits: 600, 1000, 2000, 3000)
- Spray bottle with water
- Automotive polishing compound
- Polishing pads
- Drill or orbital polisher
- Masking tape
- Microfiber cloths
Instructions:
- Masking: Tape off the area around the tail light.
- Wet Sanding: Start with 600-grit sandpaper, soaking it in water for several minutes. Spray the tail light with water and gently sand in one direction.
- Progressive Grits: Repeat with 1000, 2000, and finally 3000-grit sandpaper, always keeping the surface wet and changing sanding direction with each grit.
- Polishing: After wet sanding, use automotive polishing compound and a polishing pad to restore the shine.
- Wipe Clean: Wipe away the residue with a clean microfiber cloth.
Wet sanding removes a significant amount of material, so it’s crucial to use progressively finer grits and finish with polishing to restore clarity. This method is best reserved for tail lights that are severely damaged. If you’re unsure, start with polishing and only move to wet sanding if necessary.
Protecting Your Work: Applying a UV Protectant
Once you’ve restored clarity to your tail lights, it’s essential to protect them from future damage. UV protectant coatings create a barrier against the sun’s harmful rays, preventing oxidation and keeping your tail lights clear for longer.
What you’ll need:
- UV protectant spray or sealant (specifically for automotive plastics)
- Microfiber cloths
Instructions:
- Clean: Ensure the tail lights are clean and dry.
- Application: Apply the UV protectant evenly to the tail light lens, following the manufacturer’s instructions.
- Buff: Buff with a clean microfiber cloth to remove any excess and create a smooth, even finish.
Applying a UV protectant every few months will significantly extend the life of your restoration work. Look for products that contain UV absorbers and are specifically designed for automotive plastics. This is a small investment that can save you a lot of time and effort in the long run. You can also consider ceramic coatings for even longer-lasting protection.
DIY vs. Professional Tail Light Restoration
You might be wondering if it’s worth doing this yourself or if you should take your car to a professional detailer. DIY restoration is cost-effective and can deliver excellent results, especially for minor to moderate oxidation. However, professional restoration offers several advantages.
DIY Advantages:
- Cost savings
- Convenience
- Sense of accomplishment
Professional Advantages:
- Expertise and experience
- Specialized tools and products
- Warranty on work
If your tail lights are severely damaged or you’re uncomfortable performing the restoration yourself, a professional detailer is a good option. They can assess the damage and recommend the best course of action. However, for many cases, a DIY approach is perfectly sufficient and can save you money. Consider your skill level and the condition of your tail lights when making your decision.
Frequently Asked Questions (FAQ)
Q: How long will my restored tail lights stay clear?
A: With proper UV protection and regular cleaning, restored tail lights can stay clear for 1-3 years, depending on climate and exposure to the elements. Reapplying UV protectant every few months is key.
Q: Can I use toothpaste to polish my tail lights?
A: While some people have had success with toothpaste, it’s not ideal. Toothpaste contains abrasive ingredients that can scratch the plastic. Automotive polishing compounds are specifically formulated for this purpose and are a safer, more effective option.
Q: Will wet sanding damage my tail lights?
A: Wet sanding can damage tail lights if not done correctly. It’s crucial to use progressively finer grits, keep the surface wet, and finish with polishing to restore clarity.
Q: What’s the best way to prevent tail light cloudiness?
A: Regular cleaning, applying UV protectant, and parking your car in the shade whenever possible are the best ways to prevent tail light cloudiness.
Conclusion
Restoring clear red tail lights is a worthwhile project that improves both the appearance and safety of your vehicle. By following the steps outlined in this guide, you can effectively remove oxidation, scratches, and grime, bringing back the original clarity of your tail lights. Remember to start with a simple cleaning, progress to polishing if needed, and always protect your work with a UV protectant. Don’t let cloudy tail lights compromise your visibility – take action today and enjoy the peace of mind that comes with knowing your brake lights are clear and bright. Now that you know how to make red tail lights clear, get out there and give your car the care it deserves!