· Hat Care · 19 min read
How To Wash A Hat
Learn How To Wash A Hat Properly
Your favorite hat goes with you everywhere. It protects you from the sun, hides a bad hair day, or simply completes your outfit. Over time, hats collect sweat, dirt, and dust. This makes them look worn and feel less fresh. Learning how to wash a hat properly is important. It helps keep your hat looking its best.
This guide gives you clear steps to clean different hat types. We cover everything from gentle hand washing to machine methods. You will learn how to care for your cherished headwear.
It is easy to restore your hat’s original look and feel. This article provides detailed instructions. We include tips for specific materials and common stains. You can extend the life of your hats with the right care.
Discover the best way to clean your caps and hats. You will find out how to remove those stubborn sweat stains. Keep reading to master hat cleaning techniques.
Takeaway: Restore Your Hat’s Freshness
- Check the Label: Always identify your hat’s material first. This determines the safest washing method.
- Pre-Treat Stains: Use a mild cleaner on sweat marks or dirt before washing. This helps lift grime.
- Choose Your Method: Hand washing is best for delicate hats. Machine washing works for sturdy ones with a hat cage.
- Air Dry Gently: Avoid heat, which can cause shrinkage. Allow hats to air dry on a form to keep their shape.
To wash a hat, first check its care label and material. Pre-treat any visible stains with a mild detergent. Then, choose between hand washing with cold water and a gentle soap, or machine washing using a hat cage on a delicate cycle. Always air dry the hat on a clean, rounded surface to maintain its shape.
Understanding Your Hat’s Fabric and Structure
Before you wash a hat, you must know what it is made from. Different materials react differently to water and cleaners. Checking the hat’s care label is the first step. This label often tells you the fabric content. It might also give specific washing instructions. Ignoring this step can damage your hat. Many hats contain cardboard or plastic stiffeners. These are inside the brim or crown. Knowing the material helps you choose the right cleaning method.
Some hats are very delicate. Others can handle more robust cleaning. A vintage baseball cap needs different care than a new cotton bucket hat. Understanding the structure helps too. A structured hat has a firm front panel. A soft, unstructured hat might lose its shape more easily. Pay attention to these details before you start washing. This preparation prevents common washing mistakes.
Common Hat Materials and Their Care
Different materials require specific cleaning approaches. Knowing your hat’s fabric is key. This helps prevent shrinkage or damage.
- Cotton and Cotton Blends: Most common and durable. These hats can often be hand washed. Some newer cotton hats can go in a washing machine. Use cold water to prevent shrinking.
- Polyester and Synthetic Materials: These are generally robust. They resist shrinking and fading well. Many athletic caps use these materials. They can often handle machine washing on a gentle cycle.
- Wool and Wool Blends: Wool requires very gentle care. Hot water and agitation can cause wool to shrink significantly. Hand washing with cold water and a wool-specific detergent is best. Avoid twisting or wringing wool hats.
- Felt Hats: Felt hats are typically made from wool or synthetic fibers. They are often not fully washable. Spot cleaning is usually the recommended method for felt. Water can cause felt to lose its shape and texture.
- Straw Hats: Most straw hats should not be submerged in water. Water can weaken the straw. It can also cause the hat to lose its shape. Spot clean straw hats with a damp cloth and mild soap. Dry them immediately.
- Leather and Suede: These materials need specialized cleaning products. Water can stain or damage leather. Avoid traditional washing methods for leather hats. Consult a professional cleaner if your leather hat needs deep cleaning.
Always proceed with caution. If unsure, test a small, hidden area first. This simple test confirms the material’s reaction to your cleaning solution. It helps protect your hat from irreversible damage.
Essential Supplies for Hat Cleaning
You need the right tools to wash a hat effectively. Gathering your supplies before you start makes the process smooth. Having everything ready saves time and reduces stress. These items are common household products. You might already have most of them. Choose gentle products to protect your hat’s fabric. Strong chemicals can damage colors or materials.
A clean workspace is also important. Lay down a towel to protect your surface. This also catches any drips during the cleaning process. Proper supplies ensure a safe and thorough clean. They help your hat stay in good condition for longer.
- Mild Detergent or Soap: Choose a gentle laundry detergent. A mild dish soap can also work. Avoid harsh chemicals or bleach. These can fade colors or damage fabric. Baby shampoo is another good option for delicate hats.
- Soft Brush or Old Toothbrush: A soft-bristled brush helps gently scrub away dirt. An old toothbrush is perfect for detailed cleaning. It works well on seams and crevices. Use it to work the cleaning solution into stained areas.
- Clean Cloths or Sponges: You will need a few clean cloths. These help apply solutions and blot away moisture. Microfiber cloths are good because they are absorbent and soft. Sponges work well for general cleaning.
- Cold Water: Always use cold water when washing hats. Hot water can cause hats to shrink. It can also fade colors, especially on dark fabrics.
- Towel: A clean, absorbent towel is essential. You use it to blot excess water from your hat after washing. This speeds up drying time. It also helps prevent water marks.
- Hat Form or Inflated Balloon/Ball: This helps maintain the hat’s shape during drying. A hat form keeps the crown and brim structured. An inflated balloon or even a small ball can serve this purpose. You can also use a bowl covered with a towel.
- Hat Cage (for machine washing): If you plan to machine wash, a hat cage is a must. This plastic frame holds your hat’s shape in the washing machine. It prevents crushing and bending during cycles. Learn more about how to wash a hat in washing machine.
Having these supplies ready makes hat cleaning easy. You can tackle dirt and grime with confidence.
Spot Cleaning Techniques for Hat Stains
Many hats only need minor cleaning. A small stain on the brim or crown does not mean you need to wash the entire hat. Spot cleaning is an effective method for localized dirt or marks. This approach saves water and reduces stress on the hat’s material. It is especially good for hats that are not fully washable. Examples include felt, straw, or hats with delicate embellishments. Always address stains quickly. Fresh stains are much easier to remove than old, set-in ones.
Sweat stains are a common problem for hats. These often appear as yellow or white marks around the band. They are caused by body oils and salts. Removing them requires a targeted approach. Proper spot cleaning can refresh your hat. It restores its appearance without a full wash.
Addressing Common Hat Stains
Different stains need different pre-treatment methods. Targeting the stain directly is often the most effective way.
- Sweat Stains:
- Mix equal parts white vinegar and water. You can also use a paste of baking soda and water.
- Apply the solution or paste directly to the sweatband or stained area.
- Gently scrub with a soft brush or old toothbrush.
- Let it sit for 15-30 minutes.
- Rinse the area with a damp cloth, making sure to remove all residue.
- Repeat if necessary. For detailed steps, check out how to clean sweat stains from hat.
- Dirt and Mud Stains:
- Let the mud dry completely. Trying to clean wet mud can spread the stain.
- Gently brush off as much dried dirt as possible. Use a soft brush.
- Mix a small amount of mild detergent with water.
- Dampen a clean cloth with the solution.
- Blot the stained area gently. Do not rub, as this can push the dirt deeper.
- Rinse by blotting with a clean, damp cloth.
- Grease Stains:
- Sprinkle cornstarch or talcum powder directly onto the fresh grease stain.
- Let it sit for several hours, or overnight. The powder will absorb the grease.
- Brush off the powder.
- If a mark remains, apply a small amount of mild dish soap to a damp cloth.
- Gently blot the stain.
- Rinse with a clean, damp cloth.
Always blot rather than rub when spot cleaning. Rubbing can spread the stain or damage the fabric. After spot cleaning, allow the hat to air dry completely. Do not apply heat, as this can set residual stains.
Hand Washing Hats Safely
Hand washing is often the safest and most recommended method for cleaning hats. This method offers gentle care. It works well for structured hats and delicate materials. You have more control over the cleaning process. This reduces the risk of shrinking or losing shape. Hand washing is especially suitable for baseball caps with cardboard brims. It also works for vintage hats and hats made of wool or felt. Avoid submerging hats if the care label advises against it.
This process is straightforward. It requires minimal supplies. You can easily do it at home. Hand washing protects the integrity of your hat. It keeps it looking new for longer. You can even hand wash clothes without a washer using similar methods.
Step-by-Step Hand Washing Guide
Follow these steps carefully to hand wash your hat effectively. Each step helps protect your hat’s structure and fabric.
- Prepare the Cleaning Solution:
- Fill a clean basin or sink with cool or cold water. Never use hot water, as it can cause shrinkage.
- Add a small amount (about a teaspoon) of mild laundry detergent or baby shampoo.
- Stir the water gently to mix the soap. Ensure no harsh suds form.
- Pre-Treat Stains:
- Identify any visible sweat stains, dirt spots, or smudges.
- Apply a small dab of the mild detergent directly to these areas.
- Gently work it into the fabric with a soft brush or your fingers. Let it sit for a few minutes.
- Submerge and Wash:
- Carefully place your hat into the cool soapy water. Make sure it is fully submerged.
- Gently agitate the water with your hand. Do this for a few minutes.
- Use your soft brush or toothbrush to gently scrub the entire hat. Pay extra attention to the sweatband and soiled areas. Avoid scrubbing too hard.
- Do not twist, wring, or aggressively rub the hat. This can distort its shape.
- Rinse Thoroughly:
- Drain the soapy water from the basin.
- Refill the basin with clean, cool water.
- Submerge the hat again and gently press out the soapy water.
- Repeat this rinsing process several times. Do this until all soap residue is gone.
- Ensure the water runs clear. Soap left behind can leave residue or attract more dirt.
- Remove Excess Water:
- Gently press the hat against the side of the basin. Do not wring it.
- Place the hat on a clean, dry towel.
- Roll the hat up in the towel. Gently press down to absorb more water.
- Repeat with another dry towel if needed. The goal is to remove as much moisture as possible. This speeds drying time and prevents mildew.
- You can hand wash clothes in a bathtub similarly. Read more about how to wash clothes in a bathtub.
Hand washing is a safe and effective way to clean many hats. It preserves their shape and extends their life.
Machine Washing Hats: When and How
Machine washing can be a convenient option for cleaning certain hats. However, not all hats are suitable for the washing machine. You should only machine wash hats made of sturdy materials. Good examples include newer baseball caps or those made from polyester or durable cotton blends. Always check the care label first. Hats with cardboard brims or delicate embellishments should never go into a washing machine. The machine’s agitation can damage these features.
Using a hat cage is crucial for machine washing. This device protects the hat’s shape. It prevents the brim from bending and the crown from crushing. Machine washing saves time compared to hand washing. It can be very effective for heavily soiled hats. Make sure you follow the correct steps to avoid damage.
Steps for Machine Washing Your Hat
Follow these instructions for a safe machine wash. This helps your hat come out clean and in shape.
- Assess Hat Suitability:
- Confirm your hat is made of a machine-washable material. Look for polyester or durable cotton.
- Ensure the brim is plastic, not cardboard. If you can bend the brim easily without it creasing, it is likely plastic.
- Do not machine wash vintage hats or those with delicate details.
- Pre-Treat Stains:
- Apply a small amount of mild laundry detergent or stain remover to any heavily soiled areas.
- Gently rub it in with a soft brush or your fingers. Let it sit for 10-15 minutes. This helps loosen dirt and sweat.
- Use a Hat Cage:
- Place your hat securely inside a hat cage. This plastic frame holds the hat’s shape. It prevents the brim from bending and the crown from crushing during the wash cycle.
- Ensure the hat fits snugly but not tightly inside the cage.
- Set Up the Washing Machine:
- Load the hat cage into the washing machine. You can wash it with a small load of similar-colored towels or clothes. This helps balance the load.
- Use cold water only. Hot water can cause shrinkage and fading.
- Select the “delicate” or “hand wash” cycle. This setting uses less agitation.
- Use a small amount of mild liquid detergent. Powdered detergents may not dissolve completely.
- Start the Wash Cycle:
- Begin the wash cycle. Allow it to complete fully.
- Once the cycle finishes, remove the hat from the hat cage immediately.
- Air Dry Immediately:
- Do not put your hat in the dryer. High heat will cause it to shrink and deform.
- Place the hat on a clean, dry hat form. An inflated balloon or a bowl can also work. This helps maintain its shape as it dries.
- Allow the hat to air dry completely in a well-ventilated area. Avoid direct sunlight, which can fade colors.
- Learn more about how to wash a hat in washing machine for more detailed guidance.
Following these steps ensures your hat comes out clean and undamaged. Machine washing is a quick solution for many hats.
Special Care for Specific Hat Types
Not all hats are created equal. Different hat styles and materials need unique cleaning methods. A one-size-fits-all approach can damage your favorite headwear. Understanding these differences helps preserve their quality and lifespan. We have already covered general hand washing and machine washing. Now, let’s look at specific hat types that require extra attention. This ensures you provide the best care for each unique hat in your collection.
Ignoring specific care instructions can lead to irreversible damage. For instance, putting a wool felt hat in the washing machine will likely ruin it. Conversely, being too gentle with a durable polyester bucket hat might not get it clean enough. Knowing these nuances is important.
Hat-Specific Washing Guidelines
Here are specific considerations for popular hat types:
- Wool Hats (e.g., Fedoras, Beanies, some baseball caps):
- Wool is delicate and prone to shrinking.
- Always hand wash in cold water with a gentle wool-specific detergent.
- Never agitate or wring a wool hat. Gently press out excess water.
- Reshape the hat while damp. Dry flat on a towel or on a hat form.
- Avoid direct heat.
- Felt Hats (e.g., Dress Hats, some fedoras):
- Felt hats are often made from wool or synthetic fibers.
- Most felt hats cannot be submerged in water. Water can cause them to lose their shape and stiffeners.
- Spot clean small stains with a soft brush and a slightly damp cloth.
- Use a felt hat brush for regular cleaning. This removes dust and dirt.
- For deeper cleaning, consult a professional hat cleaner.
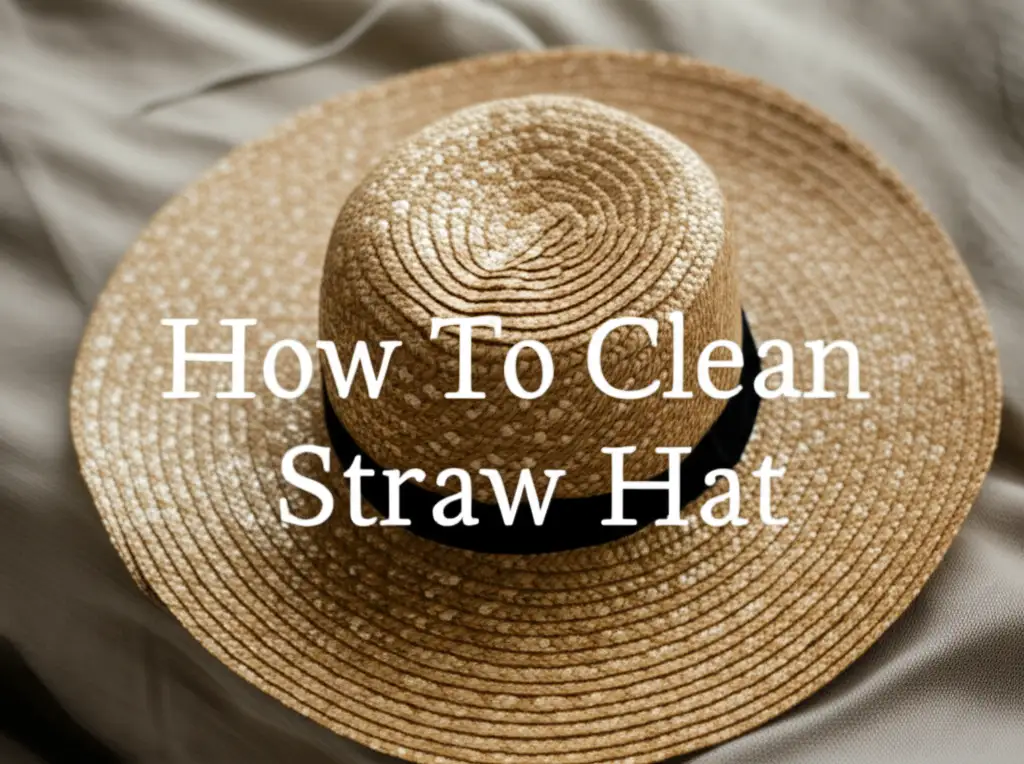
- Straw Hats:
- Straw hats are typically not washable. Water can weaken the straw. It also causes swelling or distortion.
- Spot clean only with a slightly damp cloth and mild soap. Blot gently.
- Immediately dry the area with a clean towel.
- Avoid using too much water.
- Bucket Hats:
- Many bucket hats are made of cotton or synthetic materials. This makes them relatively easy to clean.
- Hand washing is generally safe. You can often machine wash on a delicate cycle in a laundry bag.
- Use cold water to prevent shrinking or fading.
- Air dry on a clean, rounded surface or a hat form.
- You can find more specific guidance on how to wash a bucket hat.
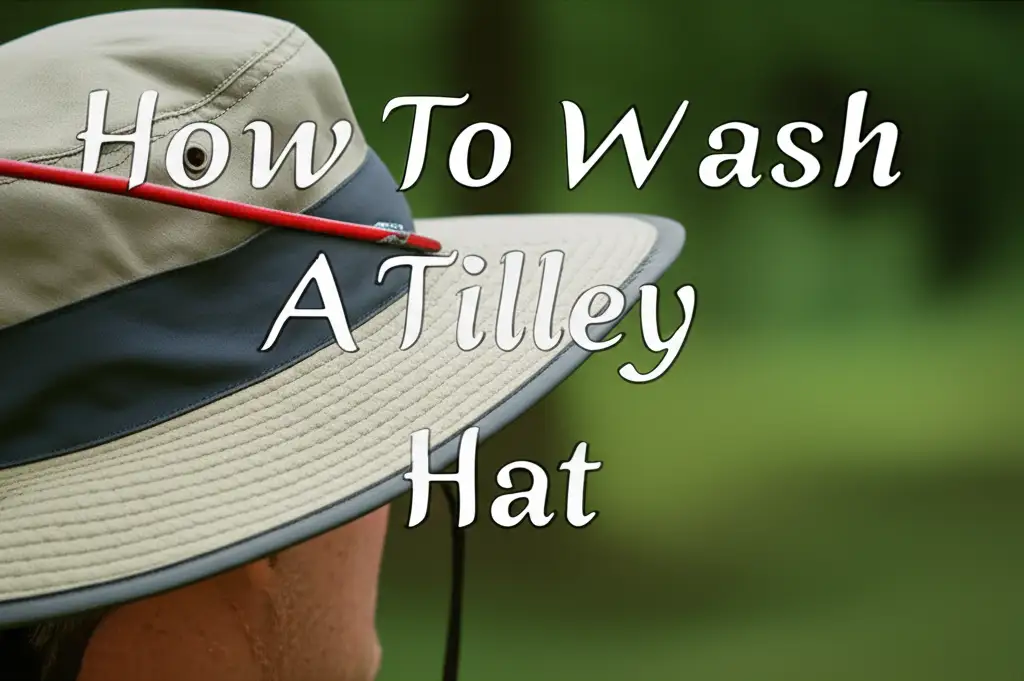
- Tilley Hats:
- Tilley hats are known for their durability and washability.
- Most Tilley hats can be machine washed on a delicate cycle with cold water.
- Use a mild detergent.
- Do not use bleach or fabric softener.
- Air dry, but they can also go in a low-heat dryer if needed (check label).
- Refer to specific instructions on how to wash a Tilley hat.
- Structured Baseball Caps (with plastic brim):
- These are often suitable for machine washing in a hat cage.
- Hand washing is always a safe alternative if you prefer.
- Always air dry on a hat form to preserve the crown’s shape.
- Vintage or Delicate Hats:
- These often have fragile materials, dyes, or stiffeners.
- Avoid full submersion.
- Spot clean only. Use minimal water.
- Consider professional cleaning for valuable or very old hats.
By following these specific guidelines, you can ensure each hat receives the care it needs. This helps them last longer and look better.
Proper Drying and Reshaping Your Hat
Washing your hat is only half the battle. Proper drying and reshaping are just as critical. This step ensures your hat maintains its original form. It also prevents shrinking, stretching, or mildew growth. Drying a hat incorrectly can ruin its structure. It can also cause the brim to warp. Air drying is almost always the best method for hats. Avoid using a machine dryer at all costs. High heat is the enemy of hat materials. It causes most fabrics to shrink or lose their integrity.
Taking the time to dry and reshape your hat correctly makes a big difference. It helps your hat look fresh and new. This final stage of the cleaning process is crucial for long-term hat care.
Step-by-Step Drying and Reshaping Guide
Follow these steps for optimal drying and to restore your hat’s perfect shape.
- Remove Excess Water Gently:
- After washing and rinsing, do not wring your hat. Wringing can distort its shape.
- Gently press excess water out of the hat. Do this by pressing it between your hands.
- Place the hat on a clean, dry, absorbent towel.
- Roll the towel around the hat. Gently press down to absorb more moisture. Repeat with another dry towel if necessary. This helps speed up the drying process. It also prevents water marks.
- Reshape the Hat:
- This is the most important step for maintaining form.
- Immediately after removing excess water, place your hat on a clean, dry surface.
- Insert a hat form, an inflated balloon, a small ball, or even a clean, dry bowl turned upside down. This supports the crown and keeps its rounded shape.
- For baseball caps, ensure the brim is perfectly flat or curved as desired. You can use clips to hold the brim in place if needed.
- Smooth out any wrinkles in the fabric. Make sure the hat sits evenly on the form.
- Air Dry Completely:
- Place the hat on its form in a well-ventilated area.
- Choose a spot away from direct sunlight. Direct sun can fade colors.
- Avoid placing it near heat sources like radiators or hair dryers. High heat causes shrinkage and can damage the brim.
- Allow the hat to air dry completely. This can take 24-48 hours, depending on the hat’s material and thickness.
- Make sure the hat is bone dry before storing it. Storing a damp hat can lead to mildew and unpleasant odors.
- Final Checks:
- Once dry, check your hat’s shape. Make any minor adjustments if needed.
- If the brim feels a little stiff or out of shape, you can gently reshape it by hand. Do this after the hat is completely dry.
Proper drying ensures your hat looks its best. It maintains its comfort and extends its life. This careful approach completes the cleaning process successfully.
FAQs About Hat Cleaning
Here are answers to common questions about washing hats. These tips help address specific concerns. They give you confidence in cleaning your headwear.
Can I wash my hat in the dishwasher?
Dishwashers are not ideal for washing hats. The high heat can shrink or damage the hat. Dishwasher detergents are often too harsh for fabrics. They can strip colors or ruin materials. Hand washing or using a washing machine with a hat cage on a delicate cycle is safer. Avoid the dishwasher method for all hats.
How do I get sweat stains out of a hat?
To remove sweat stains, mix white vinegar and water, or baking soda and water, into a paste. Apply it to the stain. Gently scrub with a soft brush. Let it sit for 15-30 minutes. Rinse with cold water. Repeat if needed. This method helps break down the salts and oils that cause sweat stains.
How often should I wash my hat?
The frequency depends on how often you wear it. If you wear it daily, consider cleaning it every few months. If it gets very sweaty or dirty, clean it sooner. Hats worn only occasionally might need cleaning once or twice a year. Always clean it when it looks dirty or starts to smell.
What if my hat has a cardboard brim?
Hats with cardboard brims should never be submerged in water. Water will dissolve or warp the cardboard. This ruins the brim’s shape permanently. For these hats, use spot cleaning only. Use a damp cloth to clean the crown and outside of the brim. Avoid getting the brim wet.
Can I use bleach to whiten my hat?
Avoid using bleach on hats. Bleach can damage fibers, especially cotton. It can also cause yellowing on white fabrics over time. For white hats, try a gentle oxygen-based brightener or a mixture of baking soda and hydrogen peroxide. Test any product on a hidden area first.
How do I store my hat after washing?
Store your hat on a hat form or a clean, rounded surface. This helps maintain its shape. Ensure the hat is completely dry before storing. A dry, cool place is best. Avoid crushing it or storing it in direct sunlight. This prevents damage and keeps it ready for wear.
Conclusion: Keep Your Hats Fresh and Stylish
Washing your hat does not have to be a daunting task. By following these comprehensive guidelines, you can confidently clean almost any type of hat. You have learned how to identify materials, choose the right cleaning method, and effectively remove common stains. From gentle hand washing to careful machine washing, the right technique preserves your hat’s shape and extends its life. Remember, proper drying and reshaping are as crucial as the wash itself. They ensure your hat maintains its perfect form.
- hat cleaning
- baseball cap care
- hat washing
- sweat stain removal