· Gardening & Outdoor · 6 min read
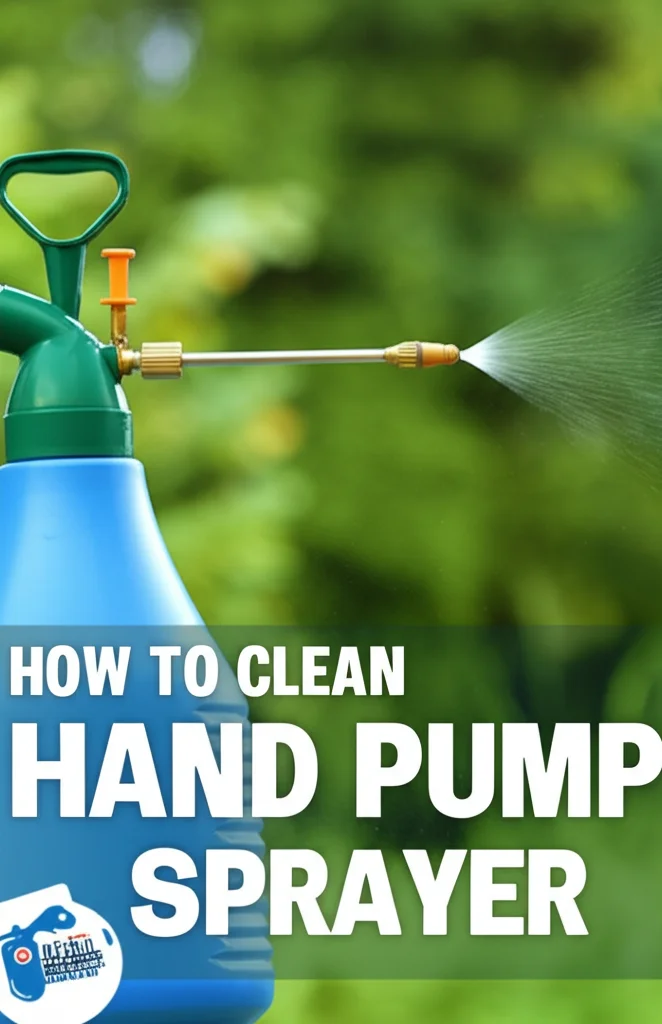
how to clean a backpack sprayer
Keeping Your Sprayer Ready: How to Clean a Backpack Sprayer
Ever wonder how to keep your trusty backpack sprayer working efficiently? A clean sprayer isn’t just about performance; it’s about ensuring accurate application and preventing damage to your plants. Neglecting cleaning can lead to clogs, corrosion, and even the breakdown of your sprayer. This article will guide you through a comprehensive cleaning process, ensuring your backpack sprayer is ready for any task. We’ll cover everything from a quick rinse after each use to a deep clean for storage, keeping your gardening tools in top condition.
Quick Answer: To clean a backpack sprayer, rinse the tank with clean water after each use, then fill it with a cleaning solution (like vinegar or a commercial sprayer cleaner), spray it through the nozzle, and rinse again. Finally, dry thoroughly before storing.
Takeaway:
- Rinse after every use.
- Use a cleaning solution regularly.
- Dry completely before storage.
Why Regular Cleaning Matters for Your Backpack Sprayer
Think of your backpack sprayer like any other tool – it needs care to perform well. Residue from herbicides, pesticides, fertilizers, or even just hard water can build up inside the tank and nozzle. This buildup can cause clogs, affecting spray patterns and reducing the effectiveness of your applications. Regular cleaning prevents these issues, extending the life of your sprayer and ensuring consistent results. Plus, cleaning helps prevent corrosion, especially important if you use harsh chemicals frequently.
The Immediate Rinse: Post-Use Maintenance
After each use, a quick rinse is your first line of defense. Don’t skip this step! Immediately after emptying your sprayer, fill the tank with clean water. Agitate the water by gently swirling it around inside the tank. Then, spray the water through the nozzle until it runs clear. This removes the majority of the remaining solution and prevents it from drying and hardening. This simple habit will save you a lot of trouble down the road.
Deep Cleaning Your Backpack Sprayer: A Step-by-Step Guide
Sometimes, a simple rinse isn’t enough. A deep clean is essential, especially before storing your sprayer for an extended period. Here’s how to do it:
- Empty the Tank: Ensure the tank is completely empty of any remaining solution.
- Prepare a Cleaning Solution: You have a few options here. White vinegar diluted with water (a 1:1 ratio) is a great natural cleaner. Alternatively, use a commercial sprayer cleaner specifically designed for this purpose. Follow the manufacturer’s instructions for dilution.
- Fill and Agitate: Fill the tank with your chosen cleaning solution. Gently swirl the solution around to ensure it coats all interior surfaces.
- Spray and Flush: Operate the sprayer, spraying the cleaning solution through the nozzle, wand, and any other components. This will dislodge any remaining residue.
- Rinse Thoroughly: Empty the tank and refill it with clean water. Repeat the spraying and flushing process until no traces of the cleaning solution remain. This is crucial to avoid contaminating your next application.
- Disassemble and Clean Nozzle: Remove the nozzle and inspect it for clogs. Use a small brush or pin to clear any obstructions. A clogged nozzle can significantly impact spray quality.
- Dry Completely: This is perhaps the most important step. Allow all components to air dry completely before storing. Moisture can lead to corrosion and mold growth.
Addressing Stubborn Residue and Clogs
Sometimes, despite your best efforts, stubborn residue or clogs persist. Here’s how to tackle them:
- Vinegar Soak: For tough residue, let the vinegar solution sit in the tank overnight. This allows the vinegar to break down the buildup.
- Nozzle Soak: Soak the nozzle in vinegar for several hours to dissolve any clogs.
- Commercial Degreasers: If you’ve been spraying oily substances, a commercial degreaser might be necessary. Be sure to rinse thoroughly afterward.
- Ultrasonic Cleaner: For very stubborn clogs in small parts, an ultrasonic cleaner can be incredibly effective. You can find more information about ultrasonic cleaners here.
Storing Your Backpack Sprayer Properly
Proper storage is key to maintaining your sprayer’s longevity. After cleaning and drying, store the sprayer in a cool, dry place, away from direct sunlight and extreme temperatures. Avoid storing it with chemicals or other potentially corrosive materials. Loosen the straps and store it upright to prevent pressure on the seals. Consider storing the nozzle and wand separately to prevent damage.
Maintaining the Pump and Seals
The pump and seals are critical components of your backpack sprayer. Regularly inspect the seals for cracks or wear. Lubricate the pump with a silicone-based lubricant to keep it functioning smoothly. Avoid using petroleum-based lubricants, as they can damage the seals. If you notice any leaks or malfunctions, address them promptly to prevent further damage. Keeping these parts in good condition will ensure consistent pressure and reliable operation.
FAQ: Backpack Sprayer Cleaning
Q: How often should I deep clean my backpack sprayer? A: Deep clean your sprayer at least once a month during heavy use, and always before storing it for the off-season. This prevents buildup and ensures optimal performance.
Q: Can I use bleach to clean my backpack sprayer? A: While bleach can disinfect, it’s highly corrosive and can damage the sprayer’s components. Vinegar or a commercial sprayer cleaner are safer and more effective options.
Q: What’s the best way to prevent clogs in the nozzle? A: Rinse the sprayer thoroughly after each use and use filtered water if your tap water is hard. Regularly disassemble and clean the nozzle to remove any developing obstructions.
Q: My sprayer smells strongly of chemicals even after cleaning. What can I do? A: Try filling the tank with a baking soda and water solution (about 1/4 cup baking soda per gallon of water) and letting it sit overnight. Then, rinse thoroughly. You can also find more information on removing residue here.
Conclusion: A Little Cleaning Goes a Long Way
Cleaning your backpack sprayer is a simple yet crucial task for any gardener or professional applicator. By following these steps – rinsing after each use, performing regular deep cleans, and storing your sprayer properly – you can significantly extend its lifespan and ensure consistent, reliable performance. Remember, a clean sprayer means accurate applications, healthy plants, and a more enjoyable gardening experience. Don’t underestimate the power of preventative maintenance! Taking the time to clean your backpack sprayer will save you money and frustration in the long run.