· Garden & Outdoor · 7 min read
How To Clean Hand Pump Sprayer
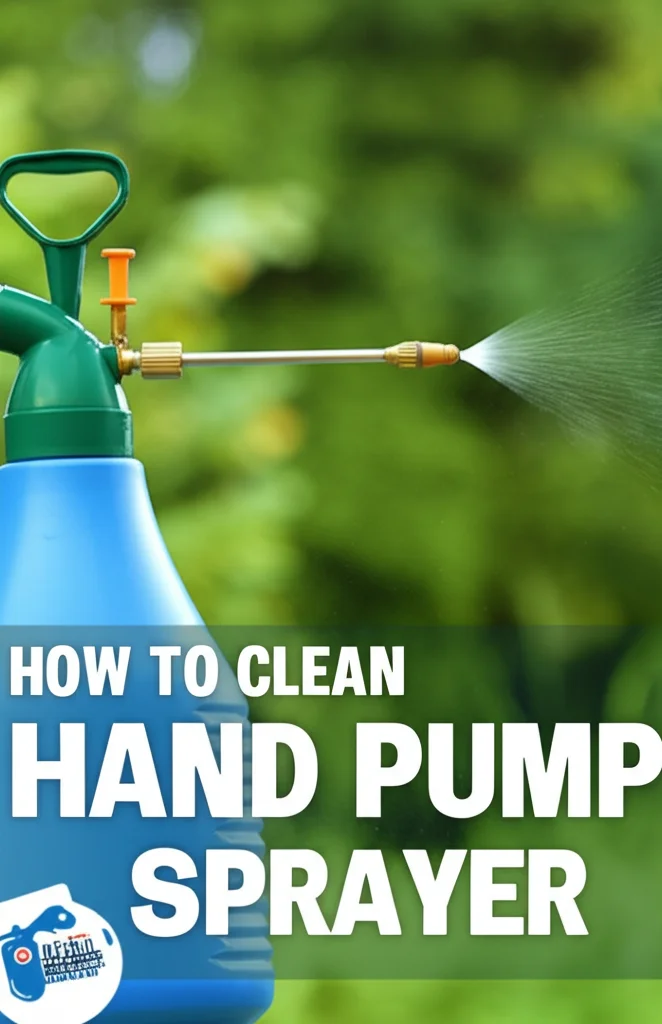
How To Clean Your Hand Pump Sprayer for Long-Lasting Use
Ever wonder how to keep your trusty hand pump sprayer working its best? A clean sprayer means efficient application of your garden solutions, whether it’s fertilizer, herbicide, or just plain water. Ignoring cleaning can lead to clogs, corrosion, and ultimately, a sprayer that doesn’t work when you need it most. This article will walk you through a comprehensive guide on how to clean a hand pump sprayer, ensuring it’s ready for any gardening task. We’ll cover everything from daily rinsing to deep cleaning, keeping your tools in top shape.
Quick Answer: To clean a hand pump sprayer, rinse it thoroughly with clean water after each use. For a deeper clean, disassemble the sprayer, wash all parts with soapy water, rinse well, and allow to dry completely before reassembling.
Takeaway:
- Rinse after every use.
- Disassemble for a thorough cleaning regularly.
- Proper drying prevents corrosion.
- Lubricate moving parts for smooth operation.
Why Cleaning Your Hand Pump Sprayer Matters
Let’s face it, nobody enjoys wrestling with a malfunctioning garden tool. A dirty hand pump sprayer isn’t just frustrating; it can significantly impact the effectiveness of your gardening efforts. Residue from chemicals can build up, causing clogs that disrupt the spray pattern and reduce the amount of solution reaching your plants. This means you might need to use more product, costing you money and potentially harming your garden.
Furthermore, certain chemicals can corrode the metal parts of your sprayer over time. Regular cleaning helps prevent this corrosion, extending the life of your sprayer and saving you the cost of replacement. Taking a few minutes to clean your sprayer after each use is a small investment that pays off in the long run.
Daily Maintenance: The Quick Rinse
The easiest way to keep your hand pump sprayer in good condition is to rinse it out after every use. This simple step prevents residue from drying and building up inside the tank and nozzle. After you’ve finished spraying, fill the tank with clean water and pump it through the nozzle until the water runs clear.
This quick rinse doesn’t require disassembly and takes only a few minutes. It’s a habit that will significantly reduce the need for more intensive cleaning later on. Don’t underestimate the power of this preventative measure! It’s like brushing your teeth – a small daily effort for long-term health.
Deep Cleaning Your Hand Pump Sprayer: Step-by-Step
Sometimes, a quick rinse isn’t enough. If you’ve been using harsh chemicals or haven’t cleaned your sprayer in a while, a deep cleaning is necessary. Here’s a step-by-step guide:
- Empty the Tank: Ensure the sprayer tank is completely empty.
- Release Pressure: Carefully release any remaining pressure in the tank. Most sprayers have a pressure release valve.
- Disassemble: Carefully disassemble the sprayer, separating the tank, nozzle, wand, hose, and any other removable parts. Refer to your sprayer’s manual if you’re unsure how to disassemble it.
- Wash with Soapy Water: Wash all parts with warm, soapy water. Use a mild dish soap and a soft brush to scrub away any residue. Pay close attention to the nozzle and wand, as these are prone to clogging.
- Rinse Thoroughly: Rinse all parts thoroughly with clean water until all traces of soap are gone.
- Inspect for Clogs: Check the nozzle and wand for any remaining clogs. You can use a small wire or toothpick to carefully clear any obstructions.
- Dry Completely: Allow all parts to dry completely before reassembling. This is crucial to prevent corrosion.
- Reassemble: Carefully reassemble the sprayer, ensuring all parts are securely connected.
Dealing with Stubborn Residue & Clogs
Sometimes, despite your best efforts, stubborn residue or clogs persist. Here are a few tips for tackling these challenges:
- Vinegar Solution: For mineral deposits or mild clogs, soak the affected parts in a solution of equal parts white vinegar and water for several hours. Vinegar is a natural cleaner that can dissolve many types of residue.
- Baking Soda Paste: For tougher clogs, make a paste of baking soda and water and apply it to the affected area. Let it sit for a few minutes, then scrub with a brush. You can find more information on using baking soda for cleaning at https://www.beacleaner.com/how-to-remove-baking-soda-residue-from-carpet/.
- Commercial Sprayer Cleaner: There are commercial sprayer cleaners available specifically designed to remove residue and clogs. Follow the instructions on the product label carefully.
- Nozzle Cleaning Tools: Invest in a set of nozzle cleaning tools. These small tools are designed to clear clogs from even the smallest nozzle openings.
Lubricating Your Sprayer for Smooth Operation
After cleaning and drying your sprayer, it’s a good idea to lubricate the moving parts. This helps ensure smooth operation and prevents corrosion. A small amount of silicone lubricant or light machine oil applied to the pump piston, seals, and wand connections can make a big difference.
Avoid using petroleum-based lubricants, as these can damage the plastic parts of your sprayer. Apply the lubricant sparingly and wipe away any excess. A well-lubricated sprayer will be easier to pump and will last longer.
Storage Tips to Prevent Future Issues
Proper storage is just as important as regular cleaning. When storing your hand pump sprayer, follow these tips:
- Empty and Clean: Always empty and clean the sprayer before storing it.
- Dry Location: Store the sprayer in a dry, cool location away from direct sunlight.
- Loosen Seals: Loosen the seals slightly to prevent them from sticking together.
- Upright Position: Store the sprayer in an upright position to prevent leaks.
- Protect from Freezing: If you live in a cold climate, protect the sprayer from freezing temperatures. Freezing can damage the tank and other parts.
FAQ: Common Questions About Cleaning Hand Pump Sprayers
Q: Can I use bleach to clean my sprayer?
A: While bleach can disinfect, it’s generally not recommended for cleaning hand pump sprayers. Bleach is corrosive and can damage the metal and plastic parts. It’s better to use soapy water, vinegar, or a commercial sprayer cleaner.
Q: How often should I deep clean my sprayer?
A: The frequency of deep cleaning depends on how often you use your sprayer and what you’re spraying. As a general rule, deep clean your sprayer at least once a month, or more often if you’re using harsh chemicals.
Q: My sprayer still smells like the last chemical I used. How can I get rid of the odor?
A: Try soaking the tank in a solution of baking soda and water for several hours. You can also use a commercial odor eliminator. Ensuring a thorough rinse after each use will also help prevent lingering odors.
Q: What if I can’t get all the parts apart for cleaning?
A: Don’t force anything! Consult your sprayer’s manual. If you still can’t disassemble it, focus on flushing the tank and nozzle thoroughly with clean water and a mild cleaning solution.
Conclusion: Maintaining Your Sprayer for Years to Come
Cleaning your hand pump sprayer is a simple yet crucial task for any gardener. By following the steps outlined in this guide, you can keep your sprayer in top condition, ensuring efficient application of your garden solutions and extending its lifespan. Remember to rinse after every use, deep clean regularly, lubricate moving parts, and store your sprayer properly. A little preventative maintenance goes a long way! Keeping your hand pump sprayer clean will save you time, money, and frustration in the long run. So, take the time to care for your tools, and they’ll continue to help you create a beautiful and thriving garden. You can also explore other cleaning tips for your home and garden at https://www.beacleaner.com/how-to-clean-vinyl-plank-flooring/.