· Home Improvement · 7 min read
how to clean dryvit
How to Clean Dryvit: A Complete Guide
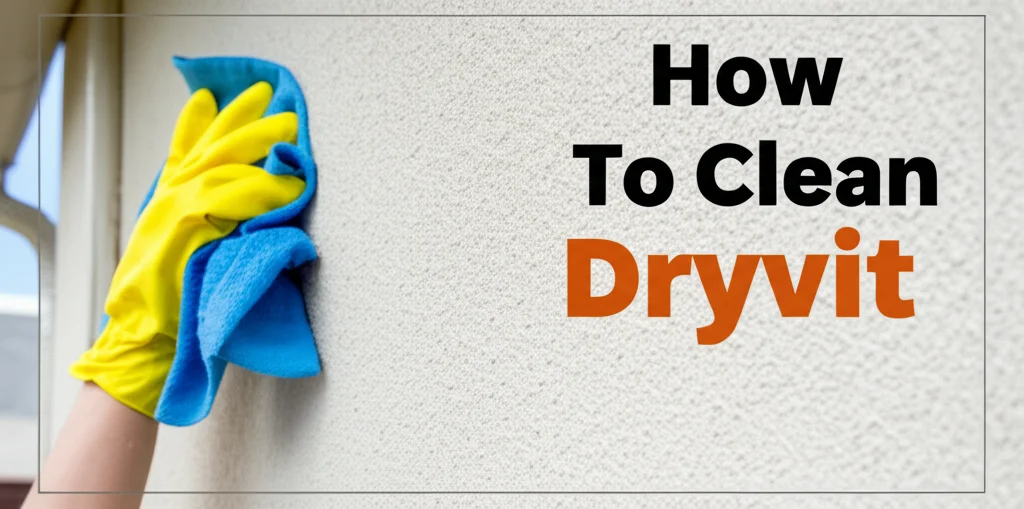
Is your Dryvit siding looking a little dull? Over time, exterior siding, even durable materials like Dryvit, can accumulate dirt, mildew, and other unsightly blemishes. Don’t worry, restoring your home’s curb appeal doesn’t have to be a daunting task. This article will walk you through everything you need to know about how to clean Dryvit siding effectively and safely. We’ll cover everything from gentle washing techniques to tackling stubborn stains, and even preventative measures to keep your Dryvit looking its best for years to come.
Dryvit is an exterior wall insulation and finish system, known for its durability and energy efficiency. However, like any exterior surface, it requires regular cleaning to maintain its appearance and prevent damage. Proper cleaning not only enhances your home’s aesthetic but also protects the integrity of the Dryvit system. Let’s dive into the best practices for keeping your Dryvit siding clean and well-maintained.
Quick Answer: To clean Dryvit, gently wash the siding with a mild detergent and water using a soft brush or low-pressure washer. Rinse thoroughly and avoid harsh chemicals or high-pressure settings that can damage the finish.
Takeaway:
- Use a gentle cleaning solution.
- Avoid high-pressure washing.
- Rinse thoroughly to prevent residue.
- Regular cleaning prevents buildup and damage.
Understanding Dryvit Siding
Before we jump into cleaning, let’s understand what Dryvit actually is. Dryvit isn’t a single material, but rather a multi-layered exterior wall system. It typically consists of insulation, a reinforcing mesh, and a textured acrylic coating. This composition gives Dryvit its unique properties, including flexibility and resistance to cracking.
However, the textured surface can trap dirt and moisture, making it susceptible to mildew and algae growth. Knowing this helps us choose the right cleaning methods. Different textures require different approaches, so identifying your Dryvit’s texture is a good first step. Understanding the system’s composition also highlights the importance of avoiding harsh chemicals and high-pressure washing, which can compromise the integrity of the layers.
What is the Best Way to Maintain Dryvit?
Regular maintenance is key to keeping your Dryvit siding in top condition. This includes visual inspections for cracks or damage, and prompt attention to any areas of concern. Addressing small issues early can prevent them from escalating into larger, more costly repairs. Beyond repairs, preventative cleaning is crucial.
Here’s a simple maintenance schedule:
- Monthly: Visually inspect for any damage or discoloration.
- Semi-Annually: Gently rinse the siding with water to remove loose dirt and debris.
- Annually: Perform a thorough cleaning as outlined in the following sections.
Gathering Your Cleaning Supplies
Now that you know what Dryvit is and how to maintain it, let’s gather the supplies you’ll need for a thorough cleaning. Using the right tools will make the job easier and safer for both you and your siding. Avoid abrasive tools or harsh chemicals, as these can cause damage.
Here’s a checklist of what you’ll need:
- Mild Detergent: Dish soap or a specialized exterior siding cleaner.
- Bucket: For mixing your cleaning solution.
- Soft-Bristled Brush: A long-handled brush is ideal for reaching higher areas.
- Garden Hose: With a spray nozzle.
- Low-Pressure Washer (Optional): If using a pressure washer, ensure it has an adjustable nozzle and use the lowest possible setting. Consider if you need to clean bathroom floor without mop as well.
- Safety Glasses: To protect your eyes.
- Gloves: To protect your hands.
The Gentle Washing Method: Routine Cleaning
For routine cleaning, a gentle washing method is all you need. This approach is safe for all types of Dryvit siding and effectively removes dirt, dust, and light mildew. It’s also the least likely to cause damage. This method focuses on using mild solutions and gentle scrubbing action.
Here’s how to do it:
- Mix Your Solution: Combine a small amount of mild detergent with water in your bucket.
- Apply the Solution: Using your soft-bristled brush, apply the solution to the Dryvit siding, working in sections.
- Scrub Gently: Gently scrub the siding in a circular motion, avoiding excessive pressure.
- Rinse Thoroughly: Rinse the siding thoroughly with your garden hose, ensuring all soap residue is removed. Leaving soap residue can attract dirt and contribute to mildew growth.
Tackling Stubborn Stains on Dryvit
Sometimes, gentle washing isn’t enough to remove stubborn stains like algae, mildew, or bird droppings. For these situations, you’ll need to use a slightly more targeted approach. However, it’s still crucial to avoid harsh chemicals that can damage the Dryvit finish. If you’re dealing with stains on other surfaces, you might consider how to remove gravy stains from carpet.
Here are some stain-specific solutions:
- Mildew: Mix one part bleach with four parts water. Apply to the affected area, let it sit for 5-10 minutes, then scrub gently and rinse thoroughly. Always test this solution in an inconspicuous area first.
- Algae: A solution of vinegar and water (1:1 ratio) can effectively remove algae. Apply, let it sit for a few minutes, scrub, and rinse.
- Bird Droppings: Soak the area with warm water and gently scrape away the droppings with a plastic scraper. Then, wash with mild detergent and water.
Using a Pressure Washer on Dryvit (With Caution!)
While a pressure washer can speed up the cleaning process, it’s crucial to use it with extreme caution on Dryvit siding. High pressure can easily damage the textured finish, forcing water behind the siding and potentially causing moisture problems. If you choose to use a pressure washer, follow these guidelines:
- Use a Low-Pressure Setting: Never exceed 500 PSI.
- Wide Fan Nozzle: Use a wide fan nozzle to distribute the pressure evenly.
- Keep a Safe Distance: Maintain a distance of at least 2-3 feet between the nozzle and the siding.
- Test in an Inconspicuous Area: Always test the pressure washer in a hidden area first to ensure it doesn’t cause damage.
- Avoid Direct Spray on Seams: Don’t aim the pressure washer directly at the seams between Dryvit panels.
Preventing Future Dirt and Mildew Buildup
Once you’ve cleaned your Dryvit siding, you’ll want to take steps to prevent future dirt and mildew buildup. Proactive measures can significantly reduce the frequency of cleaning and keep your home looking its best. Consider these preventative strategies:
- Trim Vegetation: Keep shrubs and trees trimmed away from the siding to improve airflow and reduce moisture.
- Clean Gutters Regularly: Clogged gutters can cause water to overflow and run down the siding, promoting mildew growth.
- Address Water Leaks Promptly: Repair any leaks in your roof or plumbing system to prevent water damage to the siding.
- Consider a Protective Coating: Some manufacturers offer protective coatings that can help repel dirt and moisture. You might also want to look into how to clean waterproof laminate floors for other exterior surfaces.
Frequently Asked Questions (FAQ)
Q: Can I use bleach to clean Dryvit?
A: Yes, but with caution. Dilute bleach with water (1:4 ratio) and always test it in an inconspicuous area first. Rinse thoroughly after application.
Q: Is it okay to use a stiff-bristled brush on Dryvit?
A: No. Stiff bristles can damage the textured finish. Always use a soft-bristled brush.
Q: How often should I clean my Dryvit siding?
A: At least once a year, or more frequently if you live in a humid climate or notice significant dirt buildup.
Q: What happens if water gets behind the Dryvit siding?
A: Water behind the siding can lead to mold growth, structural damage, and reduced energy efficiency. Address any potential water intrusion issues immediately.
Q: Can I power wash Dryvit siding?
A: Yes, but only with extreme caution. Use a low-pressure setting, a wide fan nozzle, and maintain a safe distance.
Conclusion: Keeping Your Dryvit Looking Its Best
Cleaning Dryvit siding doesn’t have to be a chore. By following these simple steps and using the right techniques, you can keep your home looking beautiful and protect your investment. Remember to prioritize gentle cleaning methods, avoid harsh chemicals, and address any issues promptly. Regular maintenance, including annual cleaning and preventative measures, will ensure your Dryvit siding remains in excellent condition for years to come. So, go ahead and give your Dryvit a little TLC – it will thank you for it! If you’re looking for more cleaning tips, be sure to check out our other articles on how to clean hard wood floors with vinegar.

