· Home Cleaning · 15 min read
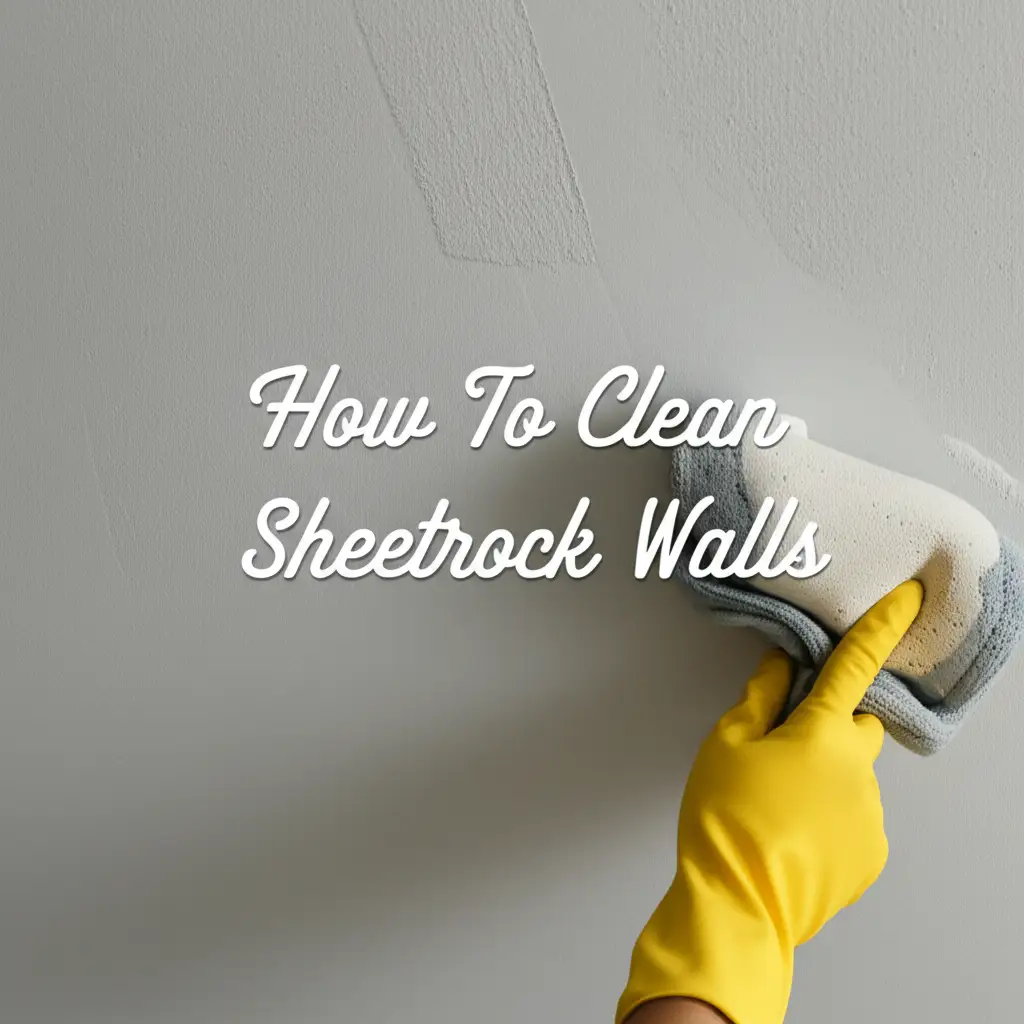
How To Clean Walls Without Removing Paint
Clean Walls Safely: How To Clean Walls Without Removing Paint
Dirty walls can make your home feel less clean. You want to refresh your living space. The thought of damaging your beautiful paint job might make you hesitate. I know this fear well. Many people worry about stripping paint or leaving ugly streaks. You can clean walls effectively. You do not need to remove paint. This guide will show you how to clean walls without removing paint. We will cover safe products, proper techniques, and tips for different stains. This information helps you maintain fresh-looking walls.
Takeaway
- Always perform a patch test on an unseen area first. This step prevents damage.
- Use gentle cleaning solutions like mild soap and water. Strong chemicals can harm paint.
- Work from the bottom up to avoid streaks. Rinse from top to bottom.
- Address specific stains with targeted, safe methods. Act quickly on new marks.
You can clean walls without removing paint by using gentle solutions. Start with warm water and a small amount of dish soap. Always test this mix on a hidden spot first. Wipe walls gently with a soft cloth or sponge. Rinse and dry quickly to prevent streaks or water damage.
Prepping Your Walls for a Gentle Clean
Before you begin to clean walls, preparation is key. Proper steps save you from potential damage. They also make the cleaning process smoother. You want to protect your floors and furniture. Move items away from the walls. Place drop cloths or old towels on the floor. This protects surfaces from drips.
Dust removal comes next. Dust and loose dirt can turn into muddy streaks when wet. Use a soft-bristle brush attachment on your vacuum cleaner. You can also use a microfiber dust mop or a dry cloth. Work from the top of the wall down to the baseboard. This ensures all loose debris is gone. You are preparing a clean surface for washing.
Understanding Your Paint Type
Knowing your paint type helps a lot. Different paint finishes react differently to cleaning. Flat or matte paints are delicate. They absorb moisture more easily. They can show water marks or rubs. Eggshell, satin, and semi-gloss paints are more durable. They resist moisture better. They are easier to clean. Gloss paints are the most robust. They can handle more rigorous cleaning. Identify your paint type before you start. This knowledge guides your cleaning choices.
The Essential Patch Test
Always perform a patch test. This is the most crucial step. Choose an inconspicuous area of your wall. A spot behind furniture or inside a closet works well. Apply your chosen cleaning solution to this small area. Use a soft cloth. Let it sit for a few minutes. Observe the paint. Check for color changes, dullness, or paint coming off. If the paint looks good, continue cleaning. If you see any negative reaction, stop. Find a gentler method or product. This step prevents widespread damage. It ensures you clean walls without removing paint. For tough marks, you can learn how to clean marks off painted walls with specific advice.
The Best Gentle Cleaners for Painted Walls
Choosing the right cleaner is vital. You want to remove dirt. You must also protect the paint finish. Harsh chemicals can strip paint. They can leave dull spots or damage the surface. I always recommend starting with the mildest option. This approach often works well for general dirt. It also minimizes risk to your walls. You will find that simple solutions are often the most effective.
Mild Soap and Water Solution
Warm water and dish soap make an excellent cleaning solution. This is my go-to for everyday dirt and grime. Fill a bucket with warm water. Add a few drops of mild dish soap. Do not use too much soap. Too much soap can leave a sticky residue. This residue attracts more dirt. Stir the water gently to mix the soap. The solution should be slightly sudsy. This basic mixture is safe for most painted surfaces. It cleans gently.
Vinegar Solution for Light Stains
White vinegar is a natural cleaning agent. It cuts through grease and light stains. Mix equal parts white vinegar and warm water. For example, use one cup of vinegar with one cup of water. Vinegar has a slight acidic property. This property helps break down dirt. Use this solution for specific stains or areas needing more power. Always test this solution first. Vinegar can be strong. It works well on many surfaces. However, it can affect some very delicate paints.
Baking Soda Paste for Tougher Spots
Baking soda is an abrasive agent. It is gentle enough for painted walls. Mix baking soda with a small amount of water. Create a thick paste. This paste is perfect for stubborn spots. Apply the paste directly to the stain. Let it sit for a few minutes. Gently rub with a soft cloth or sponge. The abrasive nature helps lift the mark. Do not scrub hard. Hard scrubbing can damage paint. Rinse the area thoroughly after cleaning. This method helps tackle tougher marks.
Commercial Cleaners: Use with Caution
Many commercial wall cleaners exist. They promise quick results. Some are safe for painted walls. Always read the product label carefully. Look for “safe for painted surfaces” or similar statements. Choose cleaners that are non-abrasive. Avoid cleaners with strong solvents or bleach. These chemicals can strip paint. They can leave lasting damage. If you use a commercial cleaner, always do a patch test first. Follow the manufacturer’s instructions precisely. They help you clean painted walls without leaving streaks. For guidance on achieving a flawless finish, refer to tips on how to clean painted walls without leaving streaks.
Step-by-Step Guide to Cleaning Walls Effectively
Cleaning walls needs a systematic approach. This ensures you get the best results. It also prevents damage to your paint. You want to work efficiently. Having all your tools ready before you start helps a lot. Remember, gentle is key. Aggressive scrubbing harms paint. Follow these steps for clean walls.
Gather Your Supplies:
- Two buckets (one for cleaning solution, one for rinse water).
- Soft sponges or microfiber cloths (several of them).
- Mild dish soap or white vinegar.
- Clean towels for drying.
- Drop cloths or old towels for floor protection.
- Step stool or ladder for high areas.
Dust the Walls Thoroughly:
- Before any wet cleaning, remove all loose dust.
- Use a vacuum cleaner with a brush attachment.
- Work from the top of the wall to the bottom.
- A clean, dry microfiber cloth or duster also works.
- This prevents streaks. It ensures you are cleaning dirt, not smearing dust.
Prepare Cleaning Solutions:
- Fill one bucket with warm water and a few drops of mild dish soap.
- Fill the second bucket with clean, plain warm water for rinsing.
- Change the rinse water often. This keeps it clean.
From Top to Bottom: The Right Way to Wipe
Cleaning technique matters. Improper wiping can leave streaks or damage paint.
- Start at the Bottom: Begin washing your wall from the bottom up. This seems counter-intuitive. However, it prevents dirty water from streaking down on dry, clean areas. If a drip occurs, it lands on an unwashed surface. This makes it easier to clean away without leaving a mark.
- Work in Small Sections: Dip your sponge or cloth into the soapy water. Wring out excess liquid. The cloth should be damp, not dripping wet. Clean a small section of the wall. Work in gentle, circular motions. Do not scrub hard.
- Rinse Immediately: After cleaning a small section, dip a different clean cloth or sponge into the plain rinse water. Wring it out well. Wipe down the just-cleaned area to remove all soap residue.
- Dry Promptly: Use a third clean, dry towel to gently dry the section. Prompt drying prevents water spots and streaks. It also reduces the risk of water damage to the paint or drywall.
- Overlap Sections: Move to the next section. Overlap slightly with the previously cleaned area. This ensures no missed spots.
- Change Water Often: The cleaning water will get dirty. The rinse water will also become cloudy. Change both buckets of water frequently. This ensures you are always cleaning with clean water. This step is critical for streak-free results. For more details on avoiding streaks, see how to clean painted walls without leaving streaks. For general marks on painted walls, insights on how to clean marks off painted walls can also be useful here.
Tackling Common Wall Stains Without Damaging Paint
Walls collect various stains over time. Knowing how to deal with specific marks helps you clean walls without removing paint. Different stains need different approaches. Always try the gentlest method first. Increase strength only if needed. Remember to patch test any new solution.
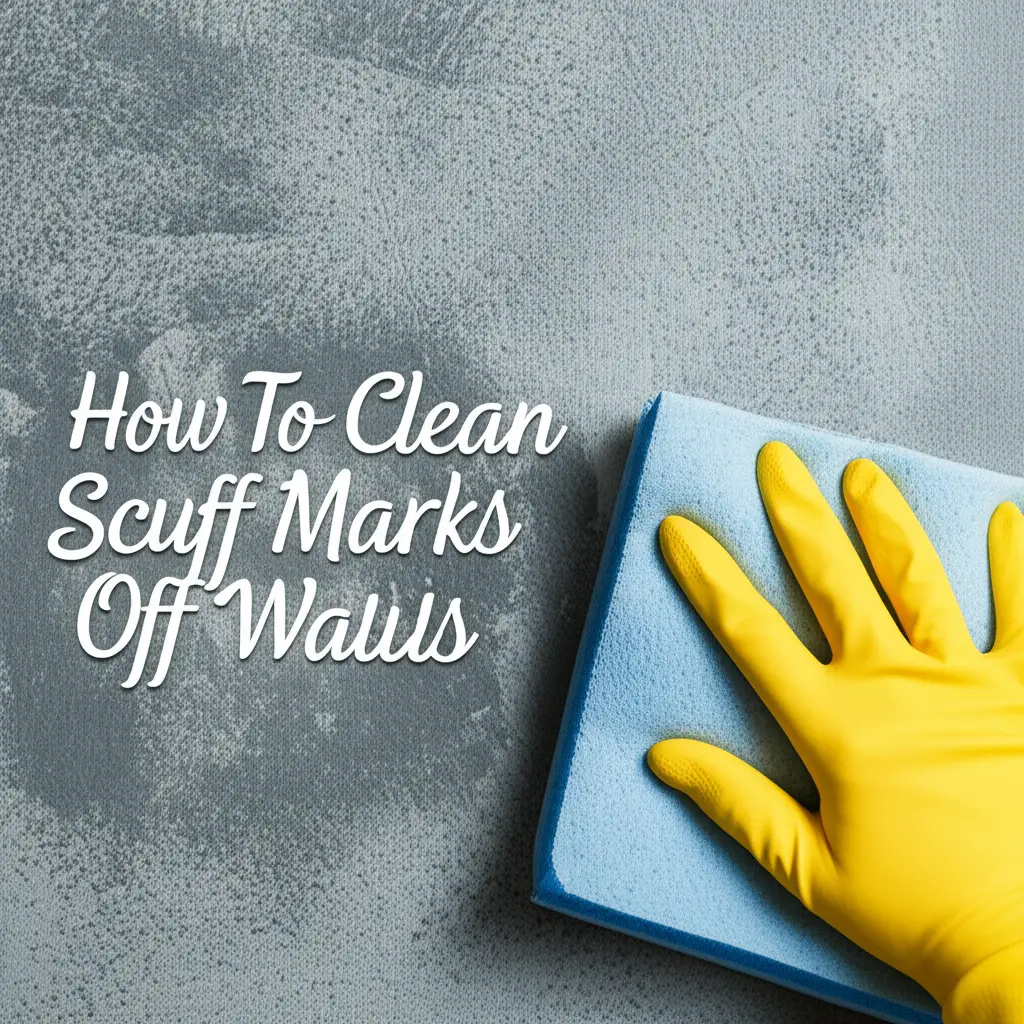
Scuff Marks and Fingerprints
Scuff marks are common, especially in high-traffic areas. These are often from shoes or furniture.
- Method: For scuff marks, try a clean pencil eraser first. Gently rub the mark. The eraser lifts the rubber or plastic residue. If the eraser does not work, try a baking soda paste. Mix baking soda with a little water to form a thick paste. Apply it to the scuff. Rub gently with a soft, damp cloth. Wipe clean with a damp cloth and dry.
- Fingerprints and Grease: These are oil-based stains. They attract more dirt.
- Method: A mild dish soap and warm water solution works well. For tougher grease, a vinegar solution (equal parts white vinegar and water) can cut through the oil. Apply with a soft cloth. Gently wipe. Rinse thoroughly with clean water. Dry the area completely. You can find more specific advice on how to clean scuff marks off walls.
Crayon and Marker Marks
Kids love drawing on walls. Crayon and marker stains seem tough.
- Crayon: Use a damp cloth with a small amount of baking soda paste. Gently rub the crayon mark. The mild abrasive helps lift the wax. Another trick is a small dab of non-gel toothpaste. Apply it, rub gently, then wipe clean.
- Marker: Rubbing alcohol works wonders on permanent marker. Apply a small amount to a cotton ball or soft cloth. Dab the mark. Do not rub hard. The alcohol dissolves the ink. Test this in an unseen spot first. Alcohol can affect some paint finishes. You can also try hairspray. Spray a small amount on the mark. Wipe quickly before it dries.
Mold and Mildew
Mold and mildew grow in damp, humid areas. They look like black, green, or fuzzy spots.
- Method: Do not use bleach on painted walls. Bleach can damage paint and leave discolored spots. Mix one part white vinegar with three parts warm water. Spray this solution directly onto the mold. Let it sit for 10-15 minutes. Gently scrub with a soft brush or sponge. Rinse with clean water. Dry the area completely. Ensure good ventilation to prevent regrowth. For basements, which are prone to mold, refer to how to clean mold off basement walls.
Smoke Residue
Smoke leaves yellow or brown stains. It also leaves an odor.
- Method: This stain needs a strong but safe cleaner. Mix one cup of white vinegar, half a cup of borax, and one gallon of warm water. Use gloves. Apply the solution with a sponge. Work in small sections. Rinse thoroughly with plain water. Dry the walls completely. This process helps remove the discoloration and the smell. For more extensive smoke damage, follow specific instructions on how to clean yellow walls from smoke.
Special Considerations for Different Wall Surfaces
Not all painted walls are the same. Different finishes and materials need tailored care. Understanding these differences helps you clean walls without removing paint. It ensures your cleaning efforts are effective and safe. You want to match your cleaning method to the wall type.
Flat vs. Eggshell/Satin vs. Gloss Finishes
- Flat/Matte Paint: This finish has no sheen. It hides imperfections well. However, it is very porous. It absorbs liquids easily. This makes it prone to staining and difficult to clean. Use minimal water. Use only the mildest cleaners. Blot stains rather than rubbing. Excessive rubbing can burnish the paint. This creates shiny spots. Clean these areas very gently.
- Eggshell/Satin Paint: These finishes have a slight sheen. They are more durable than flat paint. They resist stains better. They are generally washable. You can use mild soap and water. The vinegar solution is also usually safe. These finishes stand up to gentle wiping. They are a good balance of durability and appearance.
- Semi-Gloss/Gloss Paint: These paints have a high sheen. They are very durable and water-resistant. They are the easiest to clean. They stand up to more vigorous scrubbing. They are often used in kitchens and bathrooms. These areas need frequent cleaning. You can use a wider range of mild cleaners on these surfaces. They can handle a slightly stronger approach without damage.
Textured Walls
Textured walls add visual interest. Cleaning them can be a challenge. Dirt settles into the crevices.
- Method: A soft-bristle brush attachment on your vacuum is excellent for dusting textured walls. For washing, use a soft sponge or microfiber cloth. Work in small sections. Pay extra attention to the depressions. You might need to use a soft brush or toothbrush for stubborn spots in the texture. Be gentle. Too much pressure can damage the texture. Ensure thorough rinsing and drying to prevent water spots in the grooves.
Wallpapered Walls (Brief Mention for Contrast)
While this article focuses on how to clean walls without removing paint, some homes have wallpaper. Wallpaper needs different cleaning care. Some wallpapers are washable. Others are not. Always check the manufacturer’s instructions for wallpaper. Using water on non-washable wallpaper can cause damage. It can lift the paper or ruin the pattern. If you need to clean walls after wallpaper removal, the process changes. For post-wallpaper cleaning, you can refer to how to clean walls after removing wallpaper. For other unique wall types, like interior log cabin walls, cleaning methods also differ. You can find information on how to clean interior log cabin walls for specialized surfaces.
Maintaining Clean Walls and Preventing Future Stains
Keeping your walls clean is easier than deep cleaning them. Regular maintenance prevents dirt buildup. It also prolongs the life of your paint job. Simple habits make a big difference. I always advise a proactive approach. This saves you time and effort later on.
Regular Dusting Schedule
Dust is the foundation of most wall dirt. It mixes with moisture and oils. This creates stubborn grime.
- Action: Dust your walls regularly. Do this every few months or as needed. Use a long-handled duster or a vacuum cleaner with a brush attachment. Start from the top and work your way down. This routine removes loose particles. It prevents them from setting into the paint. Regular dusting keeps your walls looking fresh.
Spot Cleaning Quickly
Small marks appear quickly. A stray handprint, a scuff, or a splash.
- Action: Address these spots immediately. Fresh stains are much easier to remove. Keep a small spray bottle with your mild soap and water solution handy. A soft cloth works well. A quick wipe usually takes care of new marks. This prevents them from setting and becoming harder to remove later. This proactive approach saves you from larger cleaning tasks.
Protective Measures
Some simple actions can protect your walls.
- Furniture Placement: Keep furniture slightly away from walls. This reduces scuff marks.
- Door Stops: Install door stops. These prevent doorknobs from hitting and marking the wall.
- Area Rugs/Mats: Place rugs near entryways. These reduce the amount of dirt tracked in. They also minimize splashes from shoes.
- Children’s Areas: If you have young children, consider washable paint in their play areas. You can also use temporary wall coverings. These protect walls from crayon or marker art.
Good Ventilation
Humidity and poor air circulation contribute to mold and mildew.
- Action: Ensure good airflow in your home. Use exhaust fans in bathrooms and kitchens. Open windows regularly. This helps control moisture levels. It reduces the conditions mold needs to grow. Proper ventilation keeps your walls drier. This prevents moisture-related stains.
Tools and Supplies for Damage-Free Wall Cleaning
Having the right tools makes a difference. They ensure efficient and safe cleaning. You do not need many specialized items. Most are common household products. I find that investing in good quality, soft materials pays off. They protect your paint and give better results.
Essential Cleaning Cloths and Sponges
- Microfiber Cloths: These are excellent. They are soft. They absorb well. They pick up dirt effectively without scratching surfaces. Have several on hand. You will use one for washing, one for rinsing, and one for drying.
- Soft Sponges: Look for non-abrasive sponges. Avoid scrub pads with rough surfaces. These can scratch or dull paint. A cellulose sponge works well for general cleaning.
Buckets and Spray Bottles
- Two Buckets: Use one for your cleaning solution. Use the other for clean rinse water. This keeps your cleaning solution from getting too dirty too fast. It also ensures you rinse with clean water.
- Spray Bottle: A spray bottle is useful for applying targeted solutions. This is great for spot cleaning. It allows you to control the amount of liquid. You avoid saturating the wall.
Dusting Tools
- Vacuum Cleaner with Brush Attachment: This is efficient for removing loose dust. The brush prevents scratches on the paint. It reaches high spots easily.
- Long-Handled Duster: A duster with an extendable handle is helpful. It reaches ceilings and high wall sections. Microfiber dusters trap dust effectively.
Safety and Access Equipment
- Step Stool or Ladder: For high walls or ceilings, a stable step stool or ladder is necessary. Safety is paramount. Do not overreach.
- Gloves: Wear rubber gloves. This protects your hands from cleaning solutions. It also keeps your hands clean.
These tools, combined with gentle techniques, help you clean walls without removing paint. They ensure your walls remain vibrant and clean.
FAQ Section
How often should I clean my walls? For general cleanliness, dust your walls every few months. Spot clean specific marks as they appear. A full deep clean is often needed only once or twice a year. High-traffic areas or homes with kids/pets might need more frequent spot cleaning. Your lifestyle determines the exact frequency.
Can I use a Magic Eraser on painted walls? Use a Magic Eraser with extreme caution on painted walls. While effective on many marks, it is a micro-abrasive sponge. It can remove paint, especially on flat or matte finishes. Always test it on an inconspicuous area first. Rub very gently. Stop if you see any paint coming off.
- cleaning painted walls
- wall cleaning tips
- safely clean walls
- paint care
- remove wall stains