· Gardening · 6 min read
how to clean backpack sprayer
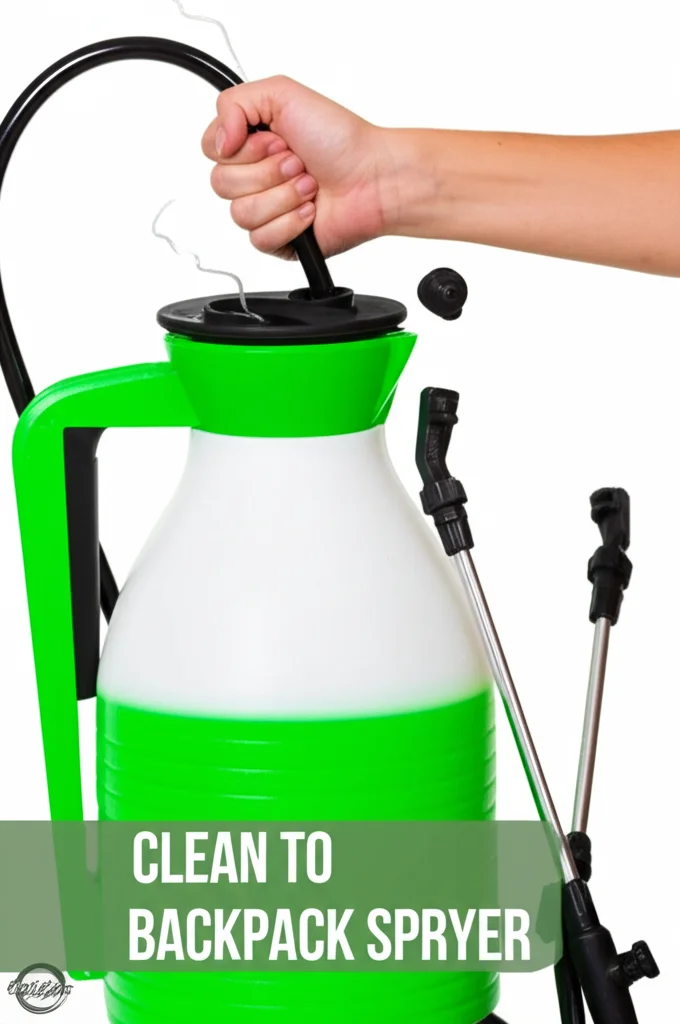
How to Clean a Backpack Sprayer: A Step-by-Step Guide
Ever wonder how to keep your trusty backpack sprayer in top shape? A clean sprayer means consistent performance and a longer lifespan, saving you money and frustration. This article will walk you through everything you need to know about cleaning your backpack sprayer, from a quick rinse after each use to a deep clean for storage. We’ll cover the tools you need, the steps involved, and how to prevent future buildup. Let’s get started and ensure your sprayer is always ready for action!
Quick Answer: To clean a backpack sprayer, rinse it thoroughly with clean water after each use, then perform a deep clean with a mild detergent and water solution before storing it. Disassemble parts like nozzles and filters for individual cleaning, and lubricate seals to prevent drying.
Takeaway:
- Rinse after every use.
- Deep clean before storage.
- Disassemble and clean all parts.
- Lubricate seals for longevity.
Why Cleaning Your Backpack Sprayer Matters
Think of your backpack sprayer as the heart of your garden’s watering and feeding system. Just like your heart, it needs regular care to function properly. Residue from fertilizers, pesticides, or herbicides can build up inside the tank and clog the nozzle, reducing spray pressure and accuracy. This buildup can also corrode metal parts, shortening the sprayer’s life. Regular cleaning prevents these issues, ensuring consistent performance and saving you the cost of replacement.
Tools You’ll Need for Backpack Sprayer Cleaning
Before you begin, gather the necessary tools. Having everything on hand will make the process much smoother. You won’t need anything fancy, just a few common household items. Here’s what you’ll need:
- Clean water
- Mild dish soap or specialized sprayer cleaner
- Soft-bristled brush (an old toothbrush works great!)
- Bucket or sink
- Screwdriver (for disassembly, if needed)
- Lubricating oil (silicone-based is best)
- Clean cloths or rags
- Safety glasses and gloves (recommended)
The Daily Rinse: Maintaining Your Sprayer Between Uses
A quick rinse after each use is the easiest way to prevent buildup. This simple step takes only a few minutes and can significantly extend the life of your sprayer. Fill the tank with clean water and spray it out until the water runs clear. This removes any remaining chemicals or solutions. Don’t skip this step, even if you only used water!
Deep Cleaning Your Backpack Sprayer: A Comprehensive Guide
When it’s time for a more thorough cleaning, follow these steps. This is especially important before storing your sprayer for the off-season. A deep clean ensures no residue remains to cause corrosion or clogs.
- Empty the Tank: Ensure the tank is completely empty of any solution.
- Disassemble: Carefully disassemble the sprayer as much as possible. This includes removing the nozzle, wand, filter, and any other detachable parts. Refer to your sprayer’s manual for specific instructions.
- Wash with Soapy Water: Fill a bucket or sink with warm water and add a small amount of mild dish soap. Wash all parts thoroughly with the soapy water and a soft-bristled brush. Pay close attention to the nozzle and filter, as these are prone to clogging.
- Rinse Thoroughly: Rinse all parts thoroughly with clean water until all traces of soap are gone. Any remaining soap can attract dirt and contribute to buildup.
- Inspect and Clean Nozzles: Check the nozzle for any clogs. Use a small pin or wire to carefully clear any obstructions. A clogged nozzle can drastically reduce spray performance.
- Dry Completely: Allow all parts to air dry completely before reassembling. Moisture can lead to corrosion.
- Lubricate Seals: Once dry, apply a small amount of silicone-based lubricating oil to all seals and O-rings. This prevents them from drying out and cracking.
- Reassemble: Carefully reassemble the sprayer, ensuring all parts are securely connected.
Cleaning Specific Sprayer Components
Different parts of your backpack sprayer require specific attention. Let’s break down how to clean each component effectively.
Cleaning the Nozzle
The nozzle is the most likely part to clog. Regularly cleaning it is crucial. After soaking the nozzle in soapy water, use a thin wire or nozzle cleaning tool to remove any debris. You can also try running water through the nozzle in reverse to dislodge stubborn clogs. If you’re having trouble, consider soaking the nozzle overnight in a vinegar solution.
Cleaning the Filter
The filter prevents debris from entering the sprayer and clogging the nozzle. Remove the filter and rinse it thoroughly under running water. If the filter is heavily soiled, use a soft brush to remove any stubborn particles. Replace the filter if it’s damaged or cannot be cleaned effectively.
Cleaning the Tank
The tank itself requires less frequent, but equally important, cleaning. After emptying the tank, rinse it thoroughly with clean water. For stubborn residue, add a small amount of mild detergent and scrub the inside of the tank with a soft brush. Rinse again until all traces of detergent are gone.
Storing Your Backpack Sprayer Properly
Proper storage is just as important as cleaning. A well-stored sprayer will be ready to go when you need it. Here’s how to store your backpack sprayer:
- Empty and Clean: Ensure the sprayer is completely empty and clean before storing it.
- Dry Thoroughly: Allow all parts to dry completely.
- Lubricate: Lubricate all seals and O-rings.
- Store in a Cool, Dry Place: Store the sprayer in a cool, dry place away from direct sunlight and extreme temperatures.
- Protect from Freezing: If you live in an area with freezing temperatures, drain the sprayer completely to prevent damage.
Frequently Asked Questions (FAQs)
Q: Can I use bleach to clean my backpack sprayer?
A: While bleach can disinfect, it’s generally not recommended. Bleach can corrode metal parts and damage seals. Mild dish soap or a specialized sprayer cleaner is a safer and more effective option.
Q: How often should I deep clean my backpack sprayer?
A: Deep clean your sprayer at least once a season, or more frequently if you use it heavily or with harsh chemicals. A quick rinse after each use is essential regardless.
Q: What if my sprayer still clogs after cleaning?
A: Double-check the nozzle and filter for any remaining debris. You may need to soak the nozzle in a vinegar solution overnight. If the problem persists, consider replacing the nozzle or filter.
Q: Is it okay to store my sprayer with some solution still inside?
A: No, never store your sprayer with any solution inside. This can cause corrosion and damage the internal components. Always empty and rinse the tank thoroughly before storing.
Conclusion
Cleaning your backpack sprayer is a simple yet crucial task for any gardener. By following these steps, you can ensure your sprayer remains in optimal condition, providing reliable performance for years to come. Remember to rinse after each use, deep clean before storage, and lubricate the seals. A little preventative maintenance goes a long way in protecting your investment and keeping your garden thriving. So, take the time to clean your backpack sprayer – your plants will thank you!